The folks over at Torchbox needed a Christmas card this year. Previously, the most poplar holiday card was a web page that gave their visitors a chance to activate a ‘snow machine’ and spray confetti on a random employee, all while being streamed online. They wanted to replicate this bridge between virtual and real life interactions this year, and Manuel the talking moose was born.
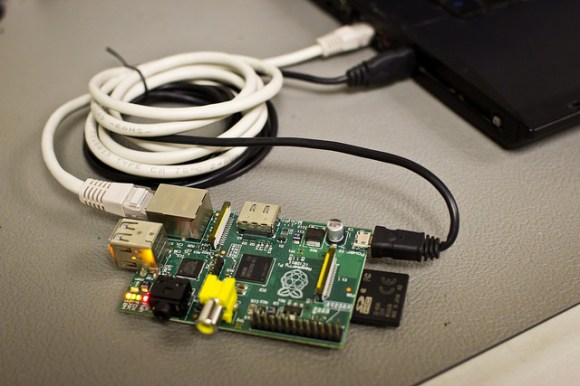
Manuel needed a personality and interaction from random people on the Internet so the Torchbox team decided to make the fake moose head speak tweets in real-time with the help of a Raspberry Pi. The code running on the Raspi gets tweets with a #tbxmoose hashtag, sends that through a node.js script, and finally sent to the Festival speech synthesis system.
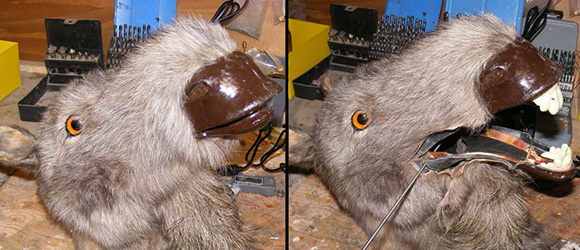
A few modifications needed to be done to Manuel before he was presented to the Internet. His jaw was chopped in half and a servo and animatronic controller were added for a proper presentation on Torchbox’s stream of Manuel’s random musings.