A Pick-And-Mix FPGA Retrocomputer

Logo

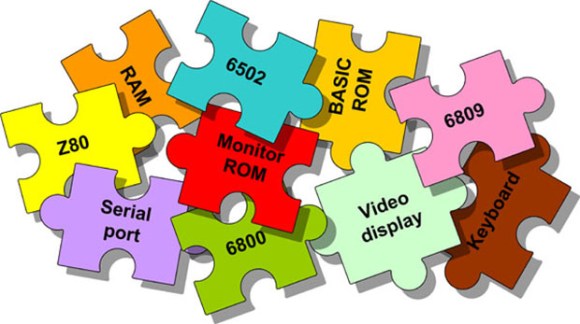
Cheap FPGA boards are readily available, as are VHDL implementations of classic CPUs like the 6502, 6809, and Z80. Up until now, we haven’t seen anyone take these two parts and combine them into a complete system that turns an FPGA board into a complete 8-bit retrocomputer. Thanks to [Grant]’s work, it’s now possible to do just that (server on fire, here’s a google cache) with a $30 FPGA board and a handful of parts.

In its full configuration, the Multicomp, as [Grant] calls his project, includes either a 6502, 6809, Z80, or (in the future) a 6800 CPU. Video options include either monochrome RCA, RGB VGA, or RGB via SCART. This, along an SD card interface, a PS2 keyboard, and the ability to connect an external 128kB RAM chip (64k available) means it’s a piece of cake to build a proper and complete portable retrocomputer.

What’s extremely interesting about [Grant]’s project is the fact the data and address lines are fully exposed on the FPGA board. This means it’s possible to add whatever circuit you’d like to whatever retrocomputer you can imagine; if you want a few NES gamepads, an IDE interface, or you’d like to design your own primitive video card, it’s just a matter of designing a circuit and writing some assembly.

If you’d like to build your own, search “EP2C5T144C8N” on the usual sites, grab a few resistors and connectors, and take a look at [Grant]’s documentation and upcoming examples.

Via 6502.org forums

The Most Minimal Homebrew Computer

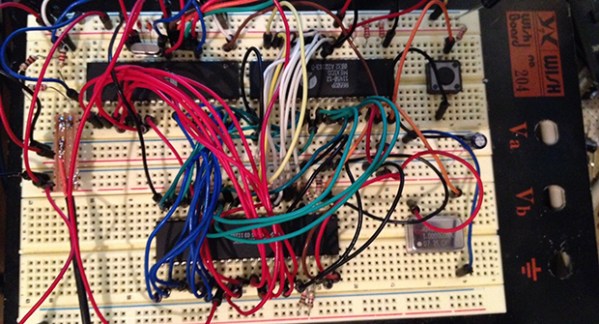
Perfection is achieved not when there is nothing more to add, but when there is nothing left to fail. Going by that metric, [Stian]’s three-chip 6502 homebrew computer is the epitome of perfection. It’s a real, working, homebrew retrocomputer using only three chips: a CPU, some RAM, and a microcontroller to bootstrap the computer and provide a video output,

The key to this minimalist build is having the entire boot process controlled by an ATMega16 microcontroller, This interfaces to the 6502 through a dual-port SRAM, a 1 kilobyte Cypress CY7C130. This dual-port RAM allows the CPU and microcontroller to access the same bit of memory, making it easy to bootstrap a computer from a bit of AVR code.

Output is provided with [Stian]’s ATMega video text generator putting a 37×17 characters on any television with an RCA jack. While input isn’t handled yet, [Stian] says it should be possible with his AVR PS/2 keyboard library.

While other 6502 homebrew computers such as [Quinn Dunki] Veronica can reach unparalleled heights of complexity, there is a lot to be said about the minimalism of [Stian]’s three-chip computer. With some clever coding and a modified parts list, it may well be possible to put a retrocomputer in the hands of everyone with a bare minimum of cost and parts.

Building A 1980s Microcomputer With A Parallax Propeller

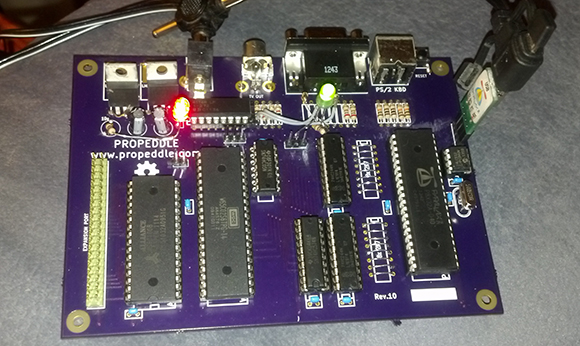
The folks over at Gadget Gangster put up an Instructable to build a retro 80s 8-bit microcomputer. Even though they’re using modern components, it still hearkens back to a time when 10 year olds learned 6502 assembly, PEEKing and POKEing was the best way to program, and using a mouse was a novelty.

The build uses a Parallax Propeller dev board to provide an amazing amount of horsepower for a simple microcontroller. After hooking the Propeller up to a TV via an RCA jack and adding an infrared keyboard, Gadget Gangster had a simple computer that can load programs off an SD card.

Because a microcomputer is useless if you can’t program it, Gadget Ganster ported BASIC  to the Propeller. With VGA and sound output, along with the ability to add a PS/2 keyboard and Wii controller, this modern take on a classic paradigm is more powerful than dozens of Commodore 64s.

As a small aside, we don’t see nearly enough builds using a Propeller. A parallel processing microcontroller having 10 times the computational ability of a low-end ARM processor is interesting to say the least; we’re honestly puzzled by the dearth of Propeller projects. If you’ve got a Propeller project, send it into the tip line.