Review: Unnamed Chinese DDS Function Generator

Best forgotten: my awful 2018 function generator.

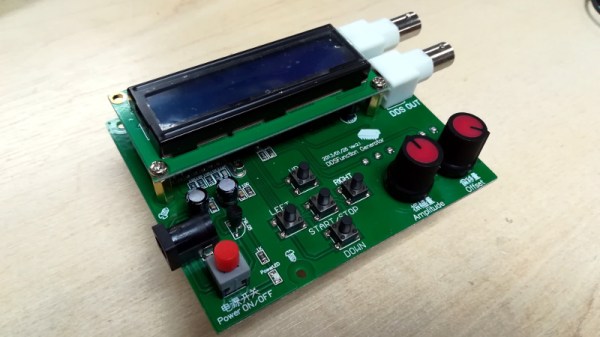
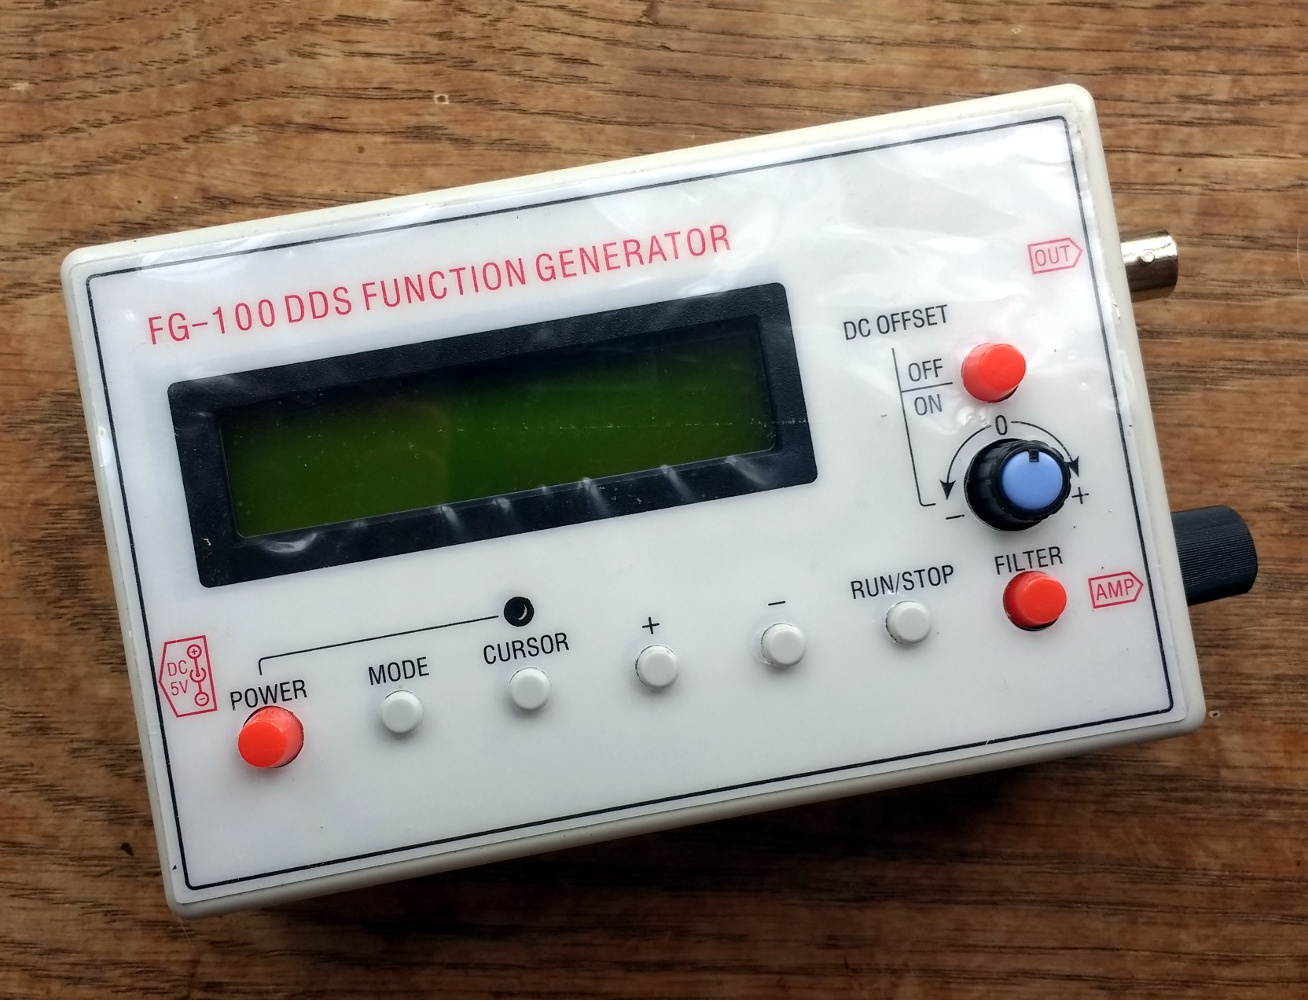
A lifetime of amassing random pieces of test equipment has left me with a gap in my armoury, namely that I don’t possess a low frequency function generator. This could easily be addressed, but for two things. I have a love for exploring the cheaper end of exported electronics and my need for a function generator is less than my desire to spend significant cash. I’ve tried to balance these competing forces in the past by picking up an astoundingly cheap instrument; that time I ended up with a lemon, but will lightning strike twice in the same spot? I spent £10 ($13) on a different cheap function generator and set off to find out. Continue reading “Review: Unnamed Chinese DDS Function Generator”

ATMega16 Hard Disk Clock

Hard-Disk-Clock-by-Martin-Stromer_3338278

[Martin Stromer] made this great looking Hard Disk Clock about 12 years ago, and finally decided to share it with the world. It’s been “ticking” ever since.

It’s a beautiful clock, and if you think the drive might look a bit odd, that’s probably because its well over 20 years old! We’re not too sure the capacity, but it couldn’t have been more than a few dozen megabytes.

To read the time, the platter rotates 30 degrees at once, per hour. The read-write head inches across the disc to display the minutes. Each of the black lines represents a quarter hour. The whole thing is controlled by an ATMega16, which maintains almost all of the original hardware. The blog post has a great write-up on how it all works.

Did we mention it’s also easy to set the time? Simply rotate the disc by hand and slide the read-write head into place, then press the reset button. Check out the clock in action after the break.

Continue reading “ATMega16 Hard Disk Clock”

The Most Minimal Homebrew Computer

Perfection is achieved not when there is nothing more to add, but when there is nothing left to fail. Going by that metric, [Stian]’s three-chip 6502 homebrew computer is the epitome of perfection. It’s a real, working, homebrew retrocomputer using only three chips: a CPU, some RAM, and a microcontroller to bootstrap the computer and provide a video output,

The key to this minimalist build is having the entire boot process controlled by an ATMega16 microcontroller, This interfaces to the 6502 through a dual-port SRAM, a 1 kilobyte Cypress CY7C130. This dual-port RAM allows the CPU and microcontroller to access the same bit of memory, making it easy to bootstrap a computer from a bit of AVR code.

Output is provided with [Stian]’s ATMega video text generator putting a 37×17 characters on any television with an RCA jack. While input isn’t handled yet, [Stian] says it should be possible with his AVR PS/2 keyboard library.

While other 6502 homebrew computers such as [Quinn Dunki] Veronica can reach unparalleled heights of complexity, there is a lot to be said about the minimalism of [Stian]’s three-chip computer. With some clever coding and a modified parts list, it may well be possible to put a retrocomputer in the hands of everyone with a bare minimum of cost and parts.

Motorized Skateboard Controlled By Hand Gestures

hand-gesture-skateboard

This rough-looking contraption is a hand gesture controlled skateboard which [Aditya] built using parts on hand. So far the sensor for hand gestures is connected by a control wire, but he hopes to transition to an RF unit at some point in the future.

Having access to a couple of high torque brushless motors is what turned him onto the project. He hit up a couple of Mechanical Engineer friends of his to help assemble the chassis and then started on the electronics side of things. A breakout board for an ATmega16 is mounted on the corner of the deck. It monitors an accelerometer which acts as steering as well as throttle. The accelerometer had been abused in a previous project so he had to add an extra switch to bolster his available inputs. We were glad to hear that he also included a kill switch, since putting the control of those motors in the hands of a damaged accelerometer is a bit sketchy.

We remember seeing a similar trike design a few years back. That one powered a single rear wheel while this one powers two wheels and uses a caster for the third.

Embedded Web Server Is All About Clever Formatting

embedded-web-server

Take a look around here and you’ll find all kinds of embedded web servers. This one doesn’t look all that interesting, especially because it’s just a NIC plugged into a development board. But for us the interesting part is in how [Andrew Rossignol] chose to format the webpage assets to best utilize the under-powered server.

The project was spawned as part of a class in Internet Embedded Systems which [Andrew] is taking. The board has an ATmega16 microcontroller and he’s using the ever popular ENC28J60 on that Ethernet adapter board. The TuxGraphics TCP/IP Stack takes care of communications with the network.

One constraint which [Andrew] imposed upon himself was to use just a single response which the available RAM limits to about  700 bytes. Any decent webpage needs to have at least some graphics but that’s tough with the size limit. He managed to display an AVR logo by optimizing an SVG in Inkscape then stripped the rest of the cruft using VIM (explained in the demo after the break). With that piece of Linux-fu in his pocket he set to work streamlining the CSS file. The webpage isn’t just static either. He displays the server up-time and even allows the relays and LEDs on the Olimex board to be controlled.

Despite the limitations of the ATmega family they still seem to do some amazing Internet-connected stuff. Here’s one used as a Minecraft server.

Continue reading “Embedded Web Server Is All About Clever Formatting”

VGA Message Board Displays SMS Without A Computer

[Achu Wilson’s] latest creation is a VGA message board which is written to via SMS text messages. This doesn’t sound too interesting at first, until you find out he’s doing this with a microcontroller rather than a PC. All of the complexity is in the code that drives the VGA. He managed to do it without any jitter while using an 8-bit microcontroller.

But first, the cellular side of things. A GSM modem takes care of connectivity. To communicate with the modem [Achu] used an ATmega8. He mentions the he could have used a much smaller uC, like an ATtiny, but this is what he had lying around. When a message is received the ATmega8 feeds the characters to an ATmega16 which is driving the VGA monitor. Rather than deal with the analog voltages necessary to run a color display he simply ganged the three color lines together and drives them from one of the microcontroller pins. This results in white and black which correspond to voltage or no voltage.

You can see him showing off the system in the clip after the break.

Continue reading “VGA Message Board Displays SMS Without A Computer”

A Capacitive Discharge Welder/cutter For All Your Lightweight Needs

microspot-welder

[Radu Motisan] wrote in to share a cool project he has been working on lately, a pulsed microspot welder/cutter.

The device is capable of spot welding thin metals such as foils and battery tabs by sending a pair of high current pulses between the two electrodes whenever [Radu] presses the trigger button. The cutting portion of his device uses the same general mechanism, though it requires a far greater number of pulses to get the work done.

The welding/cutting process is controlled by an ATMega16, which is also tasked with taking input from the user and displaying information on the LCD panel. The microcontroller creates quick (in the ten to several hundred microsecond range) pulses for both welding and cutting, with the latter obviously requiring a long series of pulses.

[Radu] started out using a relatively small capacitor array to power the device, but has recently upgraded to a 1.6 Farad car audio capacitor, which works (and looks) much better than before. His blog seems to update every few days with more pictures and details about his welding station, so be sure to check back often for updates.

Be sure to stick around to see a short video of [Radu] adding metal tabs to batteries and tearing down an aluminum can with his cutter.

Continue reading “A Capacitive Discharge Welder/cutter For All Your Lightweight Needs”