Rubber Stamping Your Way To Custom PCBs

Many of us now outsource PCB production to board houses overseas, which offer high-quality boards with increasingly impressive turnaround times. You might still brew up your own PCB, though, and a reader found this great old hack from [William Hare] that might be worth a look.

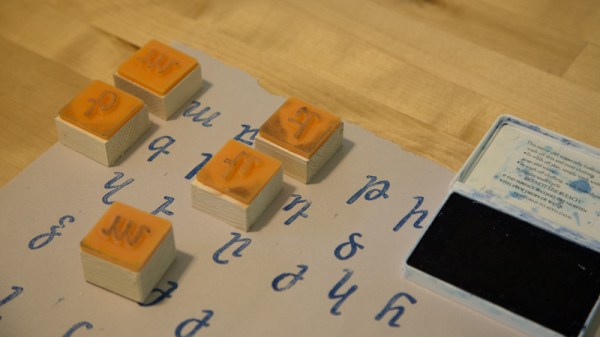
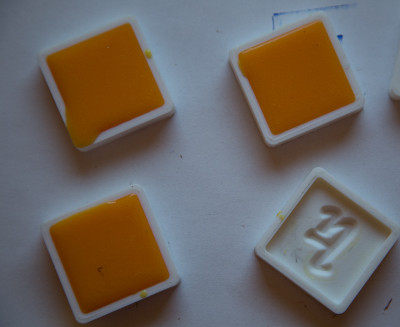
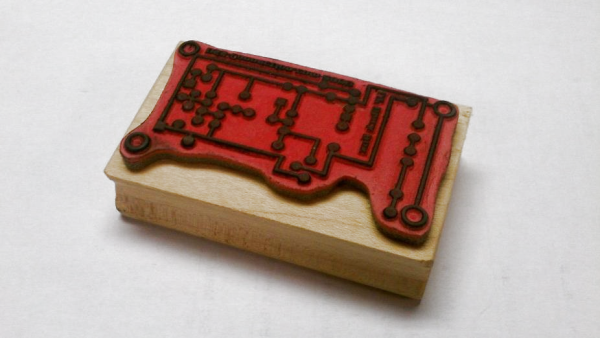
Forget toner transfer or marker pens — this build is all about speed. [William] decided to use a rubber stamp to quickly transfer ink to a copper board that can then be etched to produce a PCB. It’s simple and straightforward enough. We’ve used the same technique for silkscreen and pad art, but never as an etch resist.

The trick is to make several rubber stamps with different circuit elements, though. The genius part is that you can then assemble a PCB by simply stamping down the various circuit components you need. The boards will still need to be drilled if you’re working with through-hole parts, but tipster [Shri] notes that the technique is super useful for producing single-sided surface mount boards.

We’ve seen some other unique methods to producing PCBs at home, such as using a 3D printer to help out. If you’ve got your own innovative homebrew PCB hacks, be sure to drop us a line!

Thanks [Shri Hari Ram] for the tip!

Making Rubber Stamps With OpenSCAD

There’s an old saying that goes “If you can’t beat ’em, join ’em”, but around these parts a better version might be “If you can’t buy ’em, make ’em”. A rather large portion of the projects that have graced these pages have been the product of a hacker or maker not being able to find a commercial product to fit their needs. Or at the very least, not being able to find one that fit their budget.

GitHub user [harout] was in the market for some rubber stamps to help children learn the Armenian alphabet, but couldn’t track down a commercially available set. With a 3D printer and some OpenSCAD code, [harout] was able to turn this commercial shortcoming into a DIY success story.

Filling the molds with urethane rubber.

Rather than having to manually render each stamp, he was able to come up with a simple Bash script that calls OpenSCAD with the “-D” option. When this option is passed to OpenSCAD, it allows you to override a particular variable in the .scad file. A single OpenSCAD file is therefore able to create a stamp of any letter passed to it on the command line. The Bash script uses this option to change the variable holding the letter, renders the STL to a unique file name, and then moves on to the next letter and repeats the process.

This procedural generation of STLs is a fantastic use of OpenSCAD, and is certainly not limited to simple children’s stamps. With some improvements to the code, the script could take any given string and font and spit out a ready to print mold.

With a full set of letter molds generated, they could then be printed out and sealed with a spray acrylic lacquer. A mold release was applied to each sealed mold, and finally they were filled with approximately 200ml of Simpact urethane rubber from Smooth-On. Once the rubber cures, he popped them out of the molds and glued them onto wooden blocks. The end result looks just as good as anything you’d get from an arts and crafts store.

The process used here is very similar to the 3D printed cookie molds we’ve covered recently, though we have to assume these little morsels would not be nearly as tasty. Of course, if you had access to a small CNC machine you could cut the stamps out of the rubber directly and skip the mold step entirely.