What does it take to make decent tires for your projects? According to this 3D printed tire torture test, it’s actually pretty easy — it’s more a question of how well they work when you’re done.
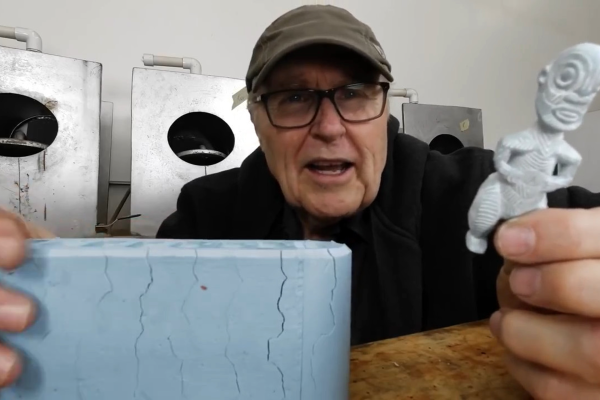
For the test, [Excessive Overkill] made four different sets of shoes for his RC test vehicle. First up was a plain PLA wheel with a knobby tread, followed by an exact copy printed in ABS which he intended to coat with Flex Seal — yes, that Flex Seal. The idea here was to see how well the spray-on rubber compound would improve the performance of the wheel; ABS was used in the hopes that the Flex Seal solvents would partially dissolve the plastic and form a better bond. The next test subjects were a PLA wheel with a separately printed TPU tire, and a urethane tire molded directly to a PLA rim. That last one required a pretty complicated five-piece mold and some specialized urethane resin, but the results looked fantastic.
Non-destructive tests on the tires included an assessment of static friction by measuring the torque needed to start the tire rolling against a rough surface, plus a dynamic friction test using the same setup but measuring torque against increasing motor speed. [Overkill] threw in a destructive test, too, with the test specimens grinding against a concrete block at a constant speed to see how long the tire lasted. Finally, there was a road test, with a full set of each tire mounted to an RC car and subjected to timed laps along a course with mixed surfaces.
Results were mixed, and we won’t spoil the surprise, but suffice it to say that molding your own tires might not be worth the effort, and that Flex Seal is as disappointing as any other infomercial product. We’ve seen other printed tires before, but hats off to [Excessive Overkill] for diving into the data.