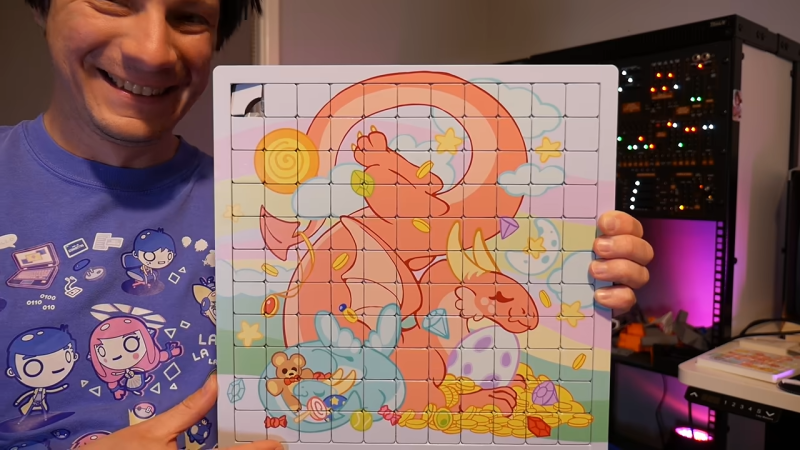
[Angus] of [Maker’s Muse] shows off both a parametric, print-in-place sliding puzzle design he created, and the results of UV printing full-color designs on the same. The results look beautiful, and there was a whole lot of trial and error involved in the process.
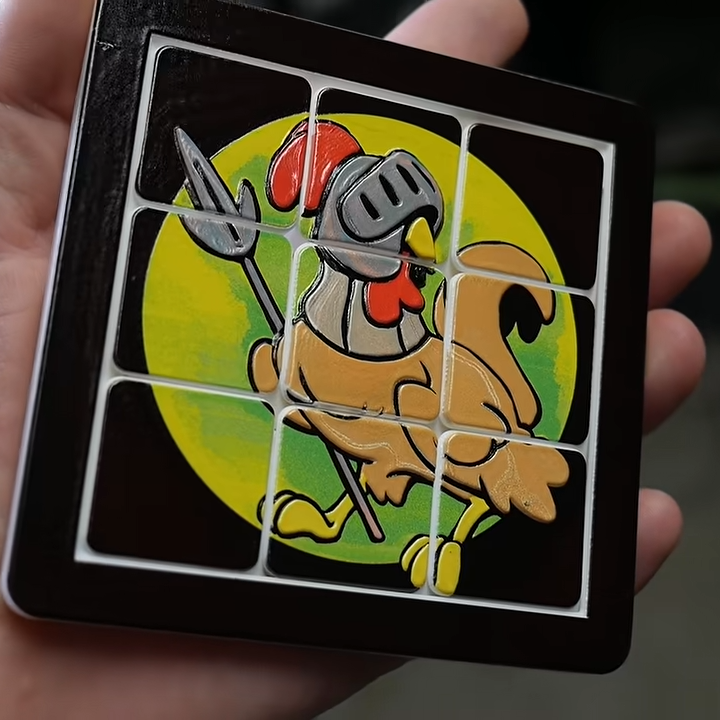
Creating a good print-in-place sliding puzzle depends a lot on tolerances. Today’s 3D printers are much more capable in this regard than they were ten or so years ago, but getting the right feel to the pieces was still a long learning process. It’s not at all easy to get all the different characteristics in the right balance. On one hand, if the pieces are too tight they won’t slide easily. But if they are too loose, the puzzle can bind because the pieces have too much play. It may also flex enough to pop apart. And of course, the shape of the pieces and their mating surfaces are constrained to angles and shapes that 3D print reliably. [Angus] persevered and succeeded, and shows off everything from cute 3 x 3 units to a massive scaled-up 11 x 11 puzzle, printed on his Prusa XL.
Getting the color onto the print is the work of a desktop UV ink printer, the same model our own Tom Nardi had a hands-on look at last year. [Angus] shows how printing a single color image onto the puzzle is pretty easy and looks great, but what’s even better is a textured relief image with some real tactile depth to it. Expect a lot more work to do for that, because thick layers of ink gum the puzzle up with overspray unless one avoids printing over the gaps in the tiles.
Watch both the puzzles and the color printing in action in his video, embedded just below.
Continue reading “Full-Color Looks Great On 3D Printed Sliding Puzzles”