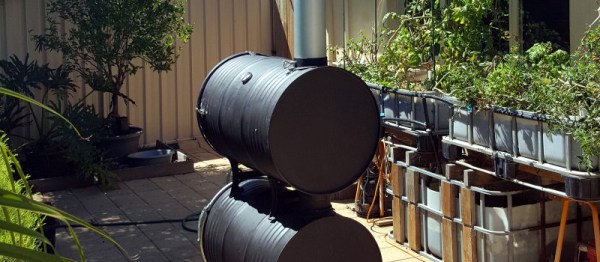
What would you do with a pair of oil drums and a craving for delicious food? Like any sane person, redditor [Kilgore_nrw] made the logical choice and built a smoker.
To make the build easier, he picked up a double barrel stove kit which came with a door, hinges, legs  and flue connectors. While fixing the legs and mounting the stove door — high enough for a bed of bricks in the fire barrel — went as planned, he had to improvise the installation of the smoke flue. It ended up being the exact same diameter as the flue connectors, but notching it enough to slide into place made a satisfactory seal.
Not liking the look of having the stack at the ‘front’ of the smoker, he mounted it above the flue at the rear and added two sandstone slabs in the smoking chamber to evenly distribute the heat. Finishing touches included heavy duty drawer slides for the cooking rack — ensuring easy access to deliciousness — and painstakingly grinding off the old paint to apply a new heat resistant coating. For any fans out there, the finished pictures are a sight to behold.