Adding A Battery To Extend Speaker Life

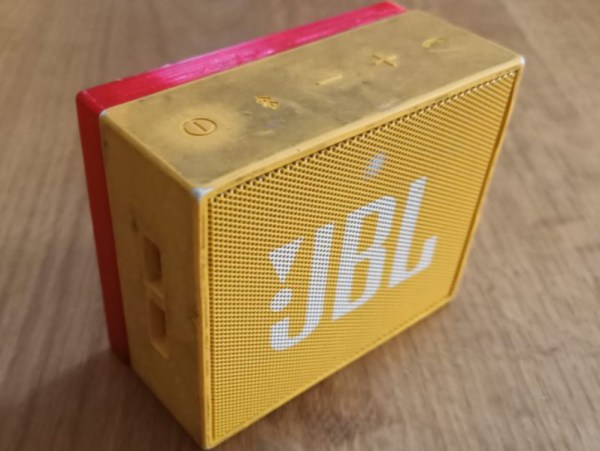
Perhaps the weakest point in modern electronics when it comes to user servicability is the lifecycle of the batteries included from the manufacturer. Without easily replaceable batteries, many consumer goods end up in the landfill when they’re otherwise working perfectly. If you’d like to get more out of your devices than the manufacturer intends, you might have to go to great lengths like [Théo] did with his JBL speaker.

This was a Bluetooth device produced by JBL nearly a decade ago, and while the original device boasted several hours of battery life, after so many years of service, it was lucky to get a half hour before the battery died. To replace it, [Théo] removed the original battery and extended the case to be able to hold a larger cell phone battery. He also decided to use the original battery management circuit from the speaker with the new battery after verifying the voltage and chemistry were close enough to the original.

Since the phone battery is a proprietary Samsung device, [Théo] also decided to build a version that uses standard 18650 cells instead, although he prefers the slimmer design with the phone battery for his use case.  Straightforward as this build may be, it does go a long way to demonstrate the principle that if you can’t fix your devices, you don’t really own them.

Extreme Repair Of A Burnt PCB

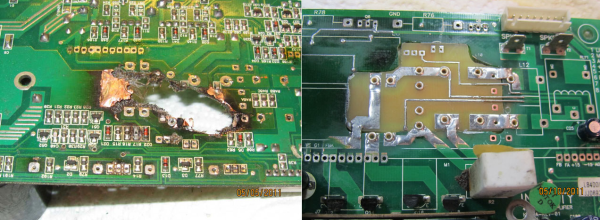
[xsdb] had a real problem. His JBL L8400P 600 watt subwoofer went up in flames – literally. Four of the large capacitors on the board had bulged and leaked. The electrolyte then caused a short in the mains AC section of the board, resulting in a flare up. Thankfully the flames were contained to the amplifier board. [xsdb’s] house, possessions, and subwoofer enclosure were all safe. The amplifier board however, had seen better days. Most of us would have cut our losses and bought a new setup. Not [xsdb] he took on the most extreme PCB repair we’ve seen in a long time.

After removing the offending caps and a few other components, [xsdb] got a good look at the damage. the PCB was burned through. Charred PCB is conductive, so anything black had to be cut out. The result was a rather large hole in the middle of an otherwise serviceable board. [xsdb] had the service manual for the JBL sub. Amazingly, the manual included a board layout with traces. Some careful Photoshop work resulted in an image of the section of PCB to be repaired. [Xsdb] used this image to etch a small patch board.

The amplifier and patch were milled and sanded to match up nearly perfectly. Incredibly, all the traces aligned. [Xdsb] soldered the traces across the join with small sections of wire and solder wick. After soldering in some new high quality capacitors, the amplifier was back in action!

If you’re a big fan of burned PCB’s, check out Hackaday Prize Judge Dave Jones latest EEVblog video, where he works on a Ness home alarm panel with a similarly cooked section of FR4.

[Thanks for the link JohnS_AZ!]