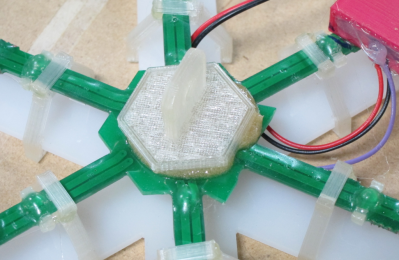
The world of glues is wide and varied, and it pays to use the right glue for the job. When [Eric] needed to stick a wide and flat 3D printed mount onto the back of a PCB that had been weatherproofed with an uneven epoxy coating, he needed a gap-filling adhesive that would bond to both surfaces. It seemed like a job for the hot glue gun, but the surface was a bit larger than [Eric] was comfortable using with hot glue for. The larger the surface to be glued, the harder it is to do the whole thing before hot glue cools too much to bond properly.
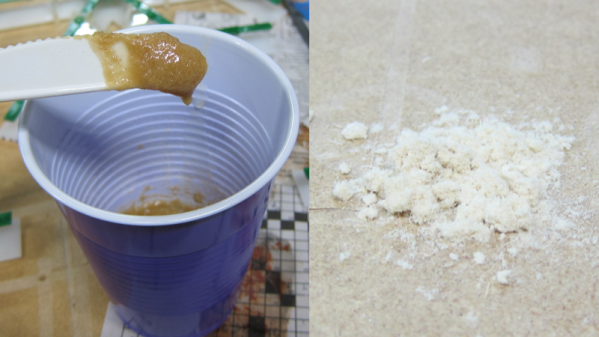
What [Eric] really wanted to use was a high quality two-part epoxy that he already had on hand, but the stuff was too runny to work properly for this application. His solution was to thicken it with a thixotropic filler, which yields a mixture that is akin to peanut butter: sticky, easily spread to where it’s needed, but otherwise stays in place without dripping or sagging and doesn’t affect bonding.

Common thixotropic fillers include ground silica or plastic fibers, but [Eric]’s choice was wood flour. Wood flour is really just very fine sawdust, and easily obtained from the bag on his orbital sander. Simply mix up a batch of thin two-part epoxy and stir in some wood flour until the sticky mixture holds its shape. Apply as needed, and allow it to cure.
Thanks to this, [Eric] was able to securely glue a 3D printed pad to the back of his animated LED snowflakes to help mount them in tricky spots. Whether for small projects or huge installations, LEDs, PCBs, and snowflakes are a good combination.


