When we think of assembling a PCB, we’re almost always thinking about solder. Whether in paste form or on the spool, hand-iron or reflow, some molten metal is usually in the cards. [Stephen Hawes] is looking for a solderless alternative for prototyping, and he shows us the progress he’s made toward going solderless in this video.
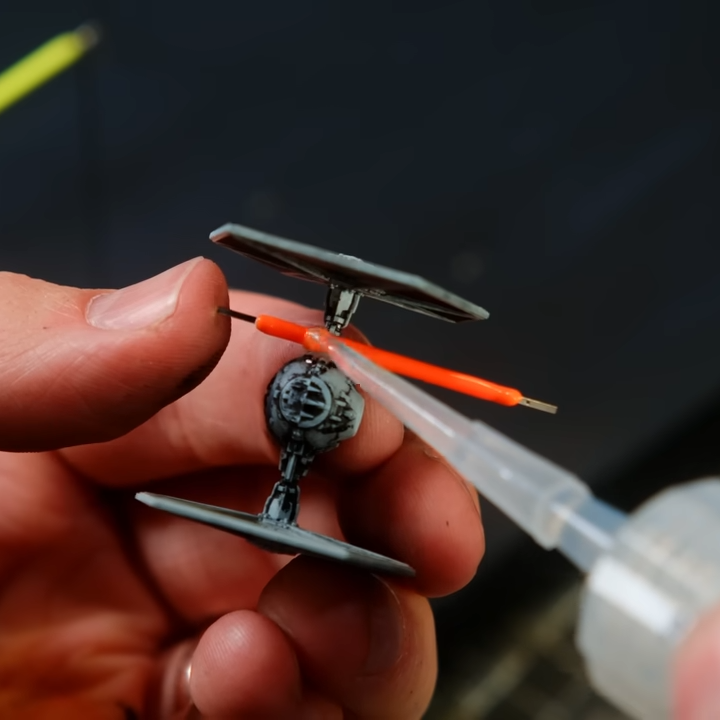
His ulterior motive? He’s the designer of the LumenPNP open-source pick-and-place machine, and is toying with the idea of a full assembly based just on this one machine. If you strapped a conductive-glue extruder head on the machine in addition to the parts placer, you’d have a full assembly in one step. But we’re getting ahead of ourselves.
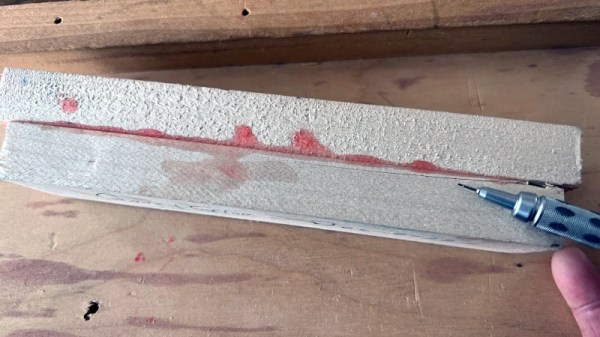
[Stephen] first tries Z-tape, which is really cool stuff. Small deformable metal balls are embedded in a gel-like tape, and conduct in only the Z direction when parts are pushed down hard into the tape. But Z-tape is very expensive, requires a bit of force to work reliably, and [Stephen] finds that the circuits are intermittent. In short, Z-tape is not a good fit for the PNP machine.
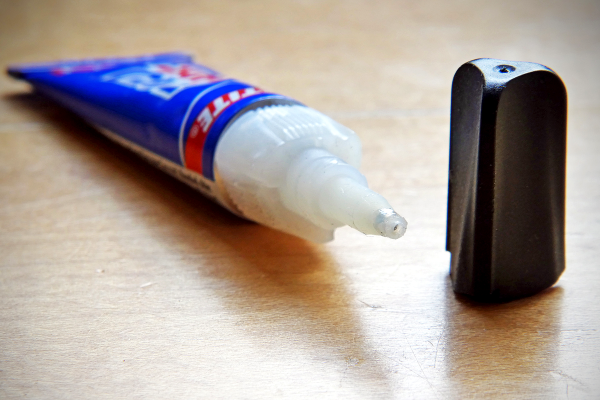
But what [Stephen] does find works well is a graphite-based conductive glue. In particular, he likes the Bare Conductive paint. He tries another carbon-based paint, but it’s so runny that application is difficult, while the Bare stuff is thick and sticky. (They won’t tell you their secret formula, but it’s no secret how the stuff is basically made.) That ends up looking very promising, but it’s still pretty spendy, and [Stephen] is looking to make his own conductive paste/paint pretty soon. That’s particularly appealing, because he can control the stickiness and viscosity, and he’ll surely let us in on the secret sauce.
(We’re armchair quarterbacking here, but the addition of a small amount of methyl cellulose and xanthan gum works to turn metal powder into a formable, printable metal clay, so it might make a carbon paste similarly adjustably sticky.)
We love the end-goal here: one machine that can apply a conductive paint and then put the parts into the right place, resulting in a rough-and-ready, but completely hands-off assembly. You probably wouldn’t want to use this technique if the joint resistance was critical, or if you needed the PCB to stand up to abuse. There’s a reason that everyone in industry uses molten metal, after all. But for verifying a quick one-off, or in a rapid-prototyping environment? This would be a dream.
We’ve seen other wacky ways to go solderless before. This one uses laser-cut parts to hold the components on the PCB, for instance. And for simply joining a couple wires together, we have many more solutions, many thanks to you all in the comments!
Continue reading “Towards Solderless PCB Prototyping” →