LEDs And Pi Let You Virtually Decorate This Online Christmas Tree

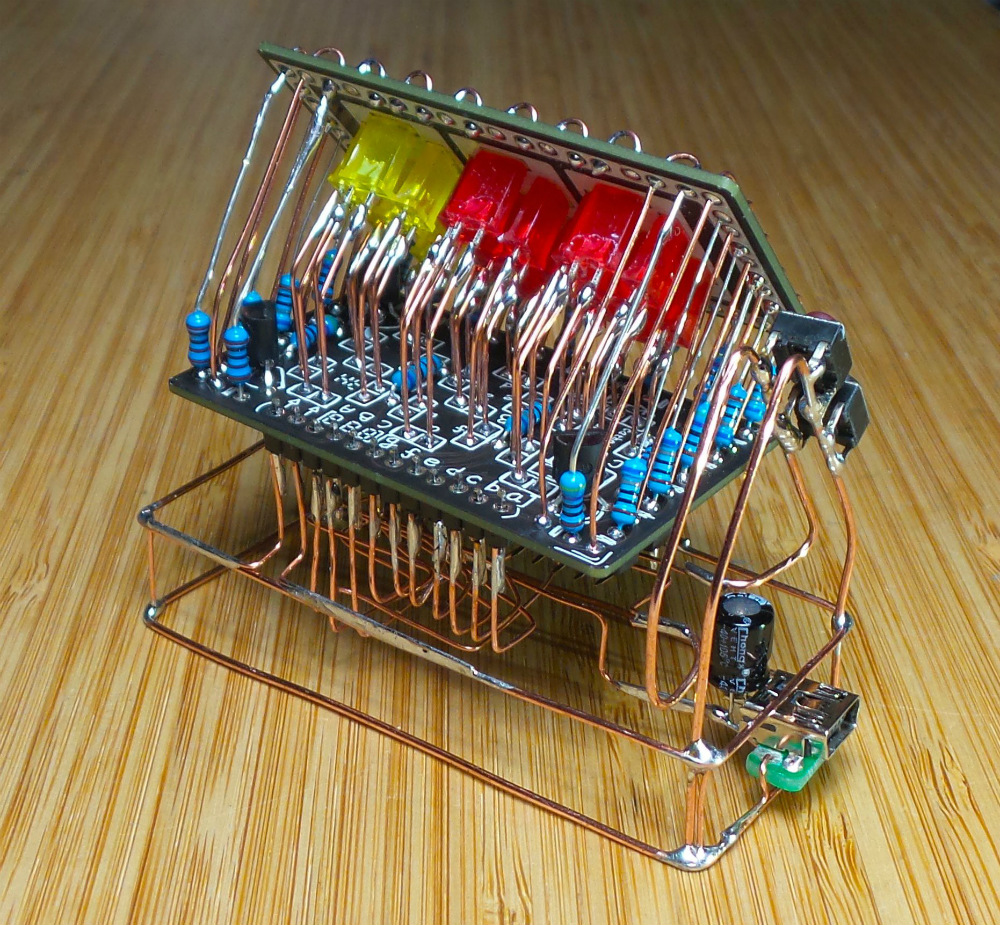
Anyone who has decorated a Christmas tree knows that the lights are what really make the look. But no matter how many strings you wrap around it, there never seems to be enough. Plus the standard sets either sit there and do nothing, or just blink on and off at regular intervals. Yawn.

But hackers aim higher, and [leo.currie]’s interactive “paintable” Christmas tree takes the lighting game a step beyond. The standard light strings are replaced with strings of WS2811 RGB LEDs which are wired to an ESP8266. A camera connected to a Raspberry Pi is setup up to stream images of the tree to all and sundry on the Interwebz, but with a special twist: it also creates a map of every light on the tree. That allows the lights to be controlled individually in response to user inputs on a web page hosted on the Pi. The upshot is that you can paint the tree with any color you like in real time, or upload various animated GIFs to display on the tree. You can play with the tree directly, or watch a replay on the video below when that Pi inevitably gets hugged to death.

Imagine the possibilities with this. Why not hang a lot of LED strings vertically from the eaves of your house and make a huge, low-resolution display? We’ve featured plenty of large, interactive LED Christmas displays before, and we’d love to see what you come up with.

Continue reading “LEDs And Pi Let You Virtually Decorate This Online Christmas Tree”

Lighting Up A Very Wiry Candle

Entries into the Circuit Sculpture Contest tend to be pretty minimalist by nature, and this LED candle by [Amal Mathew] is a perfect example. The idea here was to recreate the slim and uncomplicated nature of a real candle but with a digital twist, and we think he’s pulled it off nicely with a bare minimum part count and exaggerated wire length that gives it the look of a thin pillar candle.

To give the LED a fading effect, [Amal] uses a ATtiny85 programmed with the Arduino IDE. His code uses the analogWrite() in a loop to gradually increase and then decrease the PWM frequency. With the LED connected directly to one of the pins on the ATtiny85, the simple program achieves the fading effect without needing any additional components.

On the opposite side of the candle, connected by long copper wires, is the single CR2032 which provides power for the circuit. In a nice touch, [Amal] has turned the battery 90 degrees relative to the rest of the circuit, so it can serve as a weighted base. We imagine getting it to stand up might be a little fiddly from the looks of it, but once it’s up and merrily fading in and out, it really helps sell the candle idea.

The finished product might look fairly straight-forward, but in his write-up on Hackaday.io, [Amal] gives detailed instructions on how to build your own version if you’re not a bare microcontroller wizard. This includes direction on how to program the ATtiny85 using an Arduino Uno; a neat trick to know even if you aren’t planning on making any candles in the near future. The next logical step is making it so you can “blow out” the LED, which should only take the addition of a resistor and some updated code.

There’s still plenty of time to enter your own functional piece of art in the Circuit Sculpture Contest. Just write it up on Hackaday.io and submit it before the January 8th, 2019 deadline.

Continue reading “Lighting Up A Very Wiry Candle”

Hackaday Links Column Banner

Hackaday Links: Christmas Eve Eve, 2018

The entirety of Silicon Valley is predicated on the ability to ‘move fast and break laws’. Have an idea for a scooter startup? No problem, just throw a bunch of scooters on the curb, littering and e-waste laws be damned. Earlier this year, Swarm Technologies launched four rogue satellites on an Indian rocket. All commercial satellite launches by US companies are regulated by the FCC, and Swarm just decided not to tell the FCC. This was the first unauthorized satellite launch ever. Now, Swarm has been fined $900k. Now that we know the cost of launching unauthorized satellites, so if you’ve got a plan for a satellite startup, the cost for an unauthorized launch is a bit more than $200k per satellite. Be sure to put that in your budget.

Santa Claws! Liberty Games would like to donate to a charity this holiday season, but you can’t just write a check. That’s not fun. Instead, they connected a claw machine to the Internet, and anyone can play it. Setting up a webcam was easy enough, but they also had to move the claw and press the button over the Internet. A Raspberry Pi came to the rescue.

Tomorrow is the 50th anniversary of Apollo 8, mankind’s first trip beyond Earth orbit. Now, using Lunar Reconnaissance Orbiter data, NASA has reconstructed the famous ‘Earthrise’ photo taken by the crew. It’s in 4K, and we’re getting a great diagram of what pictures were taken when, through which window.

It’s that time of year again, and the 176th Air Defense Squadron is on high alert. This squadron, based out of Joint Base Elmendorf-Richardson in Anchorage, Alaska has the AWACS in the air, on patrol, just waiting for the inevitable. You can take a look at their progress here, and please be sure to keep our service members in your thoughts this holiday season.

Show off your sculpture skills with small bits of wire! Get the blowtorch out because copper work hardens! [Roger] can’t enter the Circuit Sculpture contest, but he did manage to give a body to one of the Tindie heads.

Arduino Heart Rate Monitor Has Star Trek Chic

Building a real-life version of the Star Trek tricorder has been the goal of engineers and hackers alike since the first time Dr McCoy complained about being asked to work outside of his job description. But while modern technology has delivered gadgets remarkably similar in function, we’ve still got a long way to go before we replicate 24th century Starfleet design aesthetic. Luckily there’s a whole world of dedicated hackers out there who are willing to take on the challenge.

[Taste The Code] is one such hacker. He wanted to build himself a practical gadget that looked like it would be at home on Picard’s Enterprise, so he gathered up the components to build a hand-held heart rate monitor and went in search for a suitable enclosure. The electronics were simple enough to put together thanks to the high availability and modularity we enjoy in a post-Arduino world, but as you might expect it’s somewhat more difficult to put it into a package that looks suitably sci-fi while remaining functional.

Internally his heart rate monitor is using an Arduino Pro Mini, a small OLED screen, and a turn-key pulse sensor which was originally conceived as a Kickstarter in 2011 by “World Famous Electronics”. Wiring is very simple: the display is connected to the Arduino via I2C, and the pulse sensor hooks up to a free analog pin. Everything is powered by 3 AA batteries delivering 4.5 V, so he didn’t even need a voltage regulator or the extra components required for a rechargeable battery pack.

Once everything was confirmed working on a breadboard, [Taste The Code] started the process of converting a handheld gyroscopic toy into the new home of his heart rate monitor. He kept the battery compartment in the bottom, but everything else was stripped out to make room. One hole was made on the pistol grip case so that a finger tip could rest on the pulse sensor, and another made on the side for the OLED screen. This lets the user hold the device in a natural way while getting a reading. He mentions the sensor can be a bid fiddly, but overall it gives accurate enough readings for his purposes.

If you’re more interested in the practical aspects of a real-life Star Trek tricorder we’ve seen several projects along those lines over the years, including a few that were entered into the Hackaday Prize.

Continue reading “Arduino Heart Rate Monitor Has Star Trek Chic”

Microcontroller And IMU Team Up For Simple Flight Sim Controls

Classes are over at Cornell, and that means one thing: the students in [Bruce Land]’s microcontroller design course have submitted their final projects, many of which, like this flight control system for Google Earth’s flight simulator, find their way to the Hackaday tips line.

We actually got this tip several days ago, but since it revealed to us the previously unknown fact that Google Earth has a flight simulator mode, we’ve been somewhat distracted. Normally controlled by mouse and keyboard, [Sheila Balu] decided to give the sim a full set of flight controls to make it more realistic. The controls consist of a joystick with throttle, rudder pedals, and a small control panel with random switches. The whole thing is built of cardboard to keep costs down and to make the system easy to replicate. Interestingly, the joystick does not have the usual gimbals-mounted potentiometers to detect pitch and roll; rather, an IMU mounted on the top of the stick provides data on the stick position. All the controls talk to a PIC32, which sends the inputs over a serial cable to a Python script on the PC running Google Earth; the script simulates the mouse and keyboard commands needed to fly the sim. The video below shows [Sheila] taking an F-16 out for a spin, but despite being a pilot herself since age 16, she was curiously unable to land the fighter jet safely in a suburban neighborhood.

[Bruce]’s course looks like a blast, and [Sheila] clearly enjoyed it. We’re looking forward to the project dump, which last year included this billy-goat balancing Stewart platform, and a robotic ice cream topping applicator.

Continue reading “Microcontroller And IMU Team Up For Simple Flight Sim Controls”

A Perfectly Orderly Way To Manage Your Time

[Paul Gallagher] has spent years separating his tasks into carefully measured out blocks, a method of time management known as the Pomodoro Technique. If that’s not enough proof that he’s considerably more organized and structured than the average hacker, you only need to take a look at this gorgeous Pomodoro Timer he’s entered into the Circuit Sculpture Contest. Just don’t be surprised if you suddenly feel like your own time management skills aren’t cutting it.

While [Paul] has traditionally just kept mental note of the hour-long blocks of time he breaks his work into, he thought it was about time he put together a dedicated timer to make sure he’s running on schedule. Of course he could have used a commercially available timer or an application on his phone, but he wanted to make something that was simple and didn’t cause any distractions. A timer that was easy to start, reliable, and didn’t do anything extraneous. We’re not sure if looking like the product of a more advanced civilization was part of his official list of goals, but he managed to achieve it in any event.

The timer is broken up into two principle parts: the lower section which has the controls, USB port, a handful of passive components, and an ATmega328 microcontroller, and the top section which makes up the three digit LED display. The two sections are connected by a header on the rear side which makes it easy for [Paul] to take the timer apart if he needs to get back into it for any reason. Notably absent in the design is a RTC; the relatively short duration of the timer (up to a maximum of 95 minutes) means the ATmega328 can be trusted to keep track of the elapsed time itself with an acceptable amount of drift.

The display side of the timer is really a sight to behold, with the legs of each LED soldered to a pair of carefully bent copper wires so they match the angle of the front panel. The associated resistors have been artfully snipped so that their bodies sit flat on the PCB while their leads reach out to the perfect length. It looks like a maintenance nightmare in there, but we love it anyway.

As we near the half-way mark of the Circuit Sculpture Contest, there’s still plenty of time to submit your own piece of functional art. If you’ve got a project that eschews the printed circuit board for a chance to bare it all, write it up on Hackaday.io and be sure to send it in before the January 8th, 2019 deadline.

Continue reading “A Perfectly Orderly Way To Manage Your Time”

Epoxy Too Thin? Use Wood Flour As A Thixotropic Filler

The world of glues is wide and varied, and it pays to use the right glue for the job. When [Eric] needed to stick a wide and flat 3D printed mount onto the back of a PCB that had been weatherproofed with an uneven epoxy coating, he needed a gap-filling adhesive that would bond to both surfaces. It seemed like a job for the hot glue gun, but the surface was a bit larger than [Eric] was comfortable using with hot glue for. The larger the surface to be glued, the harder it is to do the whole thing before hot glue cools too much to bond properly.

What [Eric] really wanted to use was a high quality two-part epoxy that he already had on hand, but the stuff was too runny to work properly for this application. His solution was to thicken it with a thixotropic filler, which yields a mixture that is akin to peanut butter: sticky, easily spread to where it’s needed, but otherwise stays in place without dripping or sagging and doesn’t affect bonding.

3D printed pad stuck to back of PCB with thickened epoxy.

Common thixotropic fillers include ground silica or plastic fibers, but [Eric]’s choice was wood flour. Wood flour is really just very fine sawdust, and easily obtained from the bag on his orbital sander. Simply mix up a batch of thin two-part epoxy and stir in some wood flour until the sticky mixture holds its shape. Apply as needed, and allow it to cure.

Thanks to this, [Eric] was able to securely glue a 3D printed pad to the back of his animated LED snowflakes to help mount them in tricky spots. Whether for small projects or huge installations, LEDs, PCBs, and snowflakes are a good combination.