ICEBlaster: A Drag’n’Drop Bitstream Loader For ICE40

The iCE40 series of FPGAs gets a fair bit of coverage on these pages, largely due to its accessibility (thanks to huge efforts in reverse engineering and open tool chains) and likely also due to Lattice Semiconductors’ attitude to open source in general. Whilst these devices are small and rather limited, you can’t really beat them for a first foray into the subject. They’re plenty beefy enough for many of the simpler FPGA applications. [TinLethax] over on Hackaday.IO has plenty of experience with the devices, and has added another tool to our collective iCE40 arsenal, namely iCEBlaster, a USB mass storage device (MSC) style bootloader for drag-n-drop bitstream loading. The days of needing dedicated special programmers are starting to be numbered, with many chips now presenting a USB mass storage device to the host in order to upload the firmware image.

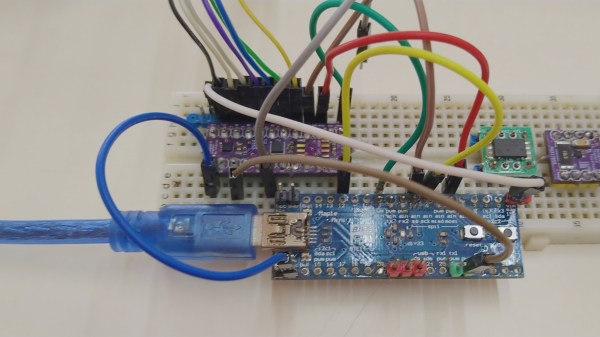
FPGAs don’t tend to operate this way, needing a device-specific bitstream loading upon start-up, which (unless they have OTP memory) is usually the job of an external configuration memory. iCEBlaster (a play on the Xilinx ByteBlaster programmer, maybe?) runs on the STM32F4xx series devices at least, but should be easily portable to others. The idea is pretty straightforward — dragging a new bitstream file onto the storage device initiates an FPGA target reset, which in turn allows the STM32 to send the bitstream over to the iCE40 via the SPI interface. Nothing more than that.

If you’ve been looking to get into the iCE40, this guide might be a good starting point, and every learning experience needs a good project to drive it, how about running Doom on a softcore RISC-V?

RetroArch Open Hardware Aims For Plug-and-Play

At its core, the RetroArch project exists to make it easier to play classic games on more modern hardware. The streamlined front-end with its tailored collection of emulators helps take the confusion out of getting your favorite game from decades past running on whatever gadget you please, from your smartphone to the venerable Raspberry Pi. But there’s always room for improvement.

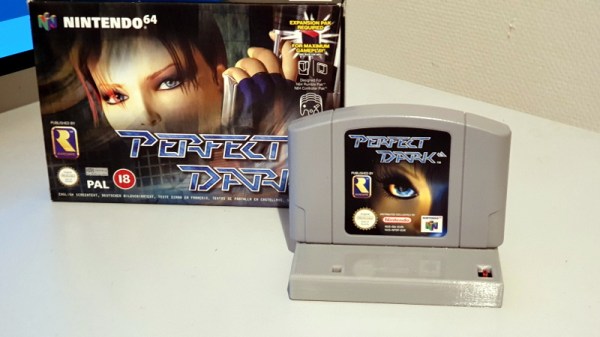
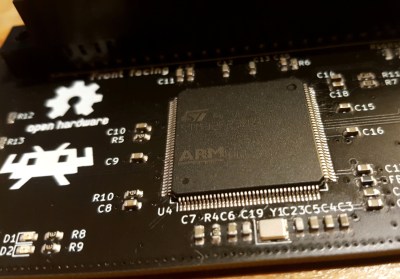
In a recent blog post, the folks behind RetroArch took the wraps off of an exciting hardware project that’s been in the works for about a year now. Referred to simply as “RetroArch Open Hardware”, the goal is to develop a fully open source cartridge adapter that will integrate seamlessly with the RetroArch software. Just plug in your original cartridge, and the game fires right up like back in the good old days.

Now to be clear, this isn’t exactly a new idea. But the team at RetroArch explain that previous devices that blurred the line between hardware and emulation have been expensive, hard to find, and worst of all, proprietary. By creating an open hardware project, they hope to truly unleash this capability on the community. Instead of having to deal with one vendor, multiple companies will be free to spin up their own clones and potentially even improve the core design. Should none of the ones on the market fit your particular needs, you’d even be free to build your own version,

What’s more, the gadget will also make it easier to create your own ROMs from cartridges you own. By appearing to the operating system as a USB Mass Storage device, users can literally drag and drop a game ROM to their computer’s desktop. No arcane software fired off from the command line; as much as we might enjoy such things, it’s not exactly intuitive for the gaming community at large. The same technique will also allow users to backup their saved progress before it’s inevitably lost to the ravages of time. The device demonstrated by the team currently only works on Nintendo 64 games, but presumably compatibility with be expanded to other cartridges in the future.

Over the years, we’ve seen a number of hombrew devices designed to read and copy game cartridges. We’ve even seen some rather polished examples that were released as open hardware. But those devices never had the public backing of such a well known group in the emulation scene, and we’re excited to see what kind of development and adoption can be spurred on by this level of legitimacy.

[Thanks to Nick for the tip.]

Open Source SNES To USB Converter Lets You Emulate Legally

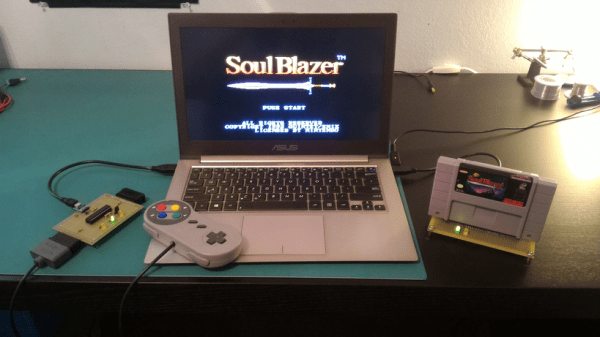
[Andrew Milkovich] was inspired build his own Super Nintendo cartridge reader based on a device we covered an eternity (in internet years) ago. The device mounts a real cartridge as a USB mass storage device, allowing you to play your games using an emulator directly from the cart.

This uses a Teensy++ 2.0  at its core. [Andrew] had to desolder the EEPROM pins from the SNES cartridge and reverse engineer the pinouts himself, but the end result was a device that could successfully read the cartridge without erasing it, no small accomplishment. The finished cartridge reader is build on some protoboard and we’d like to complement [Andrew] on his jumper routing on the underside of that board.

Of course, the experience of any console is just not the same without the original controller. So [Andrew] went a step further and made his own SNES controller to USB converter. This had the venerable Atmel ATmega328 at its core, and can be used separate from the cartridge reader if desired.

Raspberry Pi 3 Gets USB, Ethernet Boot

The Raspberry Pi is a great computer, even if it doesn’t have SATA. For those of us who have lost a few SD cards to the inevitable corruption that comes from not shutting a Pi down properly, here’s something for you: USB Mass Storage Booting for the Raspberry Pi 3.

For the Raspberry Pi 1, 2, Compute Module, and Zero, there are two boot modes – SD boot, and USB Device boot, with USB Device boot only found on the Compute Module. [Gordon] over at the Raspberry Pi foundation spent a lot of time working on the Broadcom 2837 used in the Raspberry Pi 3, and found enough space in 32 kB to include SD boot, eMMC boot, SPI boot, NAND flash, FAT filesystem, GUID and MBR partitions, USB device, USB host, Ethernet device, and mass storage device support. You can now boot the Raspberry Pi 3 from just about anything.

The documentation for these new boot modes goes over the process of how to put an image on a USB thumb drive. It’s not too terribly different from the process of putting an image on an SD card, and the process will be streamlined somewhat in the next release of rpi-update. Some USB thumb drives do not work, but as long as you stick with a Sandisk or Samsung, you should be okay.

More interesting than USB booting is the ability for the Pi 3 to boot over the network. Booting over a network is nothing new – the Apple II could do it uphill both ways in the snow, but the most common use for the Pi is a dumb media player that connects to all your movies on network storage. With network booting, you can easily throw a Pi on a second TV and play all that media in a second room. Check out the network booting tutorial here.