Everything You’ll Find At The SuperConference

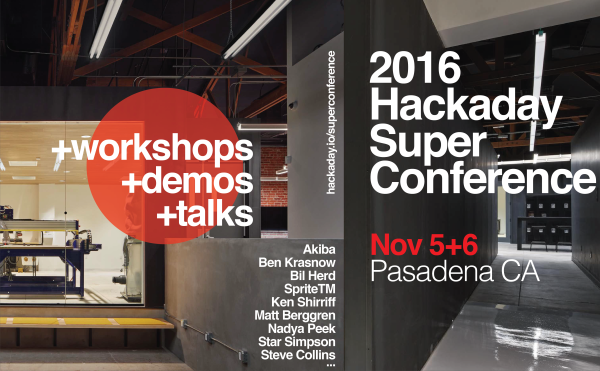
The 2016 Hackaday SuperConference is the ultimate hardware con. It will take place on November 5+6, 2016 in Pasadena, California. SuperCon is about hardware creation — everything at this conference is geared toward sharing the knowledge, excitement, experience, and motivations that go into building cutting edge electronics.

We offer you 48 hours packed with 21 talks, 5 workshops, lightning talks, 4 meals, the Hackaday Prize party, a hardware badge hacking competition, a crypto challenge, and a most excellent village of hackers to enjoy it with. For one weekend Pasadena will be the hardware center of the universe. Get your ticket to the Hackaday SuperConference now.

Want to know more? The full list of talks, works, and details about everything else is found below. We do anticipate adding to this massive list of talks and workshops as we receive final confirmation from the presenters not yet listed.

Continue reading “Everything You’ll Find At The SuperConference”

The Fastest Rise Time In The West: Making A Truly Quick Pulse Edge

When we are taught about oscillators as newbie engineers, we are shown a variety of waveforms on an oscilloscope or in a textbook. This is a sine wave, they say, this is a sawtooth, this is a square wave, and so on. We’re taught to look at the lines on the screen as idealised, a square wave is truly square, and the transition from low to high voltage and back again is instantaneous.

In most cases this assumption is harmless. If we look into the subject a little deeper we learn that what seemed an instantaneous cliff-face is in fact a very steep slope, but when a circuit does its business in milliseconds there is usually no harm in ignoring a transition time measured in nanoseconds. The glue logic for your Arduino project can take its time.

Sometimes though, the rise time of a logic transition is important. The application that prompted this article was the measurement of oscilloscope bandwidth by looking at how quickly the ‘scope catches up with a pulse that exceeds its bandwidth, for example. When the instrument can happily measure the transition times of all your usual  pulse generators, something out of the ordinary is called for. So it’s worth taking a look at the rise times you’d expect from everyday circuitry, examining a few techniques for generating rise times that are much faster.
Continue reading “The Fastest Rise Time In The West: Making A Truly Quick Pulse Edge”

Maker Faire Multicolor And Multi Material 3D Printing

The next frontier of desktop 3D printing is multi-material and multi-color prints. Right now, you can buy a dual toolhead for a Lulzbot, and dual toolheads from other companies exist, although they are a bit rare. In the next few years, we’re going to see a lot of printers able to print dissolvable supports and full-color 3D printers.

Printing in more than one color is almost here, but that doesn’t mean we’re on the cusp of a complete revolution. Multi-material printing is lagging a little bit behind; you’ll be able to print two colors of PLA next year, but printing an object in PLA and ABS is going to be a bit tricky. Printing something in PLA and nylon will be very hard. Color mixing, likewise, will be tricky. We can do it, the tools are getting there, but think of this year as a preview of what we’ll be doing in five years.

Continue reading “Maker Faire Multicolor And Multi Material 3D Printing”

Scanning Parts Into KiCad

You do not know how to make a PCB unless you can make your own parts. [Jan] knows this, but like everyone else he checked out the usual online sources for a footprint for an SD card socket before making his own. It turns out, this SD card socket bought from an online marketplace was completely undocumented. Not only was an Eagle or KiCad footprint unavailable, but CAD files showing the dimensions of the part were non-existent. A solution had to be devised.

Instead of taking calipers and finely measuring all the pads on this SD card socket – a process that would surely fail – [Jan] decided to use a flatbed scanner to trace out the part. The part was placed on the glass and scanned at 300 dpi with a convenient reference object (a public transport card) in the same picture. This picture was imported into a CAD package, scaled to the correct ratio, and exported as a DXF. Since KiCad readily accepts importing DXFs, the CAD file was easily accessed, traced over, and a new part created.

From start to finish, making the footprint for this no-name, off-brand SD card socket took fifteen minutes. That’s nothing compared to the time it would take to manually measure each of the pads, draw a footprint, and print out the footprint at 1:1 scale to see if it matched up several times. It’s awesome work, and a great reminder that the best tools are usually right in front of you.