Non-standard circuit boards

Non-standard Circuits: Jazz For Electrons

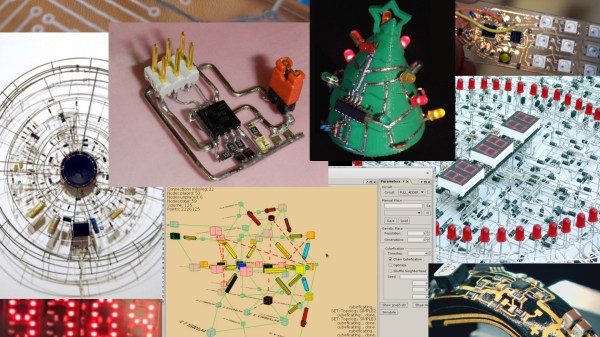
How creative are you when you make your circuit boards? Do you hunt around for different materials to use for the board? As long as it’s an insulator and can handle the heat of a soldering iron, then anything’s fair game. Or do you use a board at all? Let’s explore some options, both old favorites and some you may not have seen before, and see if we can get our creative juices flowing.

Transparent Circuit Boards

Let’s start with the desire to show more circuit and less board. For that we can start with [CNLohr]’s circuits on glass, usually microscope slides. What’s especially nice about his is that he provides detailed videos of the whole process, including all the failed things he tried along the way. Since he didn’t start with copper clad board, he instead glued his copper sheet to the glass using Loctite 3301. That was followed by the usual etching process, though with plenty of gotchas along the way.

In the end, he made a number of circuits, including an LED clock with the LEDs on the glass itself, and even attempted leading the community in making a glass keytar. The latter didn’t work out, but the resulting glass circuits are a work of art anyway.

What about making a transparent circuit board out of acrylic? [Frank Zhao] attempted just that by laser cutting troughs into the acrylic for the traces, and then drawing in nickel ink. But something in the ink ate into the acrylic, and as if that wasn’t bad enough, the voltage drop across the nickel was too high for his circuit. Suggestions were made in the comments for how to solve these problems, but unless we missed it, we haven’t seen another attempt yet.

But we’ve only just begun. What if you wanted even more transparency?

Continue reading “Non-standard Circuits: Jazz For Electrons”

Teenage Engineering The Raspberry Pi

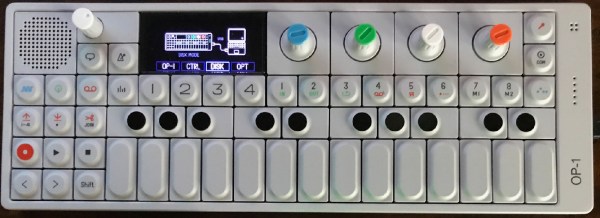
The Teenage Engineering OP-1 is a tiny, portable synthesizer loaded up with 4-track recording, a sampler, sequencers, and a quite good synthesis engine. It also fits in your pocket and looks like a calculator built in West Germany. As you would expect with a synth/sampler/sequencer, you can save sounds, tracks, and other creations to a computer. [Doug] thought if you can connect it to a laptop, you can also connect it to a Raspberry Pi. He created an all-in-one storage solution for the OP-1 using only a Pi and a small character LCD.

The process of connecting the Pi to the OP-1 is pretty simple. First, plug a USB cable into the OP-1 and the Pi. Then, place the OP-1 into Disk Mode, the synth’s method of transferring files between itself and a computer. The Pi then synchronizes, changes the color of its character display from red to green, and becomes a web server available over WiFi where all the files can be accessed.

This is the bare minimum tech required to get files into and off of the OP-1. All you need is a bit of power and a USB connection, and all the files on the OP-1 can be backed up, transferred, or replaced without any other futzing around. It’s perfect for the minimalist OP-1, and a great example of how handy a WiFi enabled Pi can be.

Thanks [Pator] for sending this one in.

Coin-Sized LED Control

EE and firmware developer [Enrico] had played with LEDs as a kid, burning out his fair share of them by applying too much current. With the benefit of his firmware chops, he set about creating a board that drives LEDs properly.

[Enrico]’s project centers around a Texas Instruments LM3405 buck controller. It accepts input voltage from anywhere from 3V to 20V and outputs up to 20V/15W to one or more LEDs. He built a ton of safety features into it like short-circuit and open-circuit immunity, temperature control, and auto-off switching when idle. He also created a LED board to test the maximum efficiency of the driver. It consists of four Luxeon Rebel ES diodes, one each RGB and W. The entire back of the LED board is copper, with a monster heat sink attached.

You can follow along with the Glighter-S project on Hackaday.io, or you can buy one of his boards from his Tindie store.

We’ve covered LED drivers extensively in the past, with posts on a simple 10-watt LED driver and how to design your own LED driver.