There’s an old saying, that in theory there’s no difference between theory and practice, but in practice there is. That sentiment could easily be applied to refitting a 3D printer to hold a laser. There shouldn’t be much to it, rig up a laser module to turn on under computer control, mount it to your hot end carriage and off you go. In practice, though there are other considerations to account for. If you have a Monoprice Mini Select, you can start with instructions from [drodrii] for adding a laser to your printer.
Although [drodrii] mentions that you need a second 3D printer to make a bracket for the laser, we think you should be able to print it on the Mini as long as you do it before the first step of removing the hot end. However, since your laser module might not exactly match the one used in this project, you’d have to get it right the first time if you don’t have another 3D printer. Of course, you could remove the laser gear, remount the hot end, print a new bracket and start over, but that’d be a drag.
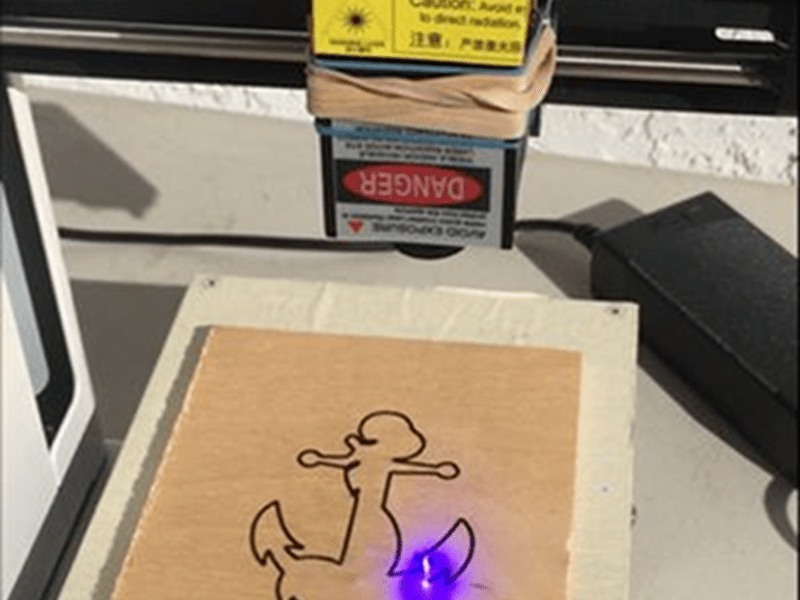
The laser module used is a 2.5W unit, although you could probably use larger or smaller ones if you were sure the fan output could drive the unit’s power requirements. About half of the instructions are about the software to drive the device and the laser beam focus set up.
You’ll want to wear the appropriate protective goggles should you make this modification. Since laser engraving creates fumes, you also probably ought to operate the device in a very well-ventilated area. You can see a short video showing the machine in action.
We’ve been big fans of the Mini Select as a solid entry-level printer. We’d love to do this hack and try some PCBs with the Mini.


I’d say the design of the Mini makes it a rather dangerous laser platform since it’s completely open, but then so is every one of these cheap Chinese diode laser cutters/engravers so suppose it’s the norm anymore. Ah well, let’s at least hope people are spending more than $5 on their laser goggles.
For my money I’d like to take an enclosed printer (maybe something to do with all the Makerbots nobody wants) and convert it to laser.
+1
The Malyan M100 / Fabrikator Mini 2 / TinyBoy clone would be a good base as it’s enclosed and you can open the top. You would have to be careful about reflections as it’s made of metal.
Just because it is common, doesn’t always mean it is wise or fully considers externalities, like, well, the operator in this case. It is cheaper to produce though but it’s also cheaper to build a car without seat belts..
Leaded gasoline? CFCs? Lead pipes? Slavery? Combustion based transportation and fuel burning?
At least you can cover this yourself. There are compelling reasons why we class lasers.
You can just wear a laser helmet. Or mod your walking helmet or sleeping helmet.
don’t look at the beam with your REMAINING eye.
Here, build yourself a good laser module for this. It can actually cut stuff. Link to schematics and parts list in the description. https://www.youtube.com/watch?v=6kqju_HfrNM
3d printers have small X,Y areas and huge Z-axis compared to a good laser engraver. Given how easy it is these days to build cartesian bots these days with open source designs and software saturating the net and super inexpensive steppers, RAMPS boards, rods (threaded and smooth), bearings and GT2 belt/pulley sets, etc being sold everywhere I just don’t get it. Why do so many people like to swap hotends for lasers?
Why not just purpose build a short, wide and long cartesian bot and mount the diode to that? If the plan is to permanently convert the printer then you can even take the motors, electronics and power supply from it. All you need to do is build the frame and maybe buy some longer belts and rods.
Is a frame expensive? Yes, if you require precision extrusion. For a level of ‘hack’ that is still better than a converted 3d printer some plywood rescued from the dumpster of a construction site ought to do the trick just as well!
And.. when you build that plywood box to hold it all… give it a lid! Life is better with unlased retinas!
If you don’t need the extra area to do the engraving you plan on doing, why build another CNC? That still is a lot of effort if it’s not needed. Even if you built a crummy salvaged-plywood-frame bot, you still have lots of bearings and motors and hardware to buy. If I ever have to engrave something smaller than 10″x10″, I’m going to be very tempted to just swap out my printer head. This seems like a very practical solution to me.
And all you guys ranting about safety and enclosures. Just wear laser goggles, your eyes will be fine. It seems a lot more sensible and efficient to enclose your eyeballs instead of the whole CNC machine. Welding is so much more dangerous than this it’s ridiculous, yet people manage the risks without whining about it all day.
I may be being simple here and I have not gotten up to look at my prusa i3 clone, but off the top of my head, what would stop you from holding the laser onto the one side of the extruder motor with a couple tie wraps, and powering it from the z axis motor’s power. You would have to put a switch on the z axis motor so you could crank it down in manual mode to proper height for the laser, than switch it over for powering the laser. The origin would not be in the same place as it is for the extruder but I son’t see that as a big issue, and the cutting area would be a a bit smaller, but again, I don’t see that as a big issue. I see the big issue as getting the z axis to run the laser, but that should be close as the laser is being on is the z axis gong “down” so it does not seem like too much of an extrapolation.
That’s basically what i recommend people do with the l-cheapo except you power it with the extruder heater wires. :)
people do that and just check thingiverse and you’ll find some printable mounts that dont require removing the extruder. lower power lasers can run off the cooling fan bigger lasers I’ve seen powered by a separate supply and controlled by the fan controller. Running a bigger one from the heater wires sounds interesting and I’ll have to look at it