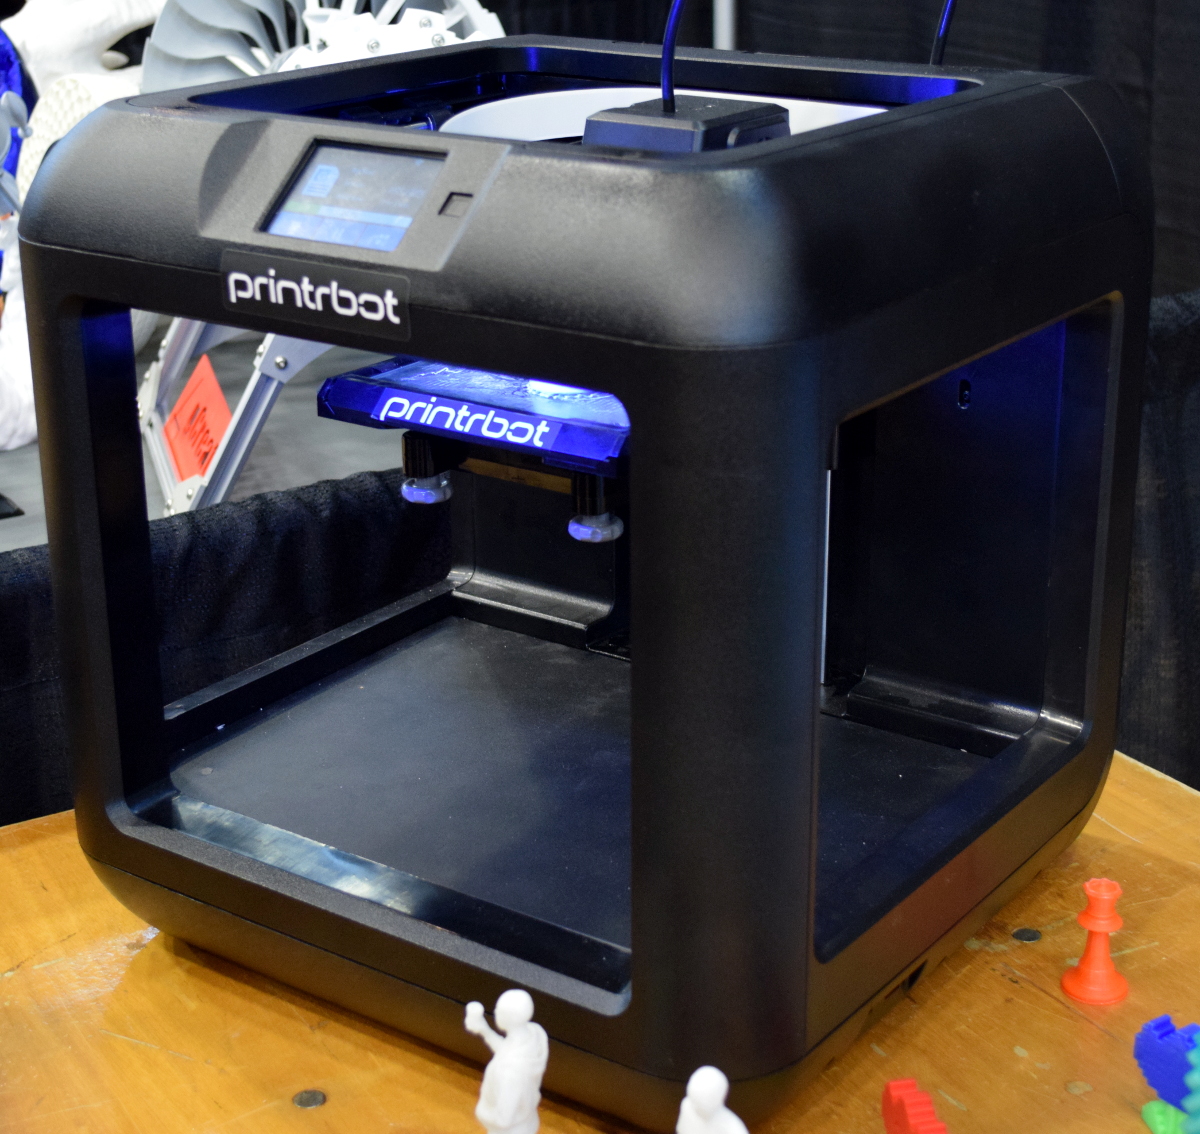
If you follow the desktop 3D printer market, it probably won’t surprise you to hear that nearly every 3D printer on display at the inaugural East Coast RepRap Festival (ERRF) was made in China. Even Printrbot CEO Brook Drumm had to admit that this was the year his company may finally bite the bullet and begin selling a branded and customized printer built overseas.
 When you can get a decent (but let’s be clear, not great) 3D printer for $200 USD, it’s no surprise that American and European manufacturers are having a hard time staying competitive. But not everyone is seduced by low-cost printers. They know they could buy a decent printer for a couple hundred bucks, but for them that’s not the point. Some hackers are just as (if not more) interested in designing and building the machines than they are churning out little plastic boats with the finished product.
Luckily for us, these are also the type of folks who document their builds and make all their collected information and design files available for others under an open source license. Such builders exemplify the true spirit of the RepRap movement, and we’re happy to report that in a sea of imported printers, there were several interesting home built open source printers.
Whether you want to build your own copy of one of these machines, or simply get inspired by some of the ideas their creators had, these machines are physical proof that just because you can order a cheap 3D printer on eBay right now doesn’t mean you have to.
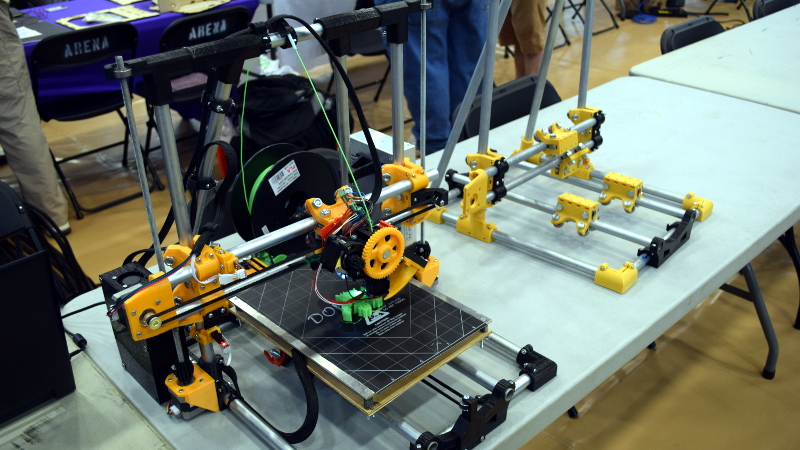
Piper 1
 Designed by Alex Balako, the Piper 1 is a fantastic example of a self-replicating printer. This Prusa i3 style design uses standard 1/2 inch EMT electrical conduit for all structural components, with printed parts to hold everything together.
The advantage of using EMT conduit over something like aluminum extrusion is easy to see: conduit is ridiculously cheap, easy to work with, and available in any big box hardware store. For approximately $6 USD, Home Depot will sell you enough 1/2 EMT to build the 200x300x200mm variant of the Piper printer with plenty to spare.
It also makes the Piper extremely easy to expand to arbitrary dimensions. Cut some longer EMT lengths, get new GT2 belts, and you’re in business. Alex has plans available for a 500mmᶟ variant, but the limits on scaling the Piper are more logistical (I.E. where are you going to put the thing) than mechanical.
If the construction looks familiar to Hackaday readers, it’s probably because the Piper was inspired by the fantastic Mostly Printed CNC (MPCNC) project. Just like the MPCNC, the Piper uses sets of 608 skate bearings in a “Y” configuration to ride on the EMT rather than the linear bearings you would expect on a more traditional 3D printer.
That said, the design isn’t without problems. Alex has found that some of the structural pieces were failing on the original version of the printer because of the orientation they were being printed at. The pieces would simply peel apart on the layer lines, necessitating a redesign for the new version. The ability to quickly and easily iterate the design like this is a hallmark of the RepRap ideology.


Rigid, light, and eminently hackable, the Piper is definitely a design to keep an eye on if you want to build a big printer or perhaps even a laser cutter. Light CNC work wouldn’t even be out of the question.
Woodstock Delta
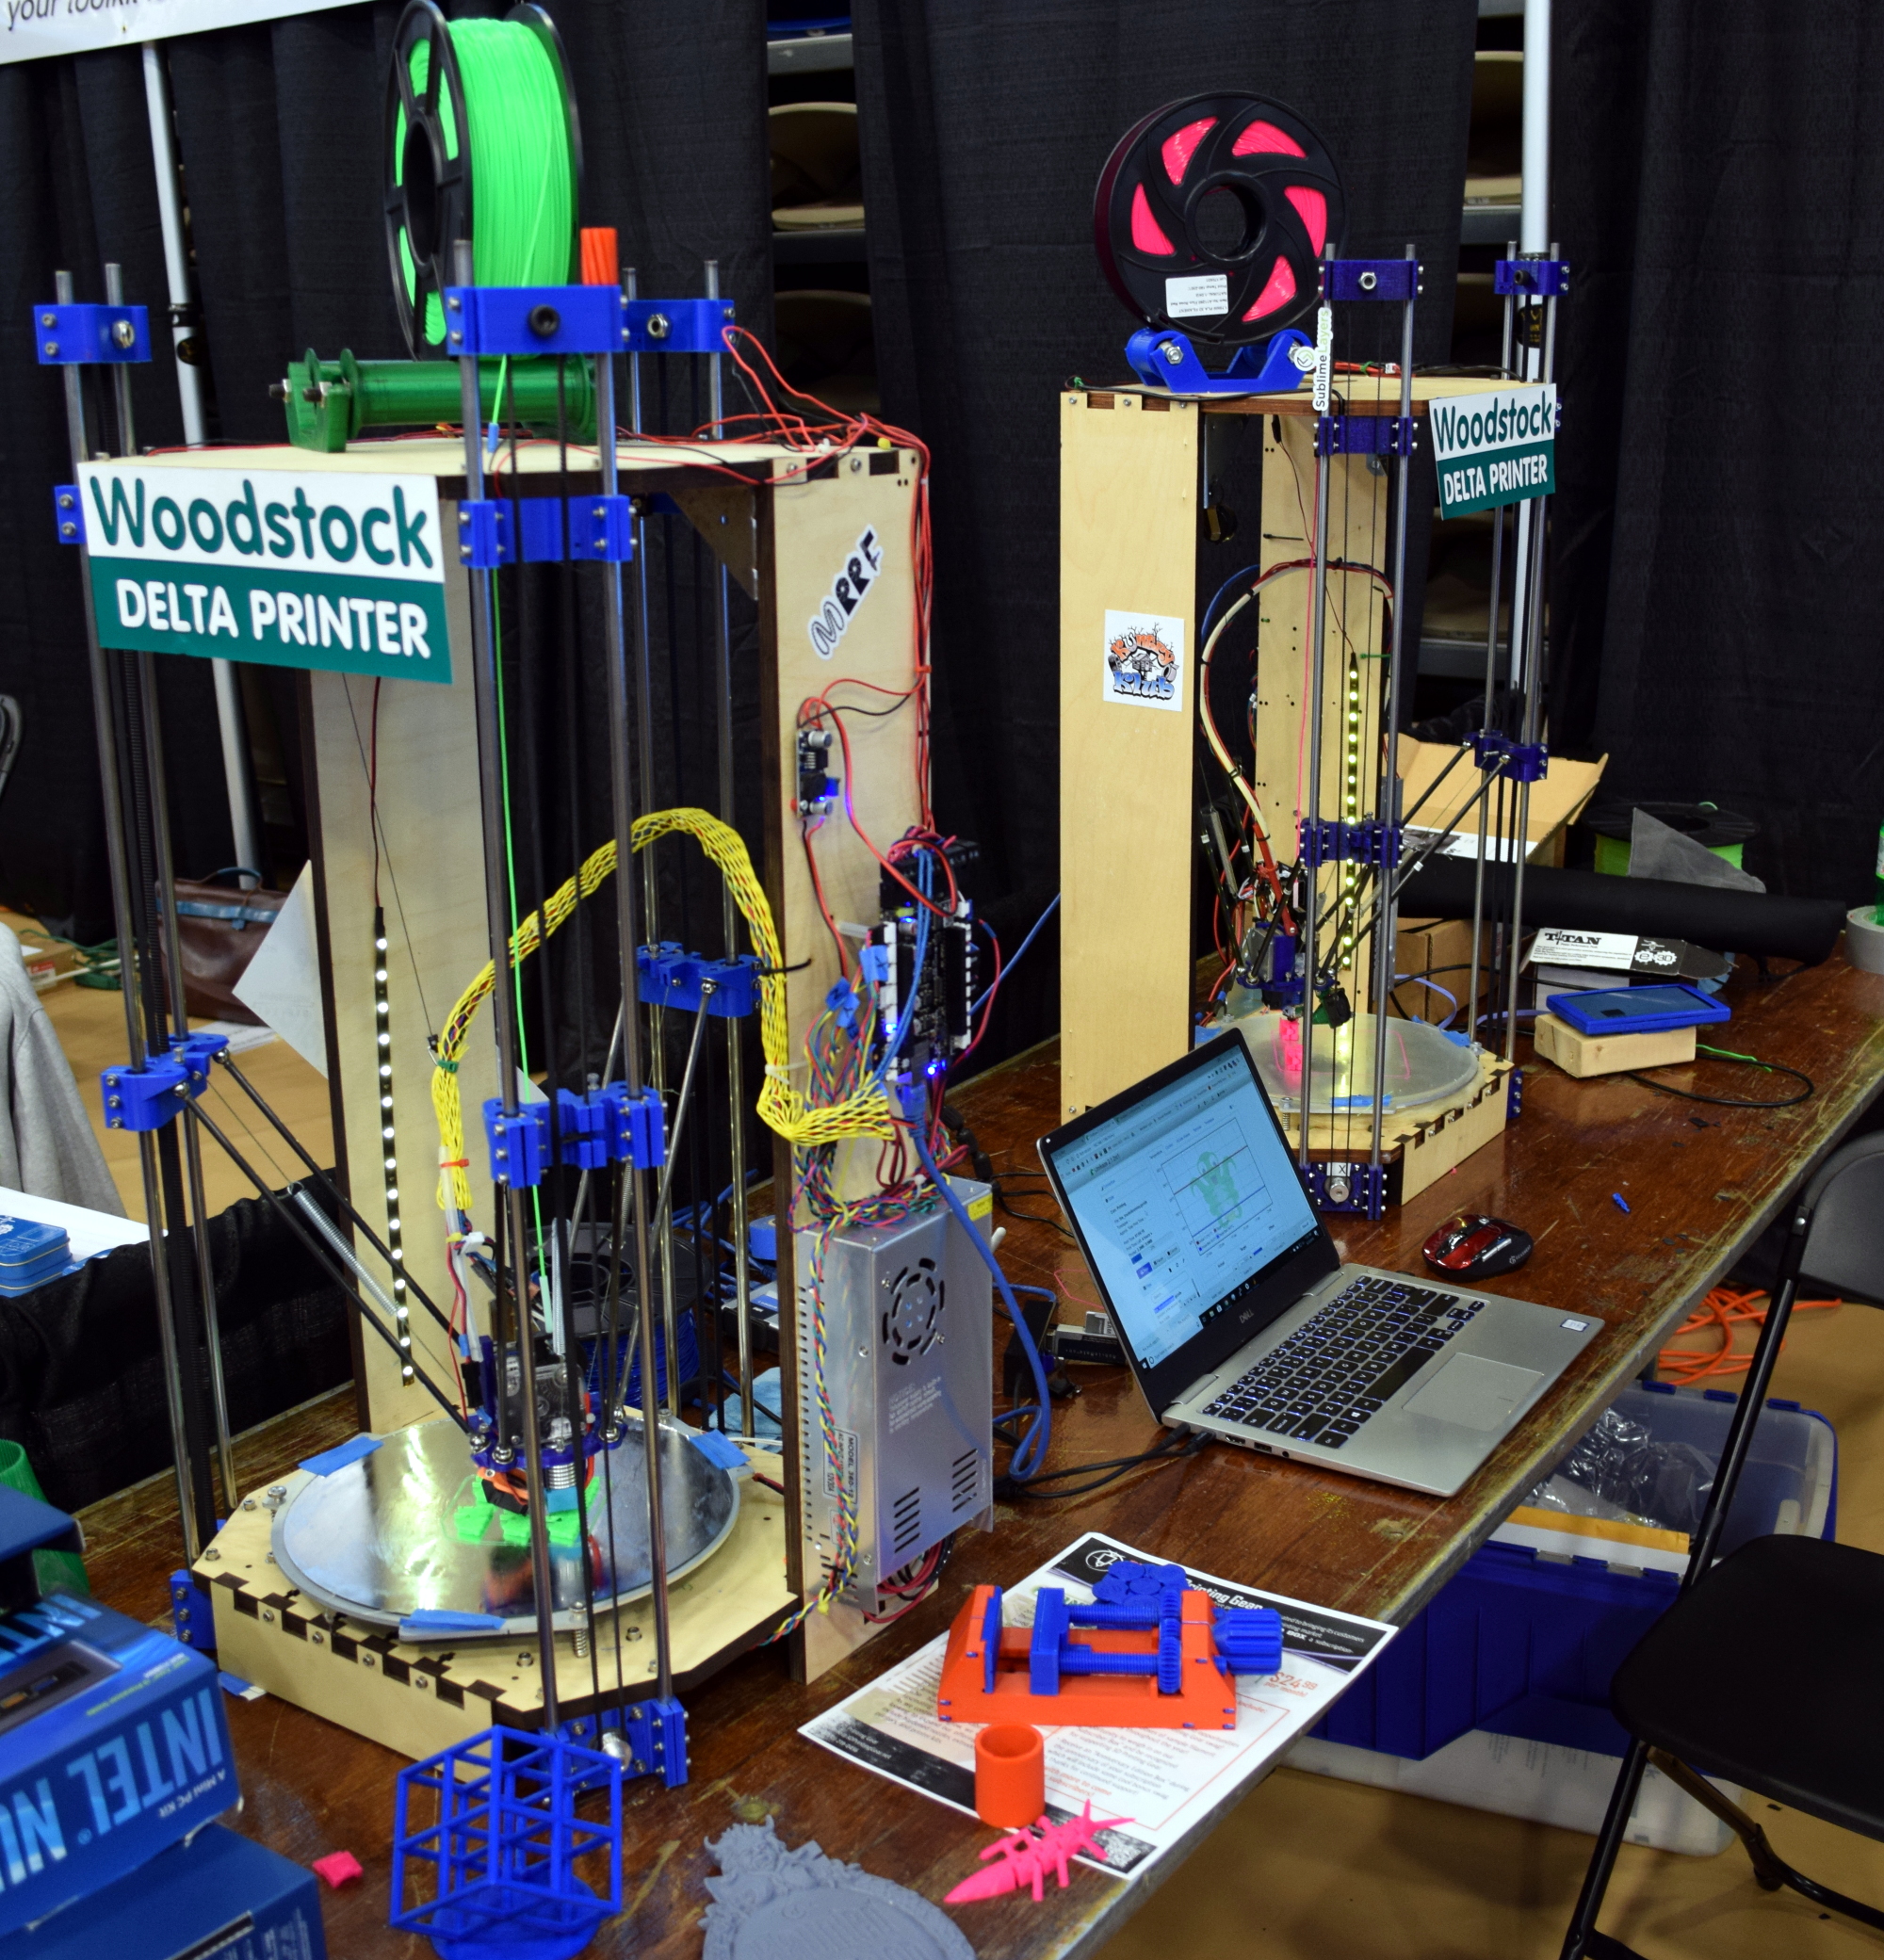 Truly a testament to the power of open source, the Woodstock by John Pickens is largely based on the Rostock design, but incorporates a multitude of improvements and changes he either designed himself or found online. He provides links to each design he’s incorporated into the Woodstock, along with a brief description of what modifications he made to it in order to get it to play nice with all the other tweaks and mods. It’s hard enough to get somebody to properly comment their changes in a software project, hat’s off to John for properly documenting everything.
The most obvious changes are the laser-cut plywood frame of the machine, as well as the extended vertical rods. John says cutting the frame on a laser makes for a more precise and rigid printer, but let’s be honest, it also just looks a lot cooler. The extended rods, in addition to some newly designed boxed idler pulleys, allow for easier adjustment of belt tension by simply sliding the whole assembly higher up the rods.
The Woodstock also features a modified end effector that can accept E3D’s direct drive Titan extruder, rather than the Bowden setup used on the Rostock. As you might expect a number of other components were beefed up to support throwing around this added weight, and judging by the printed pieces on display, it looks like John got everything balanced out pretty well. Some RepRap purists might protest at the laser cut panels, but overall, the Woodstock looks like a very promising option if you need a DIY delta printer in your life.
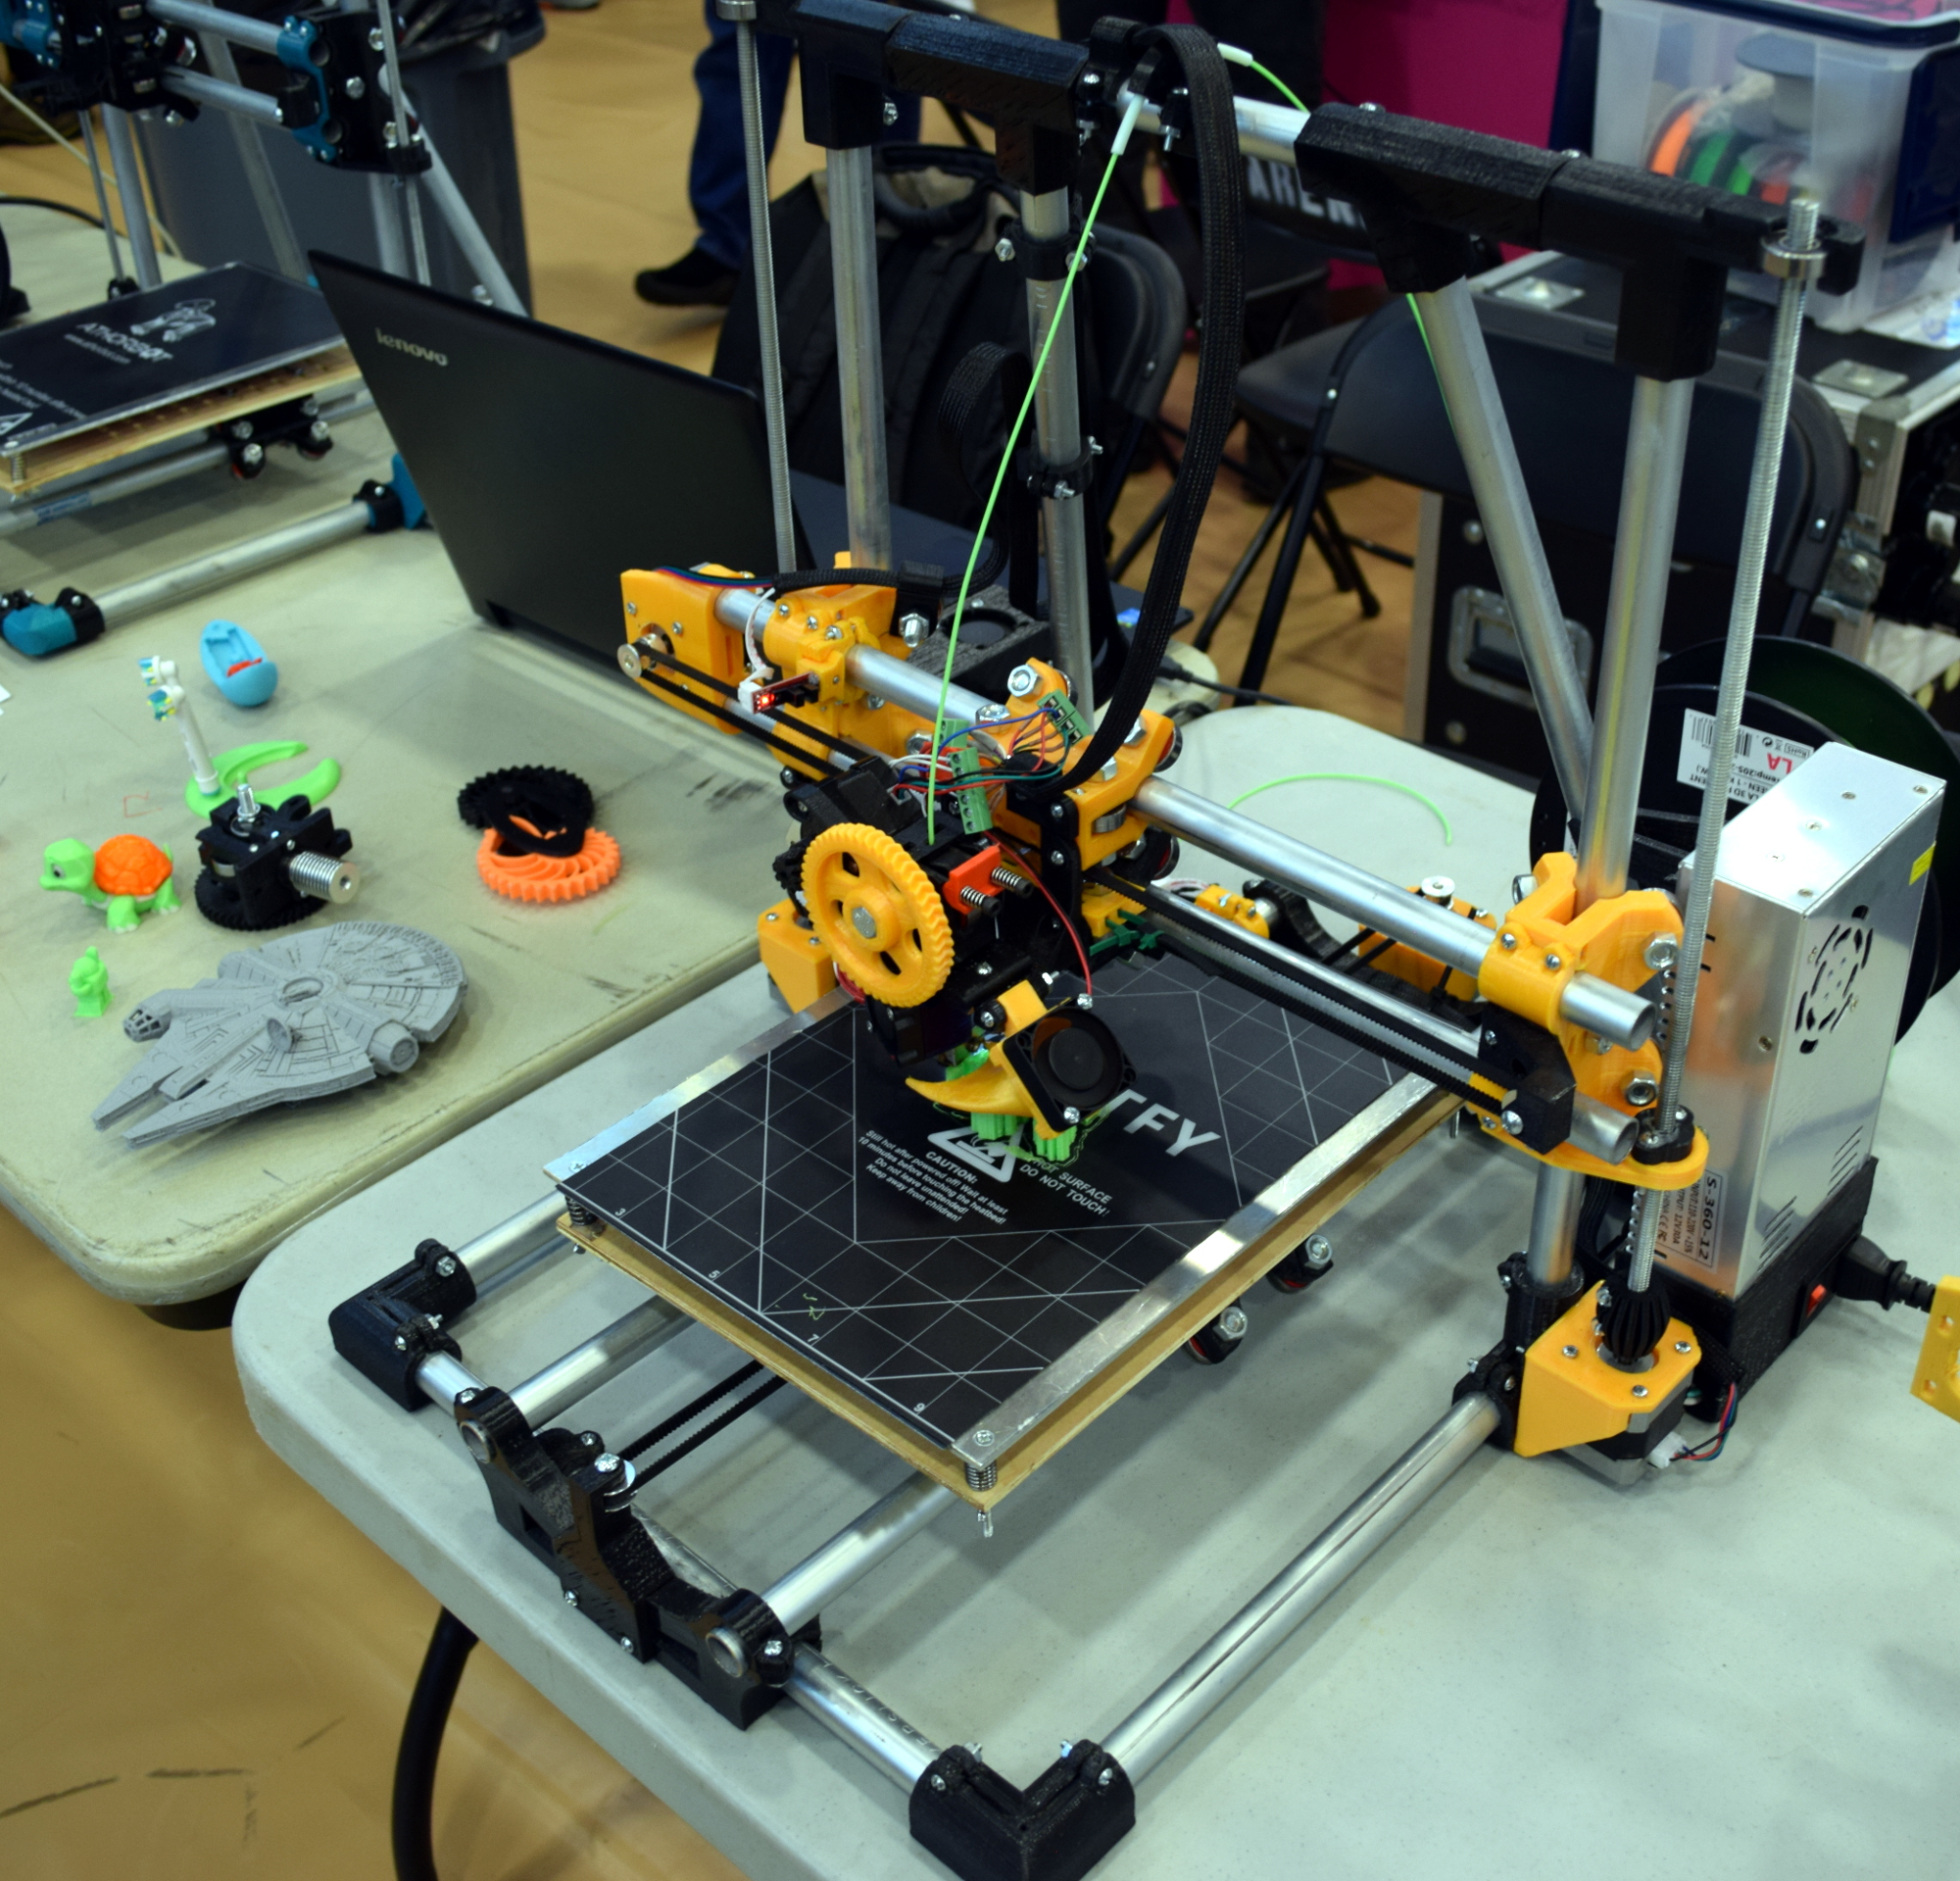
Transportable 3D Printer
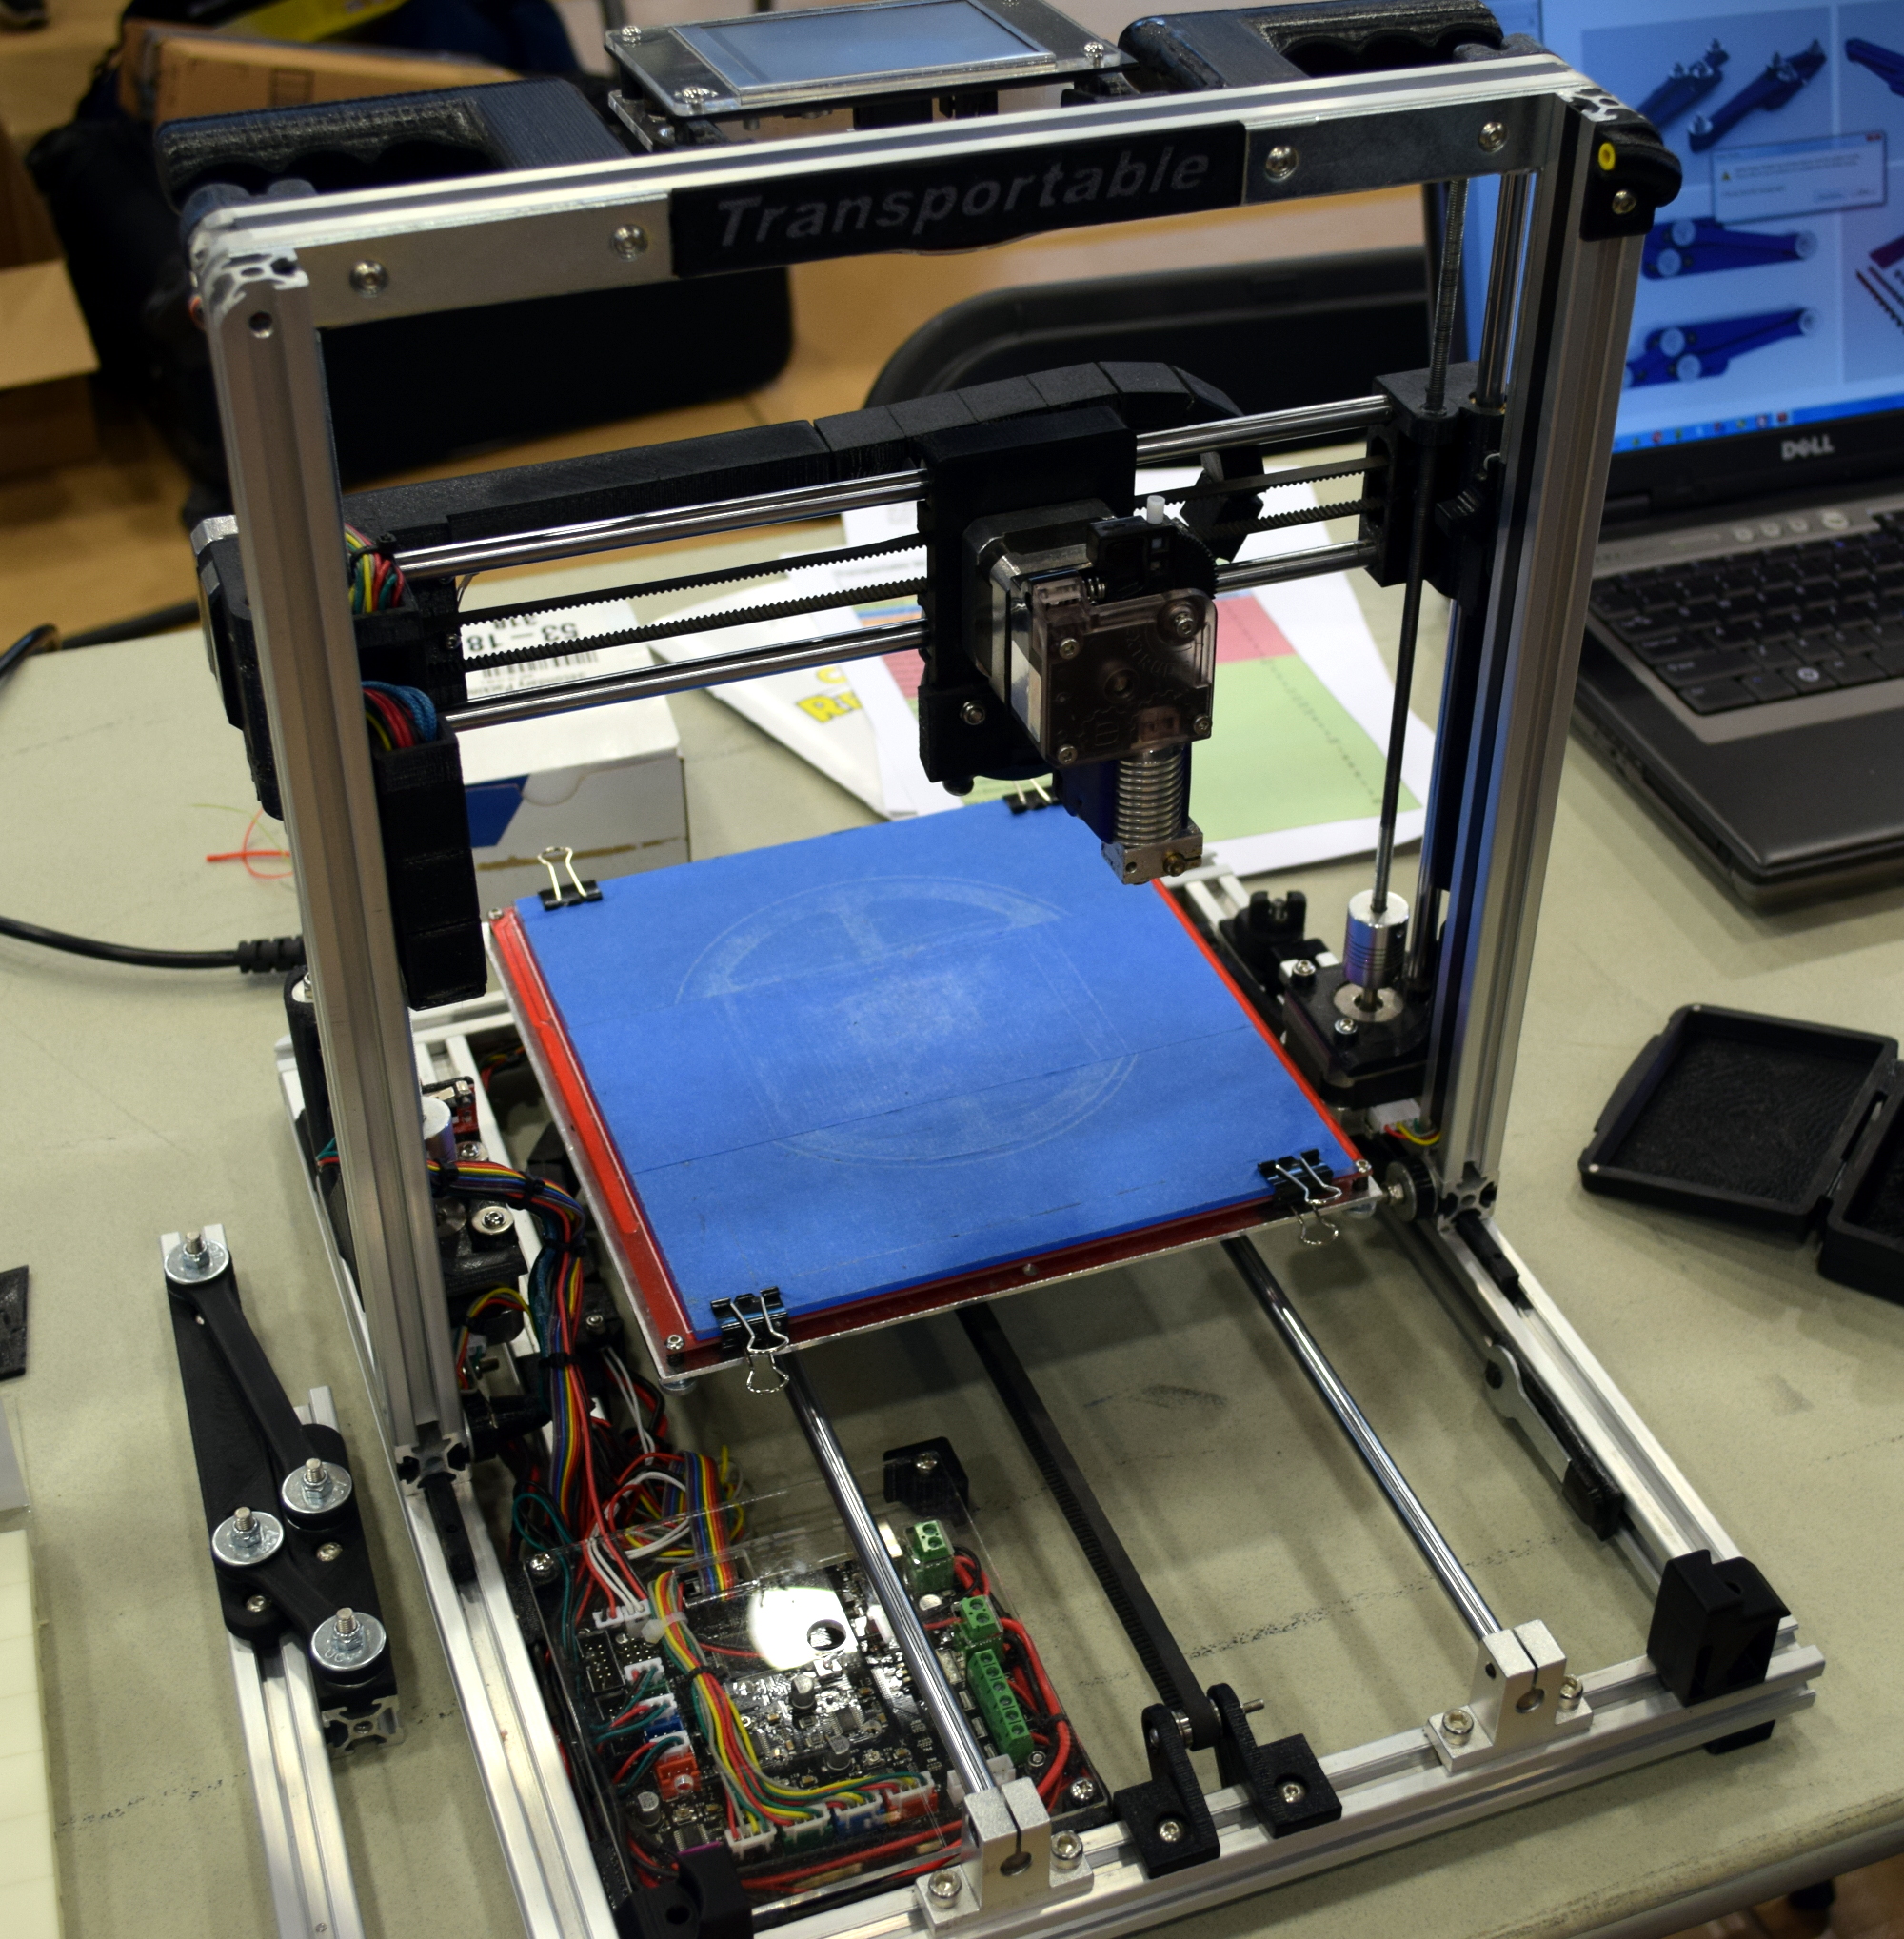 Admittedly not everyone needs a 3D printer that can fold up into a carrying case, but we’re willing to bet that anyone who sees this fantastic feat of engineering by John Diamond will want one. The “Bergen Makerspace Transportable 3D Printer” as it’s called looks like a normal enough i3-style machine when unfolded and in operation; so normal in fact you probably wouldn’t give it a second glance. But with the turn of a few thumb screws, this machine can be folded down and packed up for transport, literally in seconds.
There isn’t one single design element that allows for this rapid transformation. Multiple details on the Bergen Makerspace printer work together, starting with an option on the machine’s touch screen control panel named “Pack Up”. That commands the printer to move the extruder into a specific location so that when the vertical section of the printer is folded forward it won’t collide with anything.
John is particularly proud of the hinge design, which moves the top section of the printer rearward as the user folds it down towards the front. This allows the top and bottom parts of the printer to fit within the same footprint without sacrificing Z height. With the top folded down and locked to the bottom, integrated handles allow the machine to be picked up and placed into the Hofbauer Megabag 3000 carrying case. There’s even straps and cradles to hold extra filament, the power supply, and a bag of tools.


While packing up to head to ERRF, John mentioned that the printer fell out of the back of his vehicle and onto the street, causing a momentary panic. But beyond some scratches on the case, you’d never know the printer had just gone through a short drop and a quick stop. Once it was unfolded, it printed along merrily as if nothing had happened.
Passionate Minority
We won’t sugar coat it: actual RepRap printers on display at the East Coast RepRap Festival were few and far between. When you can buy a delta printer for <$200 USD on Amazon right now, the work involved with building something like the Woodstock looks preposterous. But here at Hackaday, we’re big fans of the preposterous lengths some people will go to make sure something is exactly how they want it.
We salute the proud few who are still fighting the good fight, and building 3D printers to their own personal specifications. Even if it takes longer and costs more; in the end you’re the proud owner of a one-of-a-kind machine instead of just another commercial product.


“When you can get a decent (but let’s be clear, not great) 3D printer for $200 USD, it’s no surprise that American and European manufacturers are having a hard time staying competitive.”
It seems to me that much like VR/AR, consumer 3D printing is in it’s infancy. There’s still plenty of improvement needed, and that will not be cheap, nor result in cheap printers. Affordable, but not cheap.
While we’re currently not the pinnacle of innovation, we have no problems with sales at Ultimaker. A lot of people don’t care too much about initial cost, but total cost of ownership, and having less failures and spending less time tweaking&tuning is a big part of that.
Actually, our biggest problem is finding quality hardware and software engineers, that’s one of the reasons we’re not as fast with innovations as we would want. (So, if you are in the Netherlands, in the Utrecht area, and interested, drop us a line!)
As a happy Ultimaker 3 customer, I can certainly confirm that. I work at the VU University of Amsterdam, where we use several of them, one a few meters from my desk which I manage.
The fact that it is decently build and does almost everything on its own saves us a lot of time. In the past year, the printer has been active about 8 hours a day. The only serious issue we had was a layer of glass delaminating from the build plate. (Wear and tear).
The combination with Cura (by Ultimaker) is perfect. It makes the printing experience pretty much foolproof and relatively intuitive. That is to say, currently Ultimaker seems to be moving towards a web-based printer management approach which is more difficult to understand for some users (Though I’m sure this will be fixed). But by using the slightly outdated versions, most of our users need no more than 20 minutes training.
Take the home computer market. After the Altair 8800, there was a flood of machines, many starting in a garage somewhere. The next wave was a bunch of cheap, commercial machines often expanded versions of the early game consoles. Anybody remember the Coleco Adam? Followed by machines specifically designed for home use like the Commodore 64. Things didn’t really shake out until much later.
3d printers are still in the early stages. The common software stacks are, well stacks. And machines are fiddly. That will change at some point…
“Admittedly not everyone needs a 3D printer that can fold up into a carrying case”
Blasphemy!!!
James Bond could.
Heretic! Get a rope. No. Make one with my 200$ clone printer. It’ll take three to four days and about 60$+ worth of filament which will de-layer on first use.
Asuming bed doesnt flame up, design doesnt stick to bed and becomes rats nest o spaghetti, cheap ass power supply lasts, alignment stays in, head doesnt clog repeatedly,
I love my RepRap! It’s not because I custom made it to my precise specifications. I didn’t, I mostly followed a specific design I downloaded off the internet. But.. I know that as I outgrow it’s capabilities and/or time and progress leave it behind I can re-design or replace any part of it I want without having to re-buy the whole thing. It’s not a one-shot appliance that I will throw away when it is obsolete. It’s a living, evolving project that will stay with me for a long time. Someday I hope that my printer will be just like “my grandfather’s axe”.
i hate my prusa i3. After the initial enjoyment of making small upgrades (like octoprint, lights, camera, silecing stuff) the thing keeps breaking and requiring new 3d printed parts which takes me away from printing what I need. I am considering a small new one that comes with properly made components.
$200 gives you a 5-10 of SLS prints with production quality (how many more you *really* need in a year?).
or
to print yodas continue you can.
i usually print a lot more then yodas and such. i print a lot of miniatures for games (which saves me a lot of money) and stuff for my workshop and around the house. it’s not that because you are unimaginative that everyone else is.
I’ve found a lot of uses for printing since owning by own. Shopping it out neglects the benefit of augmenting the way you think up solutions.
Also how is owning 5-10 prints better than owning a printer?
Two reasons: print quality and print isotropy
The last one not completely true with sls, yet still better than fdm.
In my humble opinion.
i have seen prints that can rival sls and sla prints in quality on pretty budget oriented 3d printers like the CR-10 and such. cost/quality with a printer you own will be better then shopping it out.
Just bought a Creality Ender 3.
Would never build my own now. Just going to heavily mod this one.
(maybe when I am retired and have time and…oh who am I kidding?!)
I have a number of testing prototypes on my desk that printed on my Monoprice Maker Select v2 just good enough for test fitting . Once I have all of the components dialed in to what I think will work, I will send the files off to a service with really good machines, and for less than the cost of taking my wife out for lunch, I will have prototypes that are of sufficient quality for final test fitting. For general purpose stuff, my cheap little printer does me just fine, but I don’t have to depend only on it.
Wow, you really don’t get it at all.
People (at least the kind of people likely to be reading this site) don’t have 3D printers so they can produce finished objects, they have them so they can do rapid iterative design. Go from an idea to a final build, and be able to tweak and change it during the whole process.
If I’m printing a replacement part or especially a new design, I’m likely to go through a 5 – 10 different versions before I get everything finalized. How am I supposed to do that if I’m sending the print off to Shapeways for each time?
spot on!
Prototyping has nothing to do with costs… it’s about the iterations you require for your design and the time it takes before you can do the next iteration. However… it might be possible that there are some people in the world who make a design that is perfect the first time. No need to tweak the design… I can’t imagine these people exist, but there must be.
Though there is another option… it also helps to not be a perfectionist. Because if the design is good enough and you don’t care about the problems in your design, the the first design (although not perfect) does the job. And then you could say that your designs were right the first time. So It’s a matter how you look at it.
Personally… I like to fiddle with parts, try things out then evolve from there.
So that’s why I like to own a 3D printer instead of using external printing services.
I made my own 3D printer, from scratch… it did the job pretty well from the first time… then I started to tweak the design… and 2 years later scrapped it for parts to make a better one. Which works for about a year now. Very pleased with the results as they give me a great sense of satisfaction knowing that they come from a device I’ve build myself. 3D printers are parts of the fun to make your own parts. Then again… I’m not interested in making small figurines. At least not yet.
There are times when it’s better to delegate; especially when in-house printing is at a premium.
I once designed and ordered a 3D print of an adapter to combine the body of Avent breast pump with air pump taken from broken hot air soldering station. The idea was to avoid buying expensive electric pump unit, while we had tho pum bodies with bottles and other necessary parts. The 3D print was quite expensive for me, and the one of mounting flanges broke off as soon as I attached it. Also the air pump I had was a bit too powerful. Eventually we bought the used unit from auction. If I had a 3D printer I would be able to redesign and test better adapter…
Stockholm syndrome is a terrible thing. Jokes aside, I can value handiness of quick turnaround time from screen to hand in design process. Yet I still claim fdm is a toy. Try to make 3mm luer adapter or for p&p nozzle end.Or calculate stress for that multi-rotor leg print. How small (reliable) can you do polymer squirts? Powder particle can be tiny. How stable dimensions are, it is possible to print something as simple as gt2 pulley for micrometer screw to stepper adapter, without warping?
probably yes. 0.15mm nozzles exist. and yes you can print nylon on cheap printers without warping. and ifyou dail in your printer properly the dimensional accuracy will be withing tolerances too.
The Creality printers can be had for less than $200 dollars. So it’s kind of funny that you referenced an ANET A8 when the Ender 3 has been out for a minute. My last CR-10 I got for $250.
Thanks, Tom Nardi, for the kind words about my Woodstock Delta printer in this article.
Your take on the RepRap vs. inexpensive imported computers was spot on.
When you build your own stuff, you own your stuff.
I do think that there were more DIY printers at the show than the “nearly every 3D printer…was made in China” statement
in the article. I walked through the show, and I saw lots of home built core X-Y and Prusa clones which were made by their owners. But your point is correct, the majority of the printers were Chinese products.
I guess the best we can hope for is that more of the Chinese manufacturers will open source their designs so that the RepRap community can continue to modify and improve the designs for the benefit of all.
If anyone reading this is looking to get a 3D printer, you should investigate whether the design is open source, and direct your purchases accordingly. I personally think that spending $750 for a genuine Prusa I3 Mk3 is “cheaper” than buying a similar $250 closed source clone, as the path to improvement and long term use is much better.