Using a 3D printer to make high quality parts is a great way to improve the look and appeal of any project. If you want to replicate something exactly, though, you’ll need either a very good set of calipers and a lot of time or a 3D scanner. Using the 3D scanner and the 3D printer go along very well together, especially if you use your 3D printer to build your 3D scanner too.
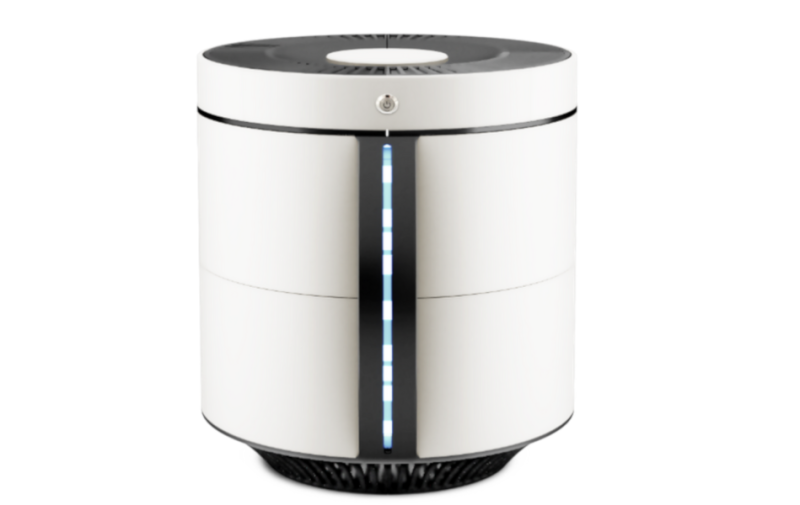
This project comes to us from [Vojislav] who spent the past two years perfecting this 3D scanner. Using a vast array of 3D printed parts, this build looks professional on every level. It also boasts a Raspberry Pi Zero and a fleet of camera modules, not to mention its own LED lighting. [Vojislav] has provided the printer files and the software needed to run it on the project page. It all runs through command line and python code, but that shouldn’t be a big hurdle.
While there is no video of it in action, it seems like all the parts are there for a solid 3D scanner, provided you have access to a 3D printer that can churn out the parts you’ll need. If you need something larger, there are some other options available as well that really take your photogrammetry skills to the next level.


“Fleet of camera modules” ? The parts list says 3 – 5 Pi Zeros with one camera each?
I wondered if this approach gives better results than using a Kinect sensor ?
Kinect’s struggle with very close distances if I recall correctly. I found anything less than a foot a problem.. perhaps some corrective optics could help? Or one could try the old laser-line & web-cam method? Given a camera’s much higher resolution these days, perhaps it could yield decent detail?
I remember they use to sell corrective lenses for Kinects, for living rooms that were smaller than the recommended dimensions.
But that was years ago and I don’t know how well they worked.
At least with the first generation Kinect, the minimum distance to the sensor had to be fairly large – like 50 cm or larger. That means unless you do some fun bouncing things around, your scanner would be 1 m across. Not sure what the second generation Kinect was like, though – it could be a lot better.
Kinect is just to big to be fit for this kind of scanning. I was thinking a lot about it, but gave eventually in favor of photogrammetry.
Vojislav,
Maker of this project
I wonder what the time/cost tradoff is for this many Pi-Zeros plus cameras vs one articulated Camera.
Or even just a rotating turntable for the object, which is how most cheapo DIY webcam-based 3d scanners work.
Or maybe it could be made with a handful of webcams hooked up to a USB hub; plug it into your PC and do the rest in software, skip using a bunch of tiny dedicated computers.
There’s a major advantage in being able to move away from a desktop.
Well, one simple reason is 4 cameras scan 4x faster than one. It also eliminates the needs for mechanical rigs which would be prone to breaking or simply change over time and usage.
Vojislav
Maker of the project
ESP32 camera modules are even less expensive. And having Wi-Fi, may keep the wire count low.
AND you can actually buy them. i don’t know who you’d have to sleep with to get 5 rPi zeros.
most shops either only sell you 1 pi zero per order and ask for outrageous shipping fees or they are 3-4 times as expensive.
a shame that the ESP32 camera only is 2 mpixel
Honestly that shouldn’t be a problem. A lot of computer vision stuff uses very low res camera equipment.
These cameras are cheap, but they are also very low in resolution.
The limitation in number of Pi Zeros you can order is imposed by Raspberry and it is major pain for projecta like this. However, many shops simply place a header on it and sell it as a kit for couple of bucks more. I ordered about 12 Pi Zeros so far, while tinkering with this project so it is possible.
Vojislav,
Maker of this project
To build a 3D Printer of the scanned model.
printception !!!
Yay!
“[Vojislav] has provided the printer files” and the level of assembly documentation he’s published makes it seem like he really wants you to build this. Good effort!