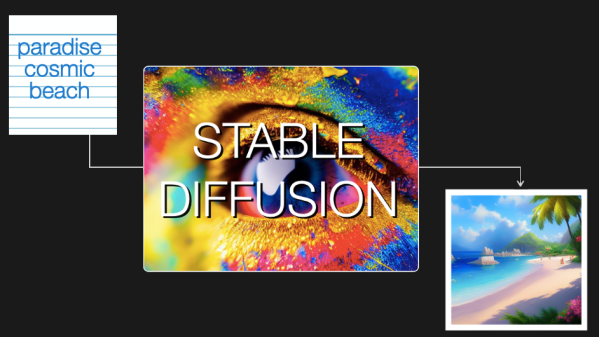
[Jay Alammar] has put up an illustrated guide to how Stable Diffusion works, and the principles in it are perfectly applicable to understanding how similar systems like OpenAI’s Dall-E or Google’s Imagen work under the hood as well. These systems are probably best known for their amazing ability to turn text prompts (e.g. “paradise cosmic beach”) into a matching image. Sometimes. Well, usually, anyway.
‘System’ is an apt term, because Stable Diffusion (and similar systems) are actually made up of many separate components working together to make the magic happen. [Jay]’s illustrated guide really shines here, because it starts at a very high level with only three components (each with their own neural network) and drills down as needed to explain what’s going on at a deeper level, and how it fits into the whole.
It may surprise some to discover that the image creation part doesn’t work the way a human does. That is to say, it doesn’t begin with a blank canvas and build an image bit by bit from the ground up. It begins with a seed: a bunch of random noise. Noise gets subtracted in a series of steps that leave the result looking less like noise and more like an aesthetically pleasing and (ideally) coherent image. Combine that with the ability to guide noise removal in a way that favors conforming to a text prompt, and one has the bones of a text-to-image generator. There’s a lot more to it of course, and [Jay] goes into considerable detail for those who are interested.
If you’re unfamiliar with Stable Diffusion or image-creating AI in general, it’s one of those fields that is changing so fast that it sometimes feels impossible to keep up. Luckily, our own Matthew Carlson explains all about what it is, and why it matters.
Stable Diffusion can be run locally. There is a fantastic open-source web UI, so there’s no better time to get up to speed and start experimenting!