You’ve likely at least heard of Marion Stokes, the woman who constantly recorded television for over 30 years. She comes up on reddit and other places every so often as a hero archivist who fought against disinformation and disappearing history. But who was Marion Stokes, and why did she undertake this project? And more importantly, what happened to all of those tapes? Let’s take a look.
Marion the Librarian
Marion was born November 25, 1929 in Germantown, Philadelphia, Pennsylvania. Noted for her left-wing beliefs as a young woman, she became quite politically active, and was even courted by the Communist Party USA to potentially become a leader. Marion was also involved in the civil rights movement.
It is a movie staple to see an overworked air traffic controller sweating over a radar display. Depending on the movie, they might realize they’ve picked the wrong week to stop some bad habit. But how does the system really work? [J. B. Crawford] has a meticulously detailed post about the origins of the computerized air traffic control system (building on an earlier post which is also interesting).
Like many early computer systems, the FAA started out with the Air Force SAGE defense system. It makes sense. SAGE had to identify and track radar targets. The 1959 SATIN (SAGE Air Traffic Integration) program was the result. Meanwhile, different parts of the air traffic system were installing computers piecemeal.
SAGE and its successors had many parents: MIT, MITRE, RAND, and IBM. When it was time to put together a single national air traffic system the FAA went straight to IBM, who glued together a handful of System 360 computers to form the IBM 9020. The computers had a common memory bus and formed redundant sets of computer elements to process the tremendous amount of data fed to the system. The shared memory devices were practically computers in their own right. Each main computing element had a private area of memory but could also allocate in the large shared pool.
The 9200 ran the skies for quite a while until IBM replaced it with the IBM 3083. The software was mostly the same, as were the display units. But the computer hardware, unsurprisingly, received many updates.
If you’re thinking that there’s no need to read the original post now that you’ve got the highlights from us, we’d urge you to click the link anyway. The post has a tremendous amount of detail and research. We’ve only scratched the surface.
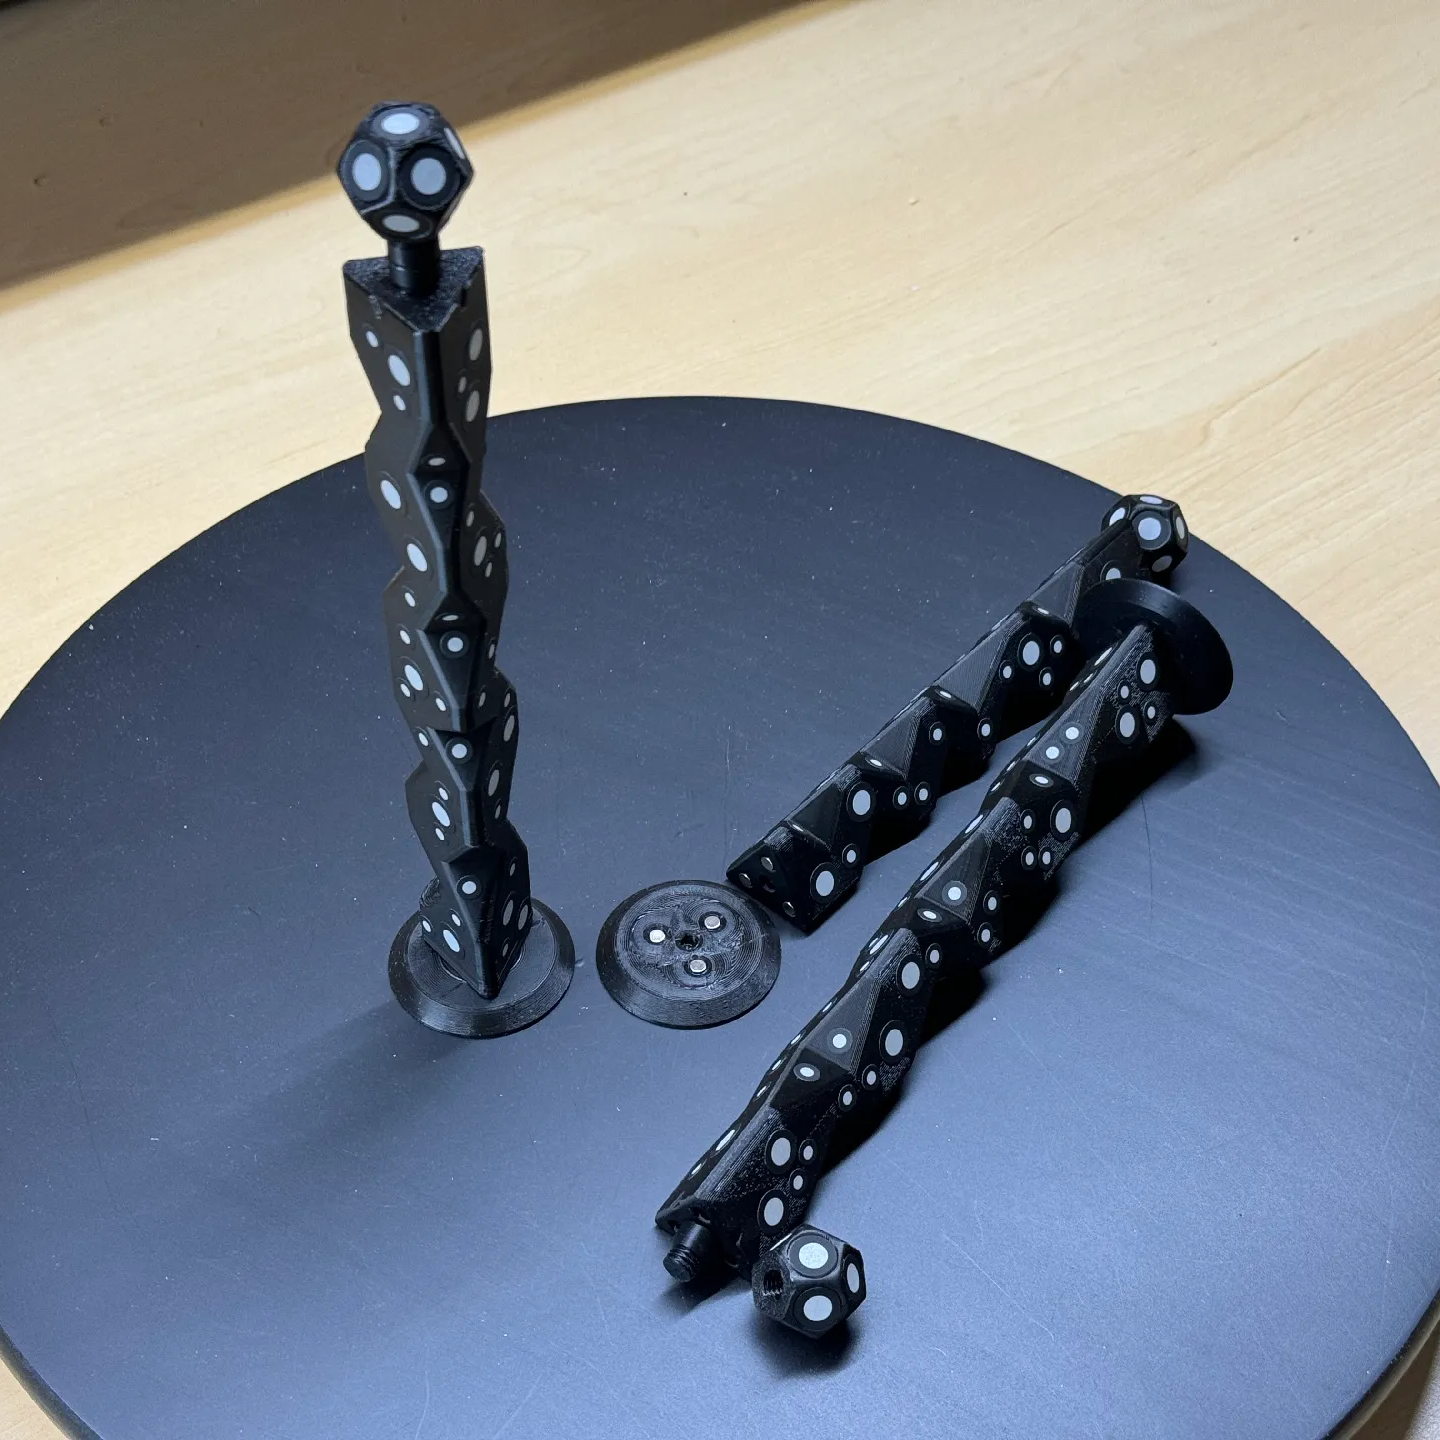
3D scanners rely on being able to identify physical features of an object, and line up what it saw a moment ago with what it sees now in order to build a 3D model. However, not every object is as distinct and visible as others at all angles, particularly in IR. One solution is reflective scanning markers, which are either pre-printed on a mat, or available as stickers that can be applied to objects to give the scanner a bit more to latch onto, visually speaking.
Magnetic mounts allow mixing and matching, as well as attaching directly to some objects to be scanned.
The main advantage (besides not having to remove stickers from the object afterwards) is that these printed markers present the reflective dots at a variety of angles during the scanning process. This makes the scene less sensitive to scanner angle in general, which is good because the angle at which to scan an important feature of an object is not always the angle that responds best.
By giving the scene more structure, the scanner can have a better shot at scanning reliably even if the reflectors aren’t on the target object itself. It also helps by making it easier to combine multiple scans. The more physical features scans have in common, the easier it is to align them.
Just to be clear, using these means one will, in effect, be 3D scanning the markers along with the target object. But once all the post-processing is done, one simply edits the model to remove everything except the target object.
[firstgizmo]’s DIY magnetic 3D scanning markers are an expanded take on an idea first presented by [Payo], who demonstrates the whole concept wonderfully in the video below.
3D scanning can be tremendously handy but it does have its quirks and limitations, and a tool like this can be the difference between a terrible scan and a serviceable one. For a quick catch-up on 3D scanning and its strengths and limitations, read our hands-on tour of using an all-in-one 3D scanner.