This week on the Podcast, Hackaday’s Elliot Williams and Kristina Panos joined forces to bring you the latest news, mystery sound, and of course, a big bunch of hacks from the previous week.
First up in the news: we’ve extended the 2024 Supercon Add-On contest by a week! That’s right, whether you were held up by Chinese fall holidays or not, here’s your chance to get in on this action.
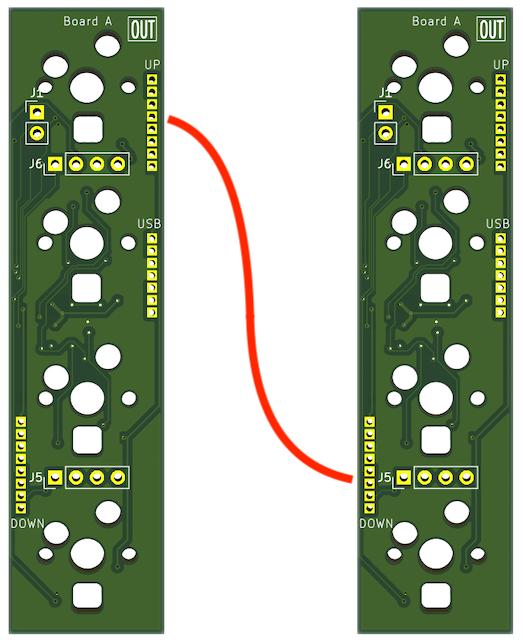
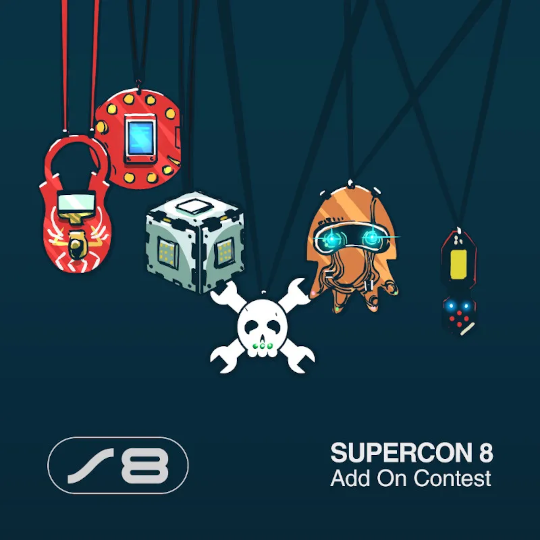 We love to see the add-ons people make for the badge every year, so this time around we’re really embracing the standard. The best SAOs will get a production run and they’ll be in the swag bag at Hackaday Europe 2025.
What’s That Sound pretty much totally stumped Kristina once again, although she kind of earned a half shirt. Can you get it? Can you figure it out? Can you guess what’s making that sound? If you can, and your number comes up, you get a special Hackaday Podcast t-shirt.
Then it’s on to the hacks, beginning with what actually causes warping in 3D prints, and a really cool display we’d never heard of. Then we’ll discuss the power of POKE when it comes to live coding music on the Commodore64, and the allure of CRTs when it comes to vintage gaming. Finally, we talk Hackaday comments and take a look at a couple of keyboards.
Check out the links below if you want to follow along, and as always, tell us what you think about this episode in the comments!
Download in DRM-free MP3 and savor at your leisure.