High Voltage Monitor Power Supply Conversion

Repurpose An Old CRT Computer Monitor As A High Voltage Science Project Power Supply

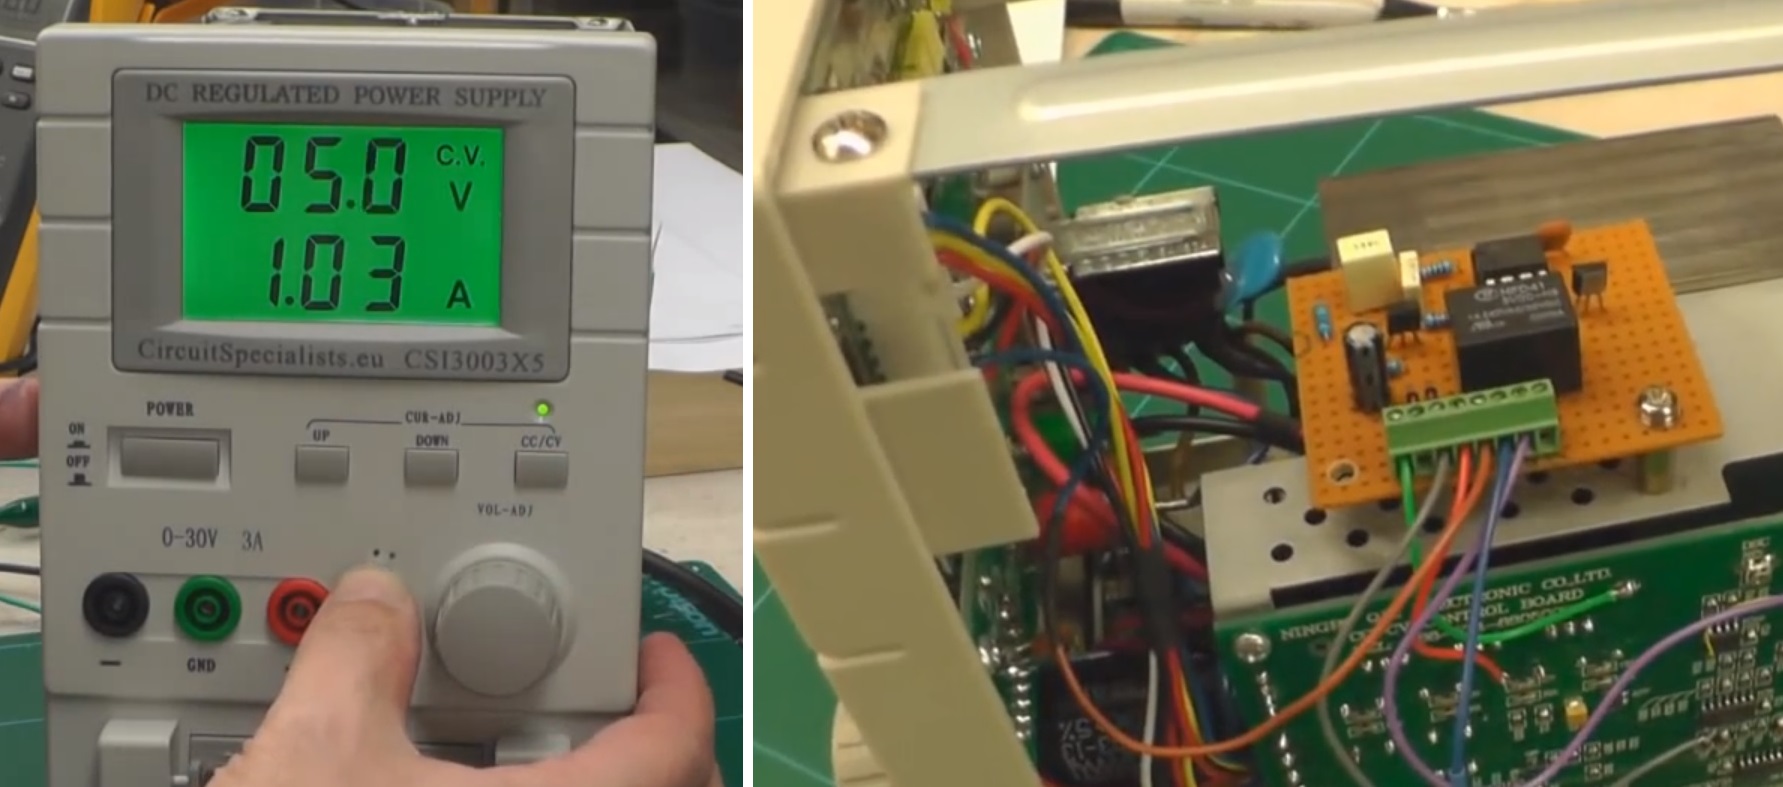
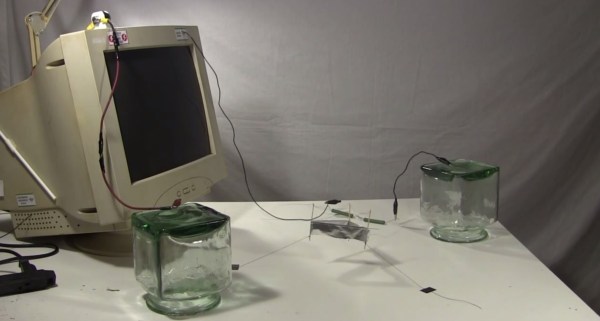
Finally somebody has found a good use for all those old CRT computer monitors finding their way to the landfills. [Steven Dufresne] from Rimstar.org steps us through a very simple conversion of a CRT computer monitor into a high-voltage power supply. Sure you can make a few small sparks but this conversion is also useful for many science projects. [Steve] uses the monitor power supply to demonstrate powering an ionocraft in his video, a classic science experiment using high voltage.

The conversion is just as simple as you would think. You need to safely discharge the TV tube, cut the cup off the high voltage anode cable and reroute it to a mounting bracket outside the monitor. The system needs to be earth grounded so [Steve] connects up a couple of ground cables. One ground cable for the project and one for a safety discharge rod. It’s really that simple and once wired up to a science project you have 25kV volts at your disposal by simply turning on the monitor. You don’t want to produce a lot of large sparks with this conversion because it will destroy the parts inside the monitor. The 240K Ohm 2 watt resistor [Steve] added will help keep those discharges to a minimum and protect the monitor from being destroyed.

Yes this is dangerous but when you’re working with high-voltage science experiments danger is something you deal with correctly. This isn’t the safest way to get high-voltage but if you have to hack something together for a project this will get you there and [Steve] is quite cautious including warning people of the dangers and how to safely discharge your experiment and the power supply after every use. This isn’t the first high-voltage power supply that [Steve] has constructed; we featured his home-built 30kV power supply in the past, which is a more conventional way to build a HV power supply using a doubler or tripler circuit. Join us after the break to watch the video.

Continue reading “Repurpose An Old CRT Computer Monitor As A High Voltage Science Project Power Supply”

Follow Up Of Hacker Meet Up At Heatsync Labs

[youtube=http://www.youtube.com/watch?v=ZGsmNLdjPUk&w=580]

The hacker meet up at Heatsync Labs in Mesa, AZ  on May 15th was an amazing success. I got to meet lots of new people at the gathering but more importantly I was able to interview several hackers who shared a lot of details on their current projects. I put together the short overview video above that has clips of each hacker presenting their project. If you like what you see in the teaser please watch the full 30 minute video with all the presentation footage after the break along with project page links. Also, if you’re not yet up to speed on The Hackaday Prize, the full length video starts with a short overview.

Continue reading “Follow Up Of Hacker Meet Up At Heatsync Labs”

Hackaday Meetup With HeatSync Labs And The Tymkrs


hackaday-meetup-tymkrs-hsl

We know a lot of hackers will be heading to Maker Faire next weekend. If you find yourself passing through Mesa, AZ on your way or you’re a local hacker enthusiast then please feel compelled to drop by HeatSync Labs on May 15th between the hours of 5pm and 9pm for an informal gathering. You will get to meet HeatSync Labs hackerspace members and The Tymkrs (Whiskers and Addie) who are founders of The Rabbit Hole hackerspace in Rochester, Minnesota. Sorry for the late notice, I thought it would be a great opportunity to organize an impromptu hacker meetup in order to include The Tymkrs as they pass through town on their epic summer road trip.

If people have a project or photos of a project they’re working on I would enjoy hearing all about it and I’m sure others would as well. I’m looking forward to visiting everyone that can attend!

For those who show up early there should be plenty of pizza, soda and Hackaday swag to go around. I’d like to thank the members of HeatSync Labs for kindly letting me schedule a Hackaday style meetup at their hackerspace on such short notice. There will be some food and drink so don’t be too late or you might go hungry.

Meetup address: HeatSync Labs 140 West Main St. Downtown Mesa, AZ


3 Cheap Hood/Hatchback/Topper Mods To Save Your Noggin

Gas Lift Fixes by Briansmobile1

This is a mod more than a hack but any time you can alter original equipment to maintain its usability is a win-win scenario for you and the environment. Everyone has or knows somebody that has a vehicle and most vehicles nowadays have some type of hatchback or hood where the support solution is gas filled struts. Inevitably these gas filled struts fail with age and the failure is accelerated in hotter or colder climates. If you ever had to replace these items you know they can cost a minimum of $20 to as much as $60 a piece. Most vehicles require two, four or even eight of these costly little devices.

[Brian] from Briansmobile1 YouTube channel documented three simple and low cost solutions. We all probably know of the vice clamp solution but that is cumbersome and still an expensive solution which is not always very handy or fast. Another solution is to cut a piece of rubber hose in a kind of special way so it is easy to put on and take off the shaft and dangles from a string so it’s always available. The best solution was to use a hitch pin also connected to a string or wire. To make the hitch pin work you have to grind a couple of notches on either side of the lift shaft at just the right spot so the pin can be snapped on and prevent the shaft from retracting at your selected height.

We are sure these solutions will come in handy at some time in most everyone’s driving career. Just after the break we will link to all three of [Brian’s] handy videos on gas strut fix solutions. And if you do your own automotive repair we can definitely recommend [Brian’s] channel of over 600 vehicle repair and maintenance videos which normally come with a dose of philosophy and humor.

Continue reading “3 Cheap Hood/Hatchback/Topper Mods To Save Your Noggin”

Bench Power Supply Constant Current EZ-SET

constant_current_mod3

Here is a nice hack you may find very useful if you have a cheaper bench power supply that supports constant current limit protection (CC mode) and the only way to set or check your max current limit is to disconnect your circuit, short the power supply outputs and then check or set your limit. Yes, what a pain! [Ian Johnson] was enduring this pain with a couple of Circuit Specialist bench power supplies and decided to do something about it. After finding a download of the circuit diagram for his CSI3003X-5 supply he was able to reverse engineer a hack that lets you press a new button and dial-in the max current setting. Your first guess is that he simply added a momentary button to short the power supply outputs, but you would be wrong. [Ian’s] solution does not require you to remove the load, plus the load can continue running while you set your current limit. He does this by switching the current display readout from using 0–3 volts off an output shunt resistor to using the 0-3 volts output from a digital potentiometer which is normally used to set the power supplies’ constant current limit anyway. So simple it’s baffling why the designers didn’t include this feature.

Granted this is a simple modification anybody can implement, however [Ian] still wasn’t happy. A comment by [Gerry Sweeney] set him on the path to eliminate the tedious multi-button pressing by implementing a 555 momentary signal to switch the circuit from current load readout to current set readout. This 2nd mod means you just start pressing your up-down CC set buttons and it momentarily switches over the display to read your chosen max current and a few moments later the display switches back to reading actual load current. Brilliant! Just like the expensive big boy toys.

[Ian] doesn’t stop with a simple one-off hack job either. He designed up a proper PCB with cabling and connectors, making an easy to install kit that’s almost a plug-in conversion kit for Circuit Specialist bench power supplies (CSI3003X-5, CSI3005X5, CSI3003X3, CSI3005XIII). It is not a 100% plug-in kit because you do have to solder 3 wires to existing circuit points for signal and ground, but the video covering that task seemed trivial.

This hack could very well work with many other power supplies on the market being Circuit Specialist is just rebadging these units. For now, only the models listed after the break are known to work with this hack. If you find others please list in the comments.

After the break we will link to all three progressive mod videos incase you want to learn how to mod your own power supply or you could just order a prebuilt kit from [Ian].

Continue reading “Bench Power Supply Constant Current EZ-SET”

TDOA (Time Difference Of Arrival) Directional Antenna

tdoa-antenna-tutorial

We have posted articles in the past on directional antennas such as Yagi antennas used for transmitter hunting otherwise known as fox hunting. Those types of antennas and reception suffer from one major drawback, which is as you get close to the transmitter the S meter will go full scale. At which time the transmitted signal appears to be coming from all directions. To correct for this problem you need to use clever signal attenuators or change to a poor receiving antenna as well as tuning off frequency effectively making your receiver hard of hearing so that only the direct path to the transmitter is loudest.

There is another popular type of antenna that you can build yourself called a TDOA which stands for Time Difference of Arrival. [Byon Garrabrant N6BG]  shared a short video tutorial on the functionality of his home built TDOA antenna. Effectively this is an active antenna that uses a 555 chip or, in [Byon’s] case, a PIC chip to quickly shift between two receiving dipole antennas at either end of a shortened yardstick. In his explanation you learn that as the antenna ends move closer or farther from the source a 640 Hz generated audio tone will go from loud to very soft as the antennas become equal distance from the source. This type of directional reception is not affected by signal strength. This means you can be very close to a powerful transmitter and it will still function as a good directional antenna.

The current circuit diagram, BOM and source code are all available on [Byon’s] TDOA page.

The reason [Byon] used a programmable PIC instead of the 555 for his design is because he wants to add a few more modifications such as feeding back the audio output to the PIC in order to programmatically turn on a left or right LED indicating the direction of the transmitter. Furthermore, he plans on adding a third antenna in a triangular configuration to programmatically control a circle of 6 LEDs indicating the exact direction of the signal. When he finishes the final modifications he can drive around with the antenna array on his vehicle and the circle of LEDs inside indicating the exact direction to navigate.

We look forward to seeing the rest of the development which might even become a kit someday. You can watch [Byon’s] TDOA video after the break.

Continue reading “TDOA (Time Difference Of Arrival) Directional Antenna”

Improve Your HT Ham Radio By Adding A Counterpoise Antenna Wire

counterpoise

We found an interesting tip that might just improve the performance of those small affordable handheld ham radios called a “Handy Talky” or HT for short in ham vernacular. [RadioHamGuy] posted an interesting video on adding a counterpoise antenna wire to an HT. He claims it will noticeably improve both transmit and receive by making a quarter-wave monopole into a makeshift dipole antenna system.

Per his instructions you basically add a short wire to the antenna’s outer ground connection or to an equivalent case screw that’s electrically connected to the antenna’s ground side. Apparently this can be referred to as a Tiger Tail and does make it look like your HT has a tail. You would construct a counterpoise antenna wire 11.5 inch for VHF, 6.5 for UHF and about 19.5 inches for an OK performing dual band VHF/UHF radio.

Normally with a handheld radio the counterpoise (ground) is your own body as you are holding the HT. This is because the capacitance of your body makes a good counterpoise under normal conditions. It would be interesting to hear what others find for performance when adding a counterpoise antenna wire.

You can watch [RadioHamGuy’s] full construction tutorial video for multiple radio types after the break.

Continue reading “Improve Your HT Ham Radio By Adding A Counterpoise Antenna Wire”