The crew at the Milwaukee Hackerspace are pretty serious about their beer. They used to have a fridge filled with cans, available to all at the hackerspace, but they decided to beef things up and create a secured beer dispensing system.
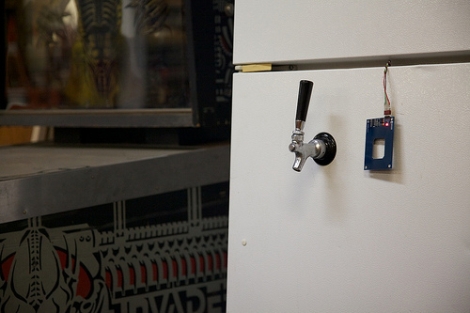
Like many others we have seen, their kegerator is built into an old refrigerator, complete with a tap built into the door. To ensure that interlopers are kept from their precious brew, they have secured the refrigerator using an Arduino and RFID tags to grant access. They use the same RFID key fobs members carry to gain access to the space for tracking beer consumption, unlocking the tap whenever a valid tag is swiped past the sensor.
They are still in the midst of tweaking and revising the system, but it looks good so far. It’s a great way to keep uninvited guests from their beer stash, while giving them a way to track consumption at the same time. We’re looking forward to seeing more details and code once things are completely wrapped up.
[via BuildLounge]


