Everyone’s seen the Diet Coke and Mentos “experiment” that ends in a brown eruption. But have you seen the Coke and Propane experiment insanity that results in a rocket launch? As [Itay] pointed out when he sent us the tip, this doesn’t need to be lit. The simple act of turning the bottle upside down starts a powerful reaction without any ignition.
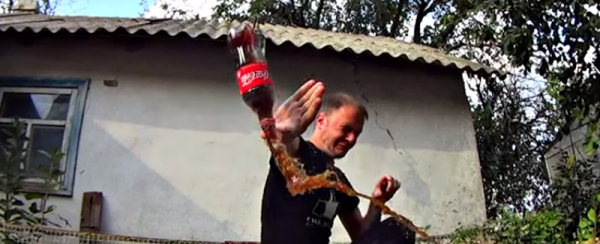
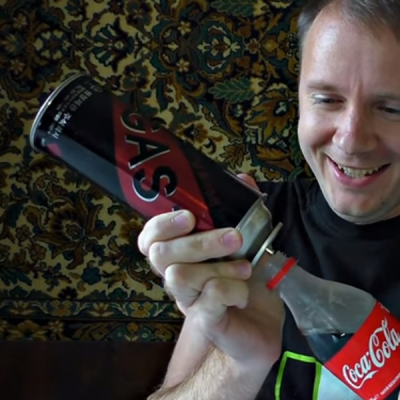 Of course it’s the how of this that tickles our brains, but let’s finish the setup. This starts with a bottle of Coke which is about 3/4 full. The head space is displaced by spraying propane into the bottle; propane is heavier than air. All that’s left is to turn the bottle upside down and pray it doesn’t smack anyone in the noggin as it takes off.
In trying to find an explanation for this phenomenon we came across a plausible answer on the Chemistry StackExchange. It points to the Mentos phenomenon combined with the temperature differential caused by the very cold propane. The answering user theorizes that tiny ice crystals form and when the bottle is turned upside down the cold propane and micro crystals rise through the warmer soda acting as a much more rapid catalyst than Mentos alone. Of course this is just a theory so please share your own ideas below.
We thought the folks who microwave stuff outside of a microwave enclosure had their fill of danger but this videos is also one of theirs. It should be no surprise that they also tried the experiment with an ignition source. That video is found after the break and should immediately convince you to never try any of this yourself.
Continue reading “Coke-Propane Rocket Blasts Off Without Ignition”