Fixing A Cotton Candy Vending Machine

Cotton candy is probably the best way to eat pure sugar, which makes having your very own cotton candy vending machine to automate making it a bit of a dream. The machine that [Block’s Retro Repairs] got should therefore make him very happy, but unfortunately it was bought as defective. After digging into the machine in an earlier video, this time around there’s some actual success and proper cotton candy to enjoy.

The PCB with the rather frayed temperature sensor. (Credit: Block's Retro Repairs, YouTube)
The PCB with the rather frayed temperature sensor. (Credit: Block’s Retro Repairs, YouTube)

The way that cotton candy is made involves spinning thin threads of sugar, which are created by the heating and rapid crystallization of the sweet stuff. Unfortunately this machine wasn’t even really extruding sugar any more, so it had to get a deep clean to remove probably years of crusty buildup. After this things still weren’t working right, although cranking up the temperature on the induction heated head improved the results somewhat.

To really fix the machine, this head with its clearly dodgy thermocouple had to be disassembled. This revealed that said sensor was looking rather frayed, potentially shorting out against the aluminium head and likely not in the entirely right position any more. After adding some insulation back and making sure that the thermocouple was located closer to the top of the head, it was time for more testing.

Repairing the thermocouple seems to have fixed most ills, with still some calibration of the temperature required, but finally resulting in fancy shaped cotton candy in its myriad of colors. Along with the looming hazard of potentially acquiring Type II diabetes from all the testing, there was still a problem involving the remote management feature of this Red Rabbit machine.

These $6,000 vending machines do feature an Android 7-based software with a Rockchip SoC and access to a lot of settings via its large touch screen, but features such as setting prices for the products are locked away via a remote account. The machine was sadly still linked to someone else’s account, and so far Red Rabbit support had not responded to any documentation, repair help or account unlinking requests. This has left the machine in somewhat of a pickle.

It was possible to dump the software of the machine, which can be fetched from Archive.org, so if anyone would like to pitch in and break this remote lock, that would be very welcome. It’s also considered to replace the cash reader with a simple button or so, but where’s the fun in that?

Continue reading “Fixing A Cotton Candy Vending Machine”

Keep An Eye On Your Air-Cooled Engine

There was a time, long ago, when passenger vehicles used to be much simpler than they are today. There were many downsides of this era, safety chief among them, but there were some perks as well. They were in general cheaper to own and maintain, and plenty could be worked on with simple tools. There’s perhaps no easier car to work on than an air-cooled Volkswagen, either, but for all its simplicity there are a number of modern features owners add to help them with these antiques. [Pegor] has created his own custom engine head temperature monitor for these vehicles.

As one could imagine with an air-cooled engine, keeping an eye on the engine temperature is critical to ensuring their longevity but the original designs omitted this feature. There are some off-the-shelf aftermarket solutions but this custom version has a few extra features that others don’t. It’s based on a ATMega32u4 microcontroller and will work with any K-type thermocouple, and thanks to its open nature can use a wide array of displays. [Pegor] chose one to blend in with the rest of the instrumentation on this classic VW. The largest issue that needed to be sorted out was around grounding, but a DC-DC converter created an isolated power supply for the microcontroller, allowing the thermocouple to be bonded to the grounded engine without disrupting operation of the microcontroller.

The finished product looks excellent and does indeed blend in to the dashboard more than the off-the-shelf temperature monitor that was in use before. The only thing that is planned for future versions is a way to automatically dim the display when the headlights are on, as [Pegor] finds it a little bright at night. We also enjoy seeing anything that helps these antiques stay on the road more reliably as their modern descendants don’t have any of the charm or engineering of these classics.

A Flashlight Of Fire And Ice

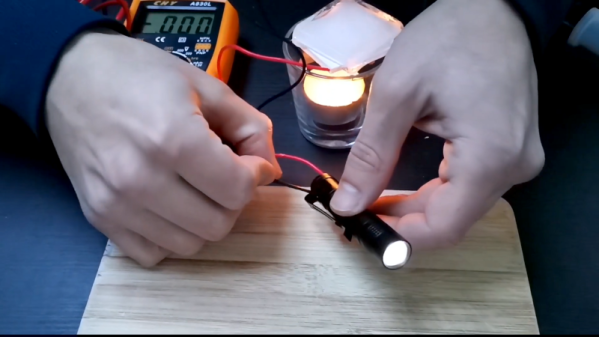
[Daniel Salião Ferreira] may or may not be a Game of Thrones fan, but he does have a fun demo of the Seebeck effect in the form of a flashlight powered by fire and ice. The basic idea is to use a thermocouple, but — in this case — he uses a Peltier effect cooler.

The Peltier and Seebeck effects are two sides of the same coin: the Peltier effect creates heating and cooling when current flows through a thermoelectric material. In contrast, the Seebeck effect generates a voltage when there is a temperature gradient. While thermocouples do produce voltage this way, they usually have much lower power output and are useless as heat pumps.

Continue reading “A Flashlight Of Fire And Ice”

Overengineered Freezer Monitor Fills Market Void

A lot of projects we see around here are built not just because they can be built, but because there’s no other option available. Necessity is the mother of invention, as they say. And for [Jeff] who has many thousands of dollars of food stowed in a chest freezer, his need for something to keep track of his freezer’s status was greater than any commercial offering available. Not only are freezers hard on batteries, they’re hard on WiFi signals as well, so [Jeff] built his own temperature monitor to solve both of these issues.

The obvious solution here is to have a temperature probe that can be fished through the freezer in some way, allowing the microcontroller, battery, and wireless module to operate outside of the harsh environment. [Jeff] is using K-type thermocouples here, wired through the back of the freezer. This one also is built into a block of material which allows him to get more diffuse temperature readings than a standard probe would provide. He’s also solving some other problems with commercially available probes here as well, as many of them require an Internet connection or store data in a cloud. To make sure everything stays local, he’s tying this in to a Home Assistant setup which also allows him to easily make temperature calibrations as well as notify him if anything happens to the freezer.

Although the build is very robust (or, as [Jeff] himself argues, overengineered) he does note that since he built it there have been some additional products offered for sale that fit this niche application. But even so, we always appreciate the customized DIY solution that avoids things like proprietary software, subscriptions, or cloud services. We also appreciate freezers themselves; one of our favorites was this restoration of a freezer with a $700,000 price tag.

There are a number of metal cylinders displayed in a line. Each cylinder has a rectangular brass plate mounted to each end, and these brass plates stand upright, with the metal cylinders held horizontally between them.

Home-casting Thermoelectric Alloys

If you want to convert heat into electrical power, it’s hard to find a simpler method than a thermoelectric generator. The Seebeck effect means that the junction of two dissimilar conductors will produce a voltage potential when heated, but the same effect also applies to certain alloys, even without a junction. [Simplifier] has been trying to find the best maker-friendly thermoelectric alloys, and recently shared the results of some extensive experimentation.

The experiments investigated a variety of bismuth alloys, and tried to determine the effects of adding lead, antimony, tin, and zinc. [Simplifier] mixed together each alloy in an electric furnace, cast it into a cylindrical mold, machined the resulting rod to a uniform length, and used tin-bismuth solder to connect each end to a brass electrode. To test each composition, one end of the cylinder was cooled with ice while the other was held in boiling water, then resistance was measured under this known temperature gradient. According to the Wiedemann-Franz law, this was enough information to approximate the metal’s thermal conductivity.

Armed with the necessary data, [Simplifier] was able to calculate each alloy’s thermoelectric efficiency coefficient. The results showed some useful information: antimony is a useful additive at about 5% by weight, tin and lead created relatively good thermoelectric materials with opposite polarities, and zinc was useful only to improve the mechanical properties at the expense of efficiency. Even in the best case, the thermoelectric efficiency didn’t exceed 6.9%, which is nonetheless quite respectable for a homemade material.

This project is a great deal more accessible for an amateur than previous thermoelectric material research we’ve covered, and a bit more efficient than another home project we’ve seen. If you just want to get straight to power generation, check out this project.

An Absolute Zero Of A Project

How would you go about determining absolute zero? Intuitively, it seems like you’d need some complicated physics setup with lasers and maybe some liquid helium. But as it turns out, all you need is some simple lab glassware and a heat gun. And a laser, of course.

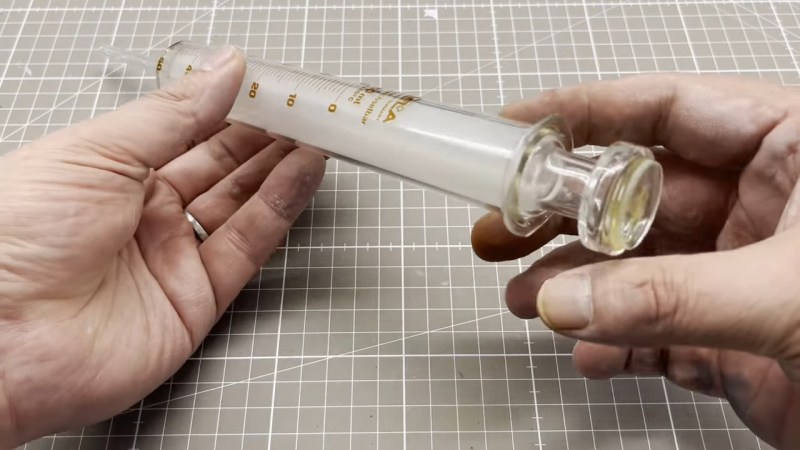
To be clear, the method that [Markus Bindhammer] describes in the video below is only an estimation of absolute zero via Charles’s Law, which describes how gases expand when heated. To gather the needed data, [Marb] used a 50-ml glass syringe mounted horizontally on a stand and fitted with a thermocouple. Across from the plunger of the syringe he placed a VL6180 laser time-of-flight sensor, to measure the displacement of the plunger as the air within it expands.

Data from the TOF sensor and the thermocouple were recorded by a microcontroller as the air inside the syringe was gently heated. Plotting the volume of the gas versus the temperature results shows a nicely linear relationship, and the linear regression can be used to calculate the temperature at which the volume of the gas would be zero. The result: -268.82°C, or only about four degrees off from the accepted value of -273.15°. Not too shabby.

[Marb] has been on a tear lately with science projects like these; check out his open-source blood glucose measurement method or his all-in-one electrochemistry lab.

Continue reading “An Absolute Zero Of A Project”

How Hot Is That Soldering Iron?

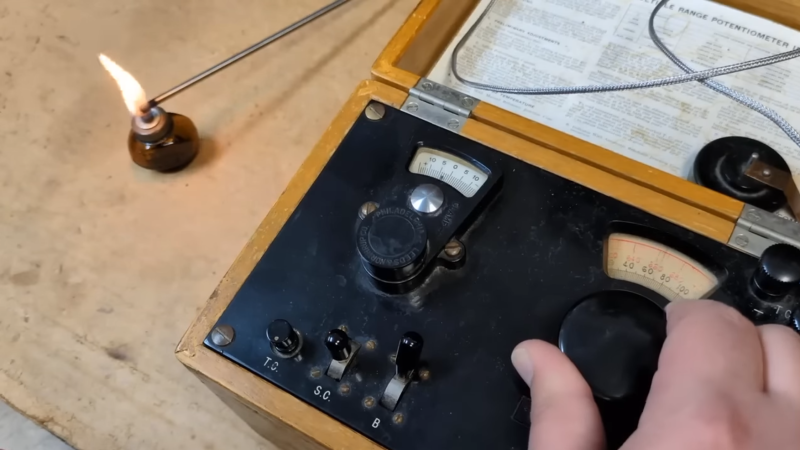
It is common these days to have a soldering iron where you can set the temperature using some sort of digital control. But how accurate is it? Probably pretty accurate, but [TheHWCave] picked up a vintage instrument on eBay that was made to read soldering iron temperature. You can see the video below, which includes an underwhelming teardown.

The device is a J thermocouple and a decidedly vintage analog meter. What’s inside? Nearly nothing. So why did the meter not read correctly? And where is the cold junction compensation?

Continue reading “How Hot Is That Soldering Iron?”