The picture you see above is taken from the ROM of a Macintosh SE made in the late 1980s. This black and white image remained buried inside old Macs until [Adam] and [Trammell] at NYC Resistor reverse engineered these old Mac ROMs and found a few really cool Easter eggs.
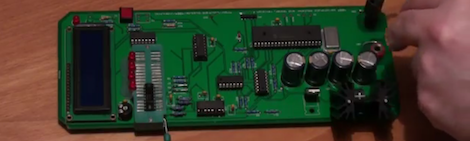
[Adam] and [Trammell] have been dumping ROMs from old computers for a while now. Their modus operandi is finding old 27C-series EPROMs on old computers, prying the out of their comfortable home, slapping them in a breadboard, and wiring up an Arduino clone to dump the data to a computer.
Recently, the guys found an old Mac SE lying on the side of a road in Brooklyn and brought it over to NYC Resistor. They had known about images hidden in the SE ROM, but the guys wanted to know how and where these pictures were stored. After carefully inspecting the binary file generated from dumping the ROM, [Adam] was able to recover three images hidden in every Macintosh SE.
The folks at Apple – especially in the heady days of the Apple II and 68k Macs – hid quite a few Easter eggs in the ROMs of their computers. For instance, the Apple IIgs has audio data stored in the ROM, and the Macintosh Classic hid an entire operating system – System 6.0.3 – in the ROM of the machine.
via Make