Remember the WaterColorBot? Ever wonder what goes into manufacturing a kit like it? Well the folks over at Evil Mad Scientist just spilled the beans.
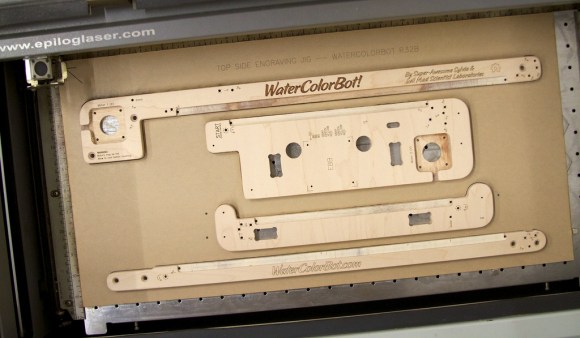
It’s a great insight on how these kits are typically made in a manufacturing environment, especially if you happen to be the founders of a rather successful Kickstarter project like the WaterColorBot by [SuperAwesomeSylvia]. The article goes into great detail on minimizing material waste during CNC routing, mass producing laser engravings using a jig, hardware assembly, and finicky assembly of some of the more complex components. Not to mention boxing, storing, and packaging the finished products!
We’re happy to hear the WaterColorBot is officially shipping now, and available for purchase — Seems like they were only off by a month or so for their kickstarter delivery goals. Remember our recent post about one of these WaterColorBots out in the wild? One was used to create art using inputs from driving a real car!