Converting 8mm Film To Digital

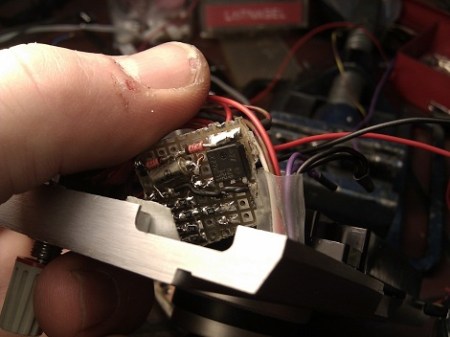
Many of us have these old 8mm family videos lying around and many of us have lamented at the perspective cost to get them converted to digital.  [Paul] came up with a pretty slick way of digitizing them himself. He cracked open an 8mm projector and replaced the drive motor with one he could run at a much slower speed, allowing him to be able to capture each frame individually with his digital camera. He’s rigged his remote shutter control to the shutter of the projector so that it would be perfectly synchronized. There’s a video of it in action on the flickr page, and a video of the full 16,000 frame clip after digitization here.

[via Make]

DIY Air Gap Flash Saves At Least Seven Grand

Did you know that a standard camera flash is much too slow to capture high quality images of bullets? A relatively long flash duration results in blurred images of the bullet. By building this air gap flash a bullet can be frozen in mid-air, producing some stunning results. There is an element of danger here, and not from the bullet. This flash uses a 35,000 volt capacitor to produce the mini-bolt of lightning which serves as the light source. The unit can be built for a few hundred dollars, which sounds like a heck of a deal if commercial models really do start at $8k and go up from there.

Now that the photographer has a super-fast flash, a camera axe takes care of the timing… which is everything.

Foldaway Photo Booth

For his wedding [Dave] wanted to have a photo booth but the $1k rental price was really getting him down. Instead, he decided to build his own. This cost less money and he gets to keep the booth once the festivities have concluded. He started by designing the assembly in Sketchup, taking into consideration the portability requirements that allow this to fit through doorways. What he came up with is a unit made from one sheet of plywood that folds up via piano hinges and takes about eight minutes to set up (video after the break). But where the design really shines is the all-in-one electronics module seen modeled on the right. It houses the monitor and the computer in one compact and rugged package.

If you like this you should also check out the suitcase photo booth and one other wedding-prompted build.

Continue reading “Foldaway Photo Booth”

Timelapse Photos For All!

Find yourself wanting to do some timelapse but lacking the equipment? Why not build your own time lapse rig as seen in instructables how to by [Constructer].  To accomplish this, all you will need is a little wood, screws, a motor, and some batteries.  The how-to says you can add extra voltage to speed up the rate of taking photos, or conversely reduce voltage to slow it down.  We especially like the simplicity of this mechanical approach. No timers, no programming, only a motor.  One downfall of this simplistic approach, however is that your “gap” between pictures will increase as your battery dies.

Continue reading “Timelapse Photos For All!”

Would You Entrust Your DSLR To This Diy Underwater Enclosure?

Next time you head off on that underwater adventure take your camera along with you. [Jkcobabe] shows us how to build a waterproof camera enclosure using just a few components. The box is meant to be used to keep your stuff dry while camping, and the lens housing is made using plumbing fittings from the a home building center. There is a rail system that allows you to mount the camera securely inside, with a flexible button on the outside to actuate the shutter. If anything this is well designed and built, but we might still stick to using disposable cameras under water. Then again, the pros build their own enclosures so we’ll keep our fingers crossed for that $2500 camera as you try to capture that perfect shot.

[Thanks Troy]

Shutter Remote For RICOH Cameras

[Toby] wanted to have a remote shutter trigger for his RICOH GR III camera. This brand doesn’t have a dedicated port for remote operation but a bit of research allowed him to build his own trigger. The camera’s USB port is used for triggering but not using the USB protocol. Instead, a pulse pattern on the 5V line identifies the half-press, full-press, and release states of the shutter button. From there it was just a matter of wiring up a circuit centering around an Arduino that leaves room for a lot of expansion into realms like photo automation.

Lego Pinhole Camera

[Bshikin] built a pinhole camera out of Lego pieces (translated). It is a fully automated unit thanks to the integration of the NXT pieces. It took a bit of careful calculation to get the film spacing adjusted to match the focal length, and quite a bit of tape was necessary to keep light out of the film chamber. But in the end, it’s an amazing build that takes decent pictures. The software has settings for film size and speed, and takes care of exposing and advancing the frame at the click of a button. See for yourself after the break.

If you hunger for some more camera building goodness check out this SLR hand crafted from scratch.

Continue reading “Lego Pinhole Camera”