Let It Snow (Leopard)

Yet another netbook can now run OS X. This one happens to be the Samsung n310, making it our first published non-Dell netbook to accomplish the feat. The key lies in a custom (and downloadable) .ISO for intalling said operating system onto a netbook. Full instructions for the task, and an audio driver for the n310 in OS X, are available on the [ComputerSolutions] website.

Oddly enough, the platform swap probably ‘freed up’ some space.

Make An Apple Tablet Before Apple Does

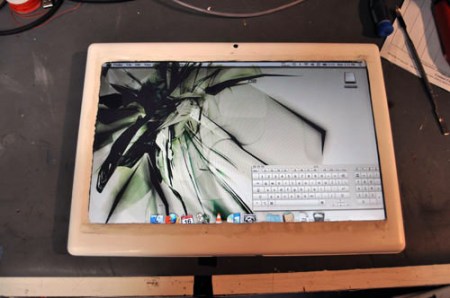
[Andrew] wanted a tablet computer but is tired of waiting for Apple to come up with one. eBay and Craig’s list to the rescue, he picked up some parts and built his own tablet. You can take a look at the video tour of it after the break, or peruse parts one, two, three, and four of his work log.

The unit is assembled from a 500 MHz iBook. [Andrew] picked up a touchscreen from ebay and canibalized a USB joystick in order to add some buttons to the keyboard-less design. The end product is quite nice. We’ve wanted a tablet computer to hang on the wall for a long time and this may be the inspiration that gets us there.

Do you find this didn’t satisfy your Apple tablet fix? There’s more to be seen in our mac tablets roundup.

Continue reading “Make An Apple Tablet Before Apple Does”

Xbox-intosh & An Atom-based Cube

Though [Will] is more of a PC guy, he needed a Mac to run the software he needed for his line of work (Final Cut). Making the best of an unfortunate situation, he constructed this hackintosh inside the case of Microsoft’s original gaming console – the Xbox. [Will] did a good job at documenting the build.

[Paul], who seems a bit more fond of Apple’s technology, still felt as though his hardware could use an overhaul. So he gutted his G4 Cube and dropped in an Intel Atom 330 based system to get his ultimate HTPC. To make controlling the 1 TB beast more fun, he hooked up a Wiimote through DarwiinRemote.

Mac Mini – Getting A Little More Useful

IMG_7559

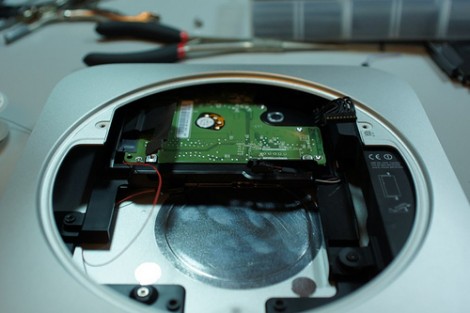
We’re pretty sure Apple decided to implement an IR sensor in their Mac Mini line simply to mock the user. For those who are unaware, the built in sensor only works with the standard Apple Remote; unless you happen to have a programmable PDA or similar you’re SOL. An alternative solution would be to install a USB IR receiver. But then your beautiful Mac Mini is forced to sit alongside an ugly black box. Why not have the best of both worlds? [SqueeZe] wrote an (almost) entirely non invasive tutorial for placing a USB IR receiver inside his Mac Mini. Reminds us of a certain hack a while back, but the objective was to get the IR receiver outside of the unit rather than inside. Different people, different worlds.

[Thanks Kiran]

Apple Remote Arduino Shield

arduino-apple-remote-shield

[Computergeek] made an Arduino Shield in order to use it as an Apple remote. We like the construction technique that he used; taking perf-board and soldering the circuit and using stripped wire to interface with the pin sockets on the Arduino. He’s written the code needed to function as an Apple Remote but this shield has a lot more potential. This is an excellent opportunity to delve into the different IR protocols out there and create a universal remote for all of your random devices. We’d also want to give it a try as a TV-B-Gone.

The parts are easy to find or salvage without putting in an order.  We’re not certain about his design, he should probably have invited a resistor to the party the two IR LEDs are having.

SSD Upgrade For 24″ IMac

24-inch-imac-ssd-conversion

The hard drive in [Jason’s] 24″ iMac was on the blink. He decided that instead of just swapping out the bad drive for a traditional unit he would upgrade to a solid state drive. Tearing apart high-end hardware like this can be a bit nerve-racking but luckily the drive is mounted right behind the screen so he didn’t have to take everything apart.

The SSD he picked up was 2.5″ but the mounting hardware in the iMac is only setup for 3.5″ form factors. We would have used a bit of hackery to make it work but [Jason] went with an adapter kit. Uh-oh, once installed there was no problem with the mounting but the SATA cable didn’t reach far enough to plug it in. The cable snaked around under the motherboard and would have been a lot of work to swap for  a longer one. He ended up removing all of the mounting screws except for one coercing the drive close enough for the connection.

It worked for him and it can for you as well. If you do this make sure to devise your own mounting scheme so that you don’t hit the same snag.

[Photo: AppleInsider iMac teardown]

[via TUAW]