Making keys is an amazing art with a lot of skill and technique involved. For those of you living in a post-apocalyptic world, [Dan] has a much simpler solution to the problems of having one too few keys for your locks and deadbolts – just cast them out of scrap with the power of the sun.
To make the mold of the key, [Dan] is using a two-piece plaster of paris mold. First, a thick layer of plaster is laid down in a small container and the key floated on the surface. After drying, sprues are put in with clay and the key embedded in a curing plaster block. After a few hours, a proper mold is created ready to receive molten metal.
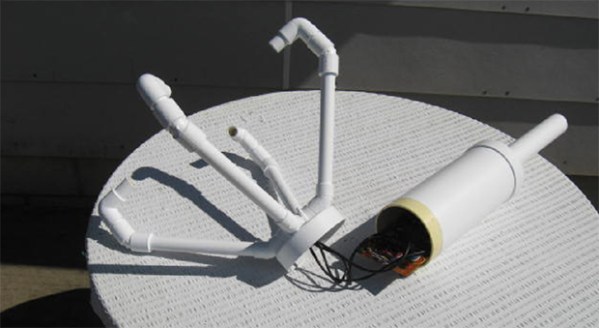
The casting material is zinc – not as hard as the original steel key, but more than strong enough to turn a lock. This zinc is melted in a steel and plaster crucible with a gigantic fresnel lens.
As for the utility of this method of copying keys after the apocalypse, we’ll have to wonder how practical this method is. A giant fresnel lens isn’t just something you randomly find unless you’re going house to house looking for projection TVs, and finding a can of mold release after the end of the world is beyond credulity. That said, it’s a cool demonstration of metal casting that can be easily accomplished at home or at any hackerspace.