A High-Speed Slide Scanner Build

Photographic slides were popular in the middle part of the 20th century, but are long forgotten now. If you’ve found a handful in a dusty attic, you might consider sending them away to be digitized professionally, or using a flatbed scanner at home. [Bryan Howard] found himself with over 200,000 slides, however, so that just wouldn’t do. Instead, he endeavored to build an automated scanner of his own. 

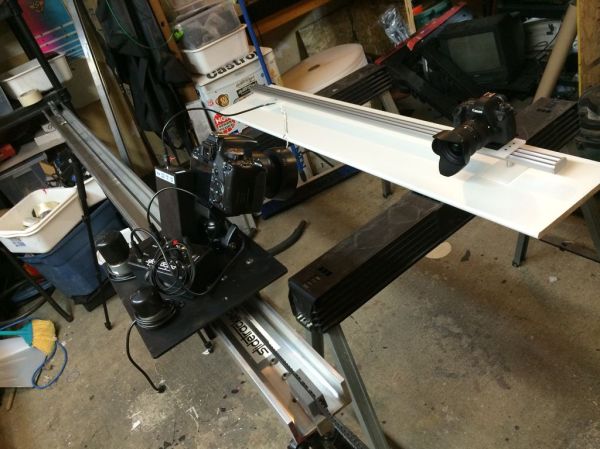
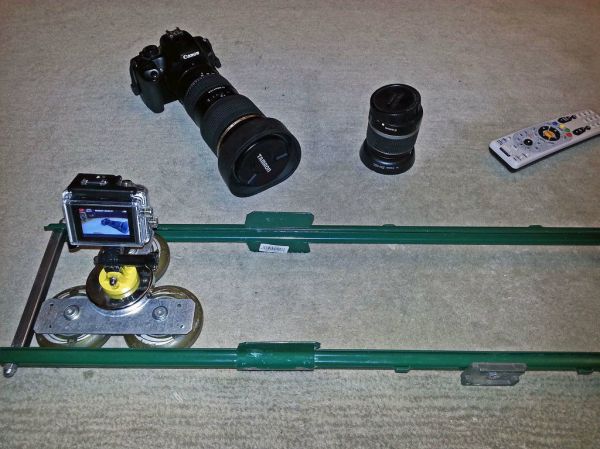
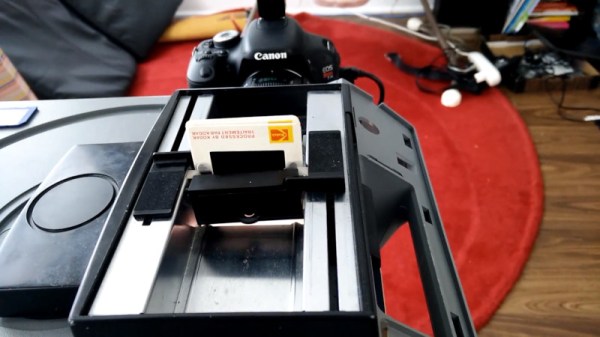
Like many similar projects, [Bryan] started with an existing slide projector as a base. This means that all the difficult work of slide transport is already taken care of. The projector has then been upgraded with an LED light source and other tweaks befitting its new role. An Arduino Pro Micro runs the show, firing off the camera to image each slide before loading the next one into place. The DSLR responsible for imaging is then hooked up to a PC so the incoming images can be checked while the machine is in operation.

Preliminary tests are promising, with the scanner successfully capturing several slides in a row. [Bryan] estimates that, with a capture time of between 1 and 2 seconds per slide, it should take somewhere between 2-5 days to image the entire collection.

We wish [Bryan] the best of luck with the project, and look forward to seeing the final results. We’ve seen similar work before, too. Video after the break.

Continue reading “A High-Speed Slide Scanner Build”

MacGyver Made IKEA Camera Slider

It’s not hard to drastically increase the production value in your videos by adding a camera slide to your shot — in fact, [Derek] shows us how to make a decent camera slide using parts from IKEA for less than $30.

The hack makes use of a cutting board, glider and hook accessories, a triple curtain rail, and two ceiling fixtures. The ceiling fixtures are simply used to make a mount for the curtain rail to rest on. [Derek] shows us an easy way to make the carriage with some careful drilled holes in the cutting board — he’s added a 3D printed tripod head for mounting the camera, but really you can use whatever you want.

It’s a pretty simple and easy to build rig, and the results are quite impressive — just check out the following video to see!

Continue reading “MacGyver Made IKEA Camera Slider”

Yet Another DIY Camera Slider

Professional camera gear is expensive, which is probably why there is such a huge DIY field for camera equipment. Here’s another great DIY camera slider that you can build for cheap.

Similar to other rigs we’ve seen, the heart of this design makes use of skateboard wheels — they’re cheap, have good bearings, and are easy to mount. He’s created a dolly for them using a T-strap bracket, which is used for wood framing — the wheels mount directly to it without any modification.

What we think is unique about this build are the rails [Shootr] decided to use. They’re U-Post fence posts — strong, rigid, and probably one of the cheapest forms of processed metal you can buy. To hold them together, he’s using a threaded rod with two pieces of 1/2″ square steel tubing, bracing the fence posts. This wedges the dolly in between them with just enough slack to slide smoothly back and forth.

The other method of making a camera slider like this is using tubular rails, which also allows you to add a curve in your camera track. And if you’re looking for a precise, 2-axis camera dolly… you should check out this one!