[quarterturn] had an old Apple Powerbook 520c sitting around in his junk bin. For the time, it was a great computer but in a more modern light, it could use an upgrade. It can’t run BSD, either: you need an FPU for that, and the 520 used the low-cost, FPU-less version of the 68040 as its main processor. You can buy versions of the 68040 with FPUs direct from China, which means turning this old Powerbook into a BSD powerhouse is just a matter of desoldering and upgrading the CPU. That’s exactly what [quarterturn] did, with an unexpected but not surprising setback.
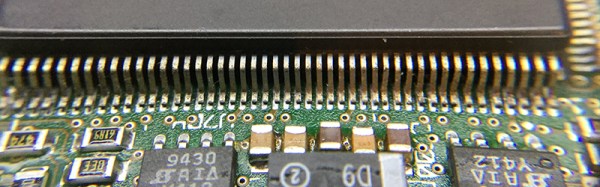
The motherboard for the Powerbook 500 series was cleverly designed, with daughter cards for the CPU itself and RAM upgrades. After pulling the CPU daughter card from his laptop, [quarterturn] faced his nemesis: a 180-pin QFP 68LC040. Removing the CPU was handled relatively easily by liberal application of ChipQuik. A few quick hits with solder braid and some flux cleaned everything up, and the daughter card was ready for a new CPU.
The new FPU-equipped CPU arrived from China, and after some very careful inspection, soldering, and testing, [quarterturn] had a new CPU for his Powerbook. Once the Powerbook was back up and running, there was a slight problem. The chip was fake. Even though the new CPU was labeled as a 68040, it didn’t have an FPU. People will counterfeit anything, including processors from the early 90s. This means no FPU, no BSD, and [quarterturn] is effectively back to square one.
That doesn’t mean this exercise was a complete loss. [quarterturn] did learn a few things from this experience. You can, in fact, desolder a dense QFP with ChipQuik, and you can solder the same chip with a regular soldering iron. Networking across 20 years of the Macintosh operating system is a mess, and caveat emptor doesn’t translate into Mandarin.


