Prints separating from the build plate or warping when you don’t want them to is a headache for the additive manufacturer. [CNC Kitchen] walks us through a technique to use that warping to our advantage.
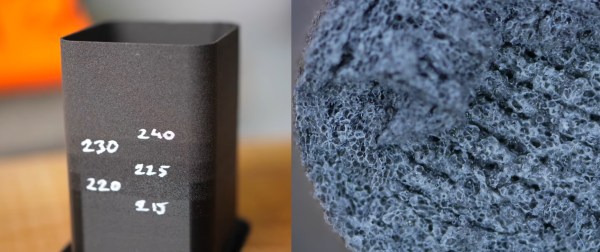
Based on a paper by researchers at the Morphing Matter Lab at UC Berkeley, [CNC Kitchen] wanted to try making 3D printed objects that could self-assemble when placed in hot water. Similar to a bimetal strip that you find in simple thermostats, the technique takes advantage of the stresses baked into the print and how they can relax when reaching the glass transition temperature of the polymer. By printing joints with PLA and TPU layers, you can guide the deformation in the direction you wish, and further tune the amount of stress in the part by changing the print speed of different sections.
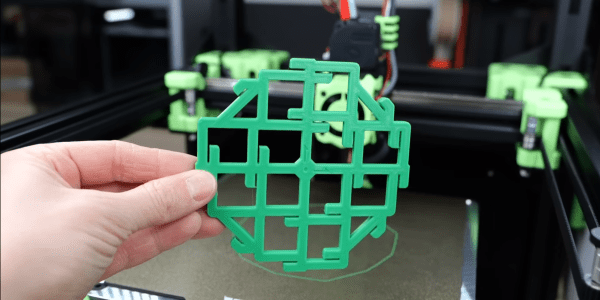
[CNC Kitchen] found that Hilbert curve infill slows the printer down sufficiently to create relatively stress-free sections of a print to create flat sections which is an improvement over the original researchers’ all TPU flat sections with respect to rigidity. We’ve covered how to reduce warping in 3D prints, but now we can use those techniques in reverse to design self-assembling structures. These parts, being thermoplastic, can also be heated, reformed, and then exhibit shape memory when placed back into hot water. It’s very experimental, but we’re curious to see what sort of practical or artistic projects could be unlocked with this technique.
We’ve seen a few other interesting techniques with folded objects like laser cutter origami, some flat-to-folded 3D prints that might be interesting to try with this technique, and also folded hybrid mechanisms made with laser cutting and 3D printing.