Adding threads to your 3D prints is a life-changing feature, but obviously there are a lot of trade-offs and considerations when deciding on how to go about this exactly. Between self-tapping screws, printed threads, heat inserts and a dozen other options it can be tough to decide what to go with. In a recent video [Thomas Sanladerer] runs through a few of these options, including some less common ones, and what he personally thinks of them.
Confounding factors are also whether you’re printing on an FDM or resin printer, what size thread you’re targeting and how often the screw or bolt will be removed. The metal heat inserts are generally a good option for durability, but when you have big bolts you get a few other metal-based options too, including thread repair inserts and prong nuts. Tapping threads into a print can also be an option, but takes a fair bit of patience.
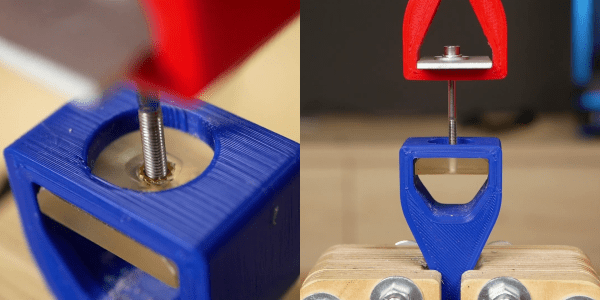
Slotted nuts can be an idea if you don’t mind carving a space into your model, and the comments dove on embedding nuts in the print by pausing during printing. Ultimately [Thomas] really likes to use a type of self-forming threads with just three protruding sections into the hole that the bolt taps into, which reduces the stress on the part and works well enough for parts that only have to be screwed down once or twice.
Continue reading “Comparing Ways To Add Threads To Your 3D Prints”