Tiny C64 PSU Rejects Tradition, Embraces USB

The Commodore 64 has, by modern standards, the interesting power requirement of needing both 5 VDC and 9 VAC. Traditionally, one would use an iron-core transformer to step-down the wall current — be it 220 V or 115 V, 50 Hz or 60 Hz — to produce the low-voltage AC.

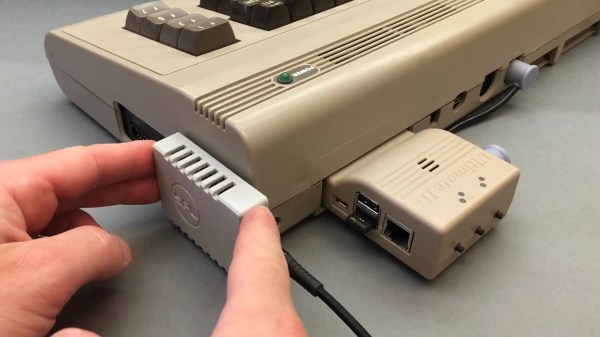
That’s how Commodore did it, and that’s how most of the aftermarket replacements do it, too. That iron-core transformer is bulky, though, and [Side Projects Lab] decided that in this day and age of switching supplies and USB-PD he could surely do better. Which he did, with the diminutive PD-64.

As you can see, it just covers the power port of the C64, and not much else. Partly that small size comes from offloading some of the hard work onto a USB-PD wall wart. The PD-64 requests 12 VDC, which it then steps down to 5 VDC with the usual buck converter, and inverts to 9 VAC in a circuit that is the most interesting part of the project.

There are various ways one could do this, after all, and we’re sure some of you will have different ideas than [Side Projects Lab], but his method seems sound. In order to provide galvanic isolation between the two outputs, the 12 VDC line is first chopped into a 500 kHz signal, and run through a tiny 5:6 ferrite transformer. That output gets rectified to 13.6 VDC, a voltage that is used to run a class-D audio amplifier to produce the 9 V peak-to-peak, zero-DC-offset signal the C64 needs.

[Side Projects Lab] has released both FreeCAD files for the case and STLs as BY-CC-ND 4.0, and a circuit diagram is available for the electrical side. If you don’t want to design your own PCB, [sideprojectslab] will be selling finished versions.

If you’re interested in further dragging your C64 into the modern era, check out the HDMI output that [Side Projects Lab] hacked together for the iconic computer last year.

Continue reading “Tiny C64 PSU Rejects Tradition, Embraces USB”
Give Your Bench Power Supply A Helping Hand

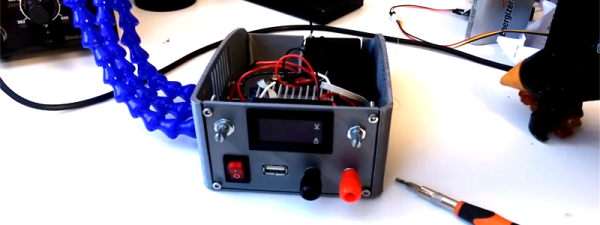
[Sverd Industries] have created a pretty cool bench power supply integrating soldering helping hands into the build. This helps free up some much-needed bench space along with adding that wow factor and having something that looks unique.

The build is made from a custom 3D printed enclosure (Thingiverse files here), however if you have no access to a 3D printer  you could always just re-purpose or roll your own instrument enclosure. Once the enclosure is taken care of, they go on to install the electronics. These are pretty basic, using a laptop PSU with its output attached to the input of a boost/buck module. They did have to change the potentiometers from those small PCB mounted pots to full size ones of the same value though. From there they attach 4 mm banana sockets to the output along with a cheap voltmeter/ammeter LCD module. Another buck converter is attached to the laptop PSU’s output to provide 5 V for a USB socket, along with a power switch for the whole system.

Where this project really shines is the integrated helping hands. These are made from CNC cooling tubes with alligator clips super glued to the end, then heat shrink tubing is placed over the jaws to stop any accidental short circuiting while using them.

This isn’t a life changing hack but it is quite a clever idea if space is a hot commodity where you do your tinkering, plus a DIY bench power supply is almost a rite of passage for the budding hacker.

Continue reading “Give Your Bench Power Supply A Helping Hand”

Get To Know Voltage Regulators With A 723

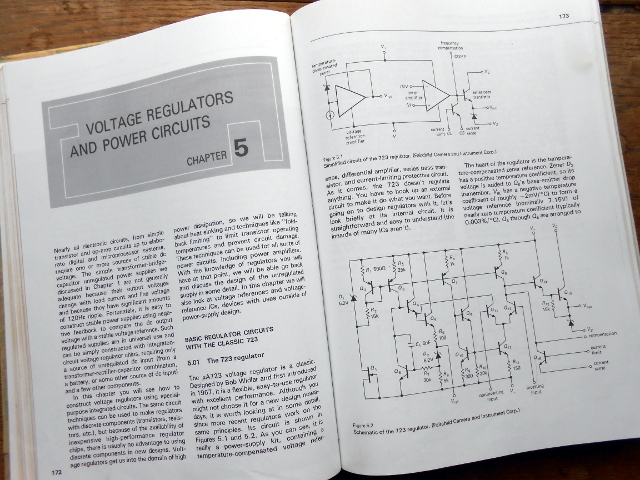
“Chapter 5; Horowitz and Hill”. University students of all subjects will each have their standard texts of which everyone will own a copy. It will be so familiar to them as to be referred to by its author as a shorthand, and depending on the subject and the tome in question it will be either universally loathed or held onto and treasured as a lifetime work of reference.

For electronic engineers the work that most exemplifies this is [Paul Horowitz] and [Winfield Hill]’s The Art Of Electronics. It definitely falls into the latter category of course books, being both a mine of information and presented in an extremely accessible style. It’s now available in its third edition, but the copy in front of me is a first edition printed some time in the mid 1980s.

The Art of Electronics, on regulators.

Chapter 5 probably made most of an impression on the late-teenage me, because it explains voltage regulation and power supplies both linear and switching. Though there is nothing spectacularly challenging about a power supply from the perspective of experience, having them explained as a nineteen-year-old by a book that made sense because it told you all the stuff you needed to know rather than just what a school exam syllabus demanded you should know was a revelation.

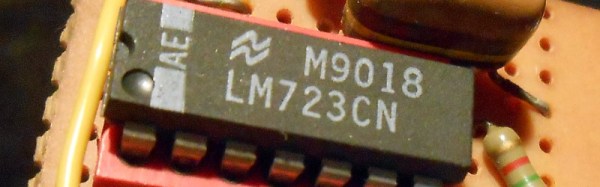
On the first page of my Art of Electronics chapter 5, they dive straight in to the μA723 linear voltage regulator. This is pretty old; a design from the legendary [Bob Widlar], master of analogue integrated circuits, which first made it to market in 1967. [Horowitz] and [Hill] say “Although you might not choose it for a new design nowadays, it is worth looking at in some detail, since more recent regulators work on the same principles“. It was 13 years old when they wrote that sentence and now it is nearly 50 years old, yet judging by the fact that Texas Instruments still lists it as an active product without any of those ominous warnings about end-of-life it seems plenty of designers have not heeded those words.

So why is a 50-year-old regulator chip still an active product? There is a huge range of better regulators, probably cheaper and more efficient regulators that make its 14-pin DIP seem very dated indeed. The answer is that it’s an incredibly useful part because it does not present you with a regulator as such, instead it’s a kit of all the parts required to make a regulator of almost any description. Thus it is both an astonishingly versatile device for a designer and the ideal platform for anyone wanting to learn about or experiment with a regulator.
Continue reading “Get To Know Voltage Regulators With A 723”

Airport Express Repair


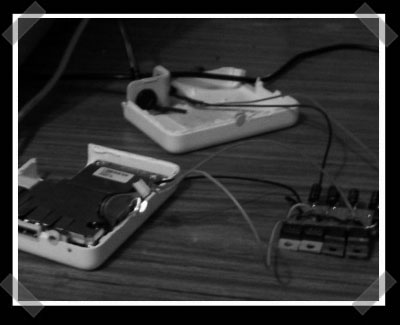
[Eduard] was kind enough to pass along this airport express psu repair how-to (Translated version). The old Airport had those pesky capacitor issues. Apparently the power supply in the little buggers can have issues. The solution? Add a pile of voltage regulators and some smoothing caps to get things powered back up. No word on how the new PSU affects sound output.