Ljusmaskinen Takes The Rave To The Streets (Eventually)

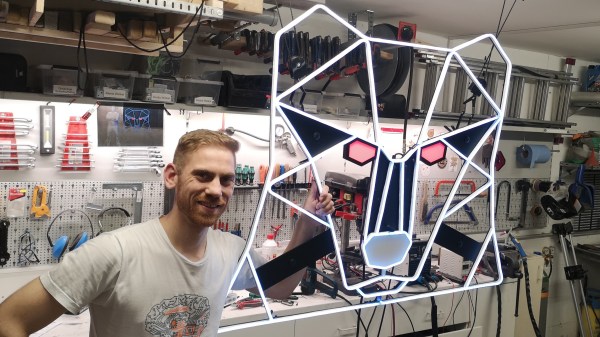
When humanity comes out the other side of this pandemic there will be a mountain of awesome projects to show off in person. For instance, this backpack mounted DMX lighting was built to be worn as a mobile rave rig by Swedish hacker [Tim Gremalm]. In-person raves aren’t happening right now but that just means there’s time to add waaaaay to many features to this thing until lockdowns become a thing of the past.

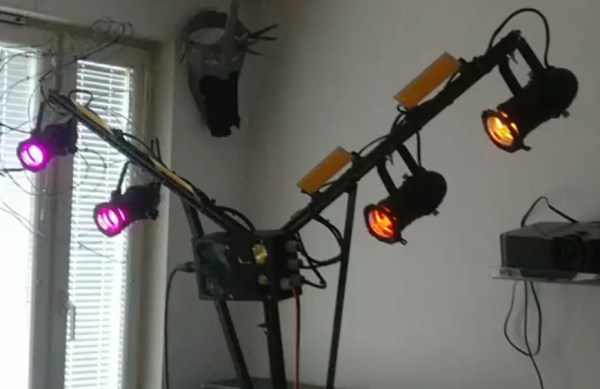
The frame holding the lighting integrates into this backpack and we assume that’s where the battery is stored. The Y-shaped masts hold four PAR lights. Incidentally, that mean parabolic aluminized reflectors, which are commonly used for stage lighting, but in this case the halogen bulbs have been torn out for a trio of 4 W RGBW LEDs. The yellow rectangles are 10 W Chip-on-Board LED panels that serve as strobe lights.

But merely having the lights does not make it a Rave — this party needs both music and a way to synchronize the lighting effects with it. The music part was already built and used at the West Pride Gothenburg festival (the second largest in Sweden after Stockholm) five years ago. That project, called Festmaskinen, works in conjunction with Ljusmaskinen (the Light Machine). So two people carry the rave on their backs, one with music, the other with the lighting, now that’s a party!

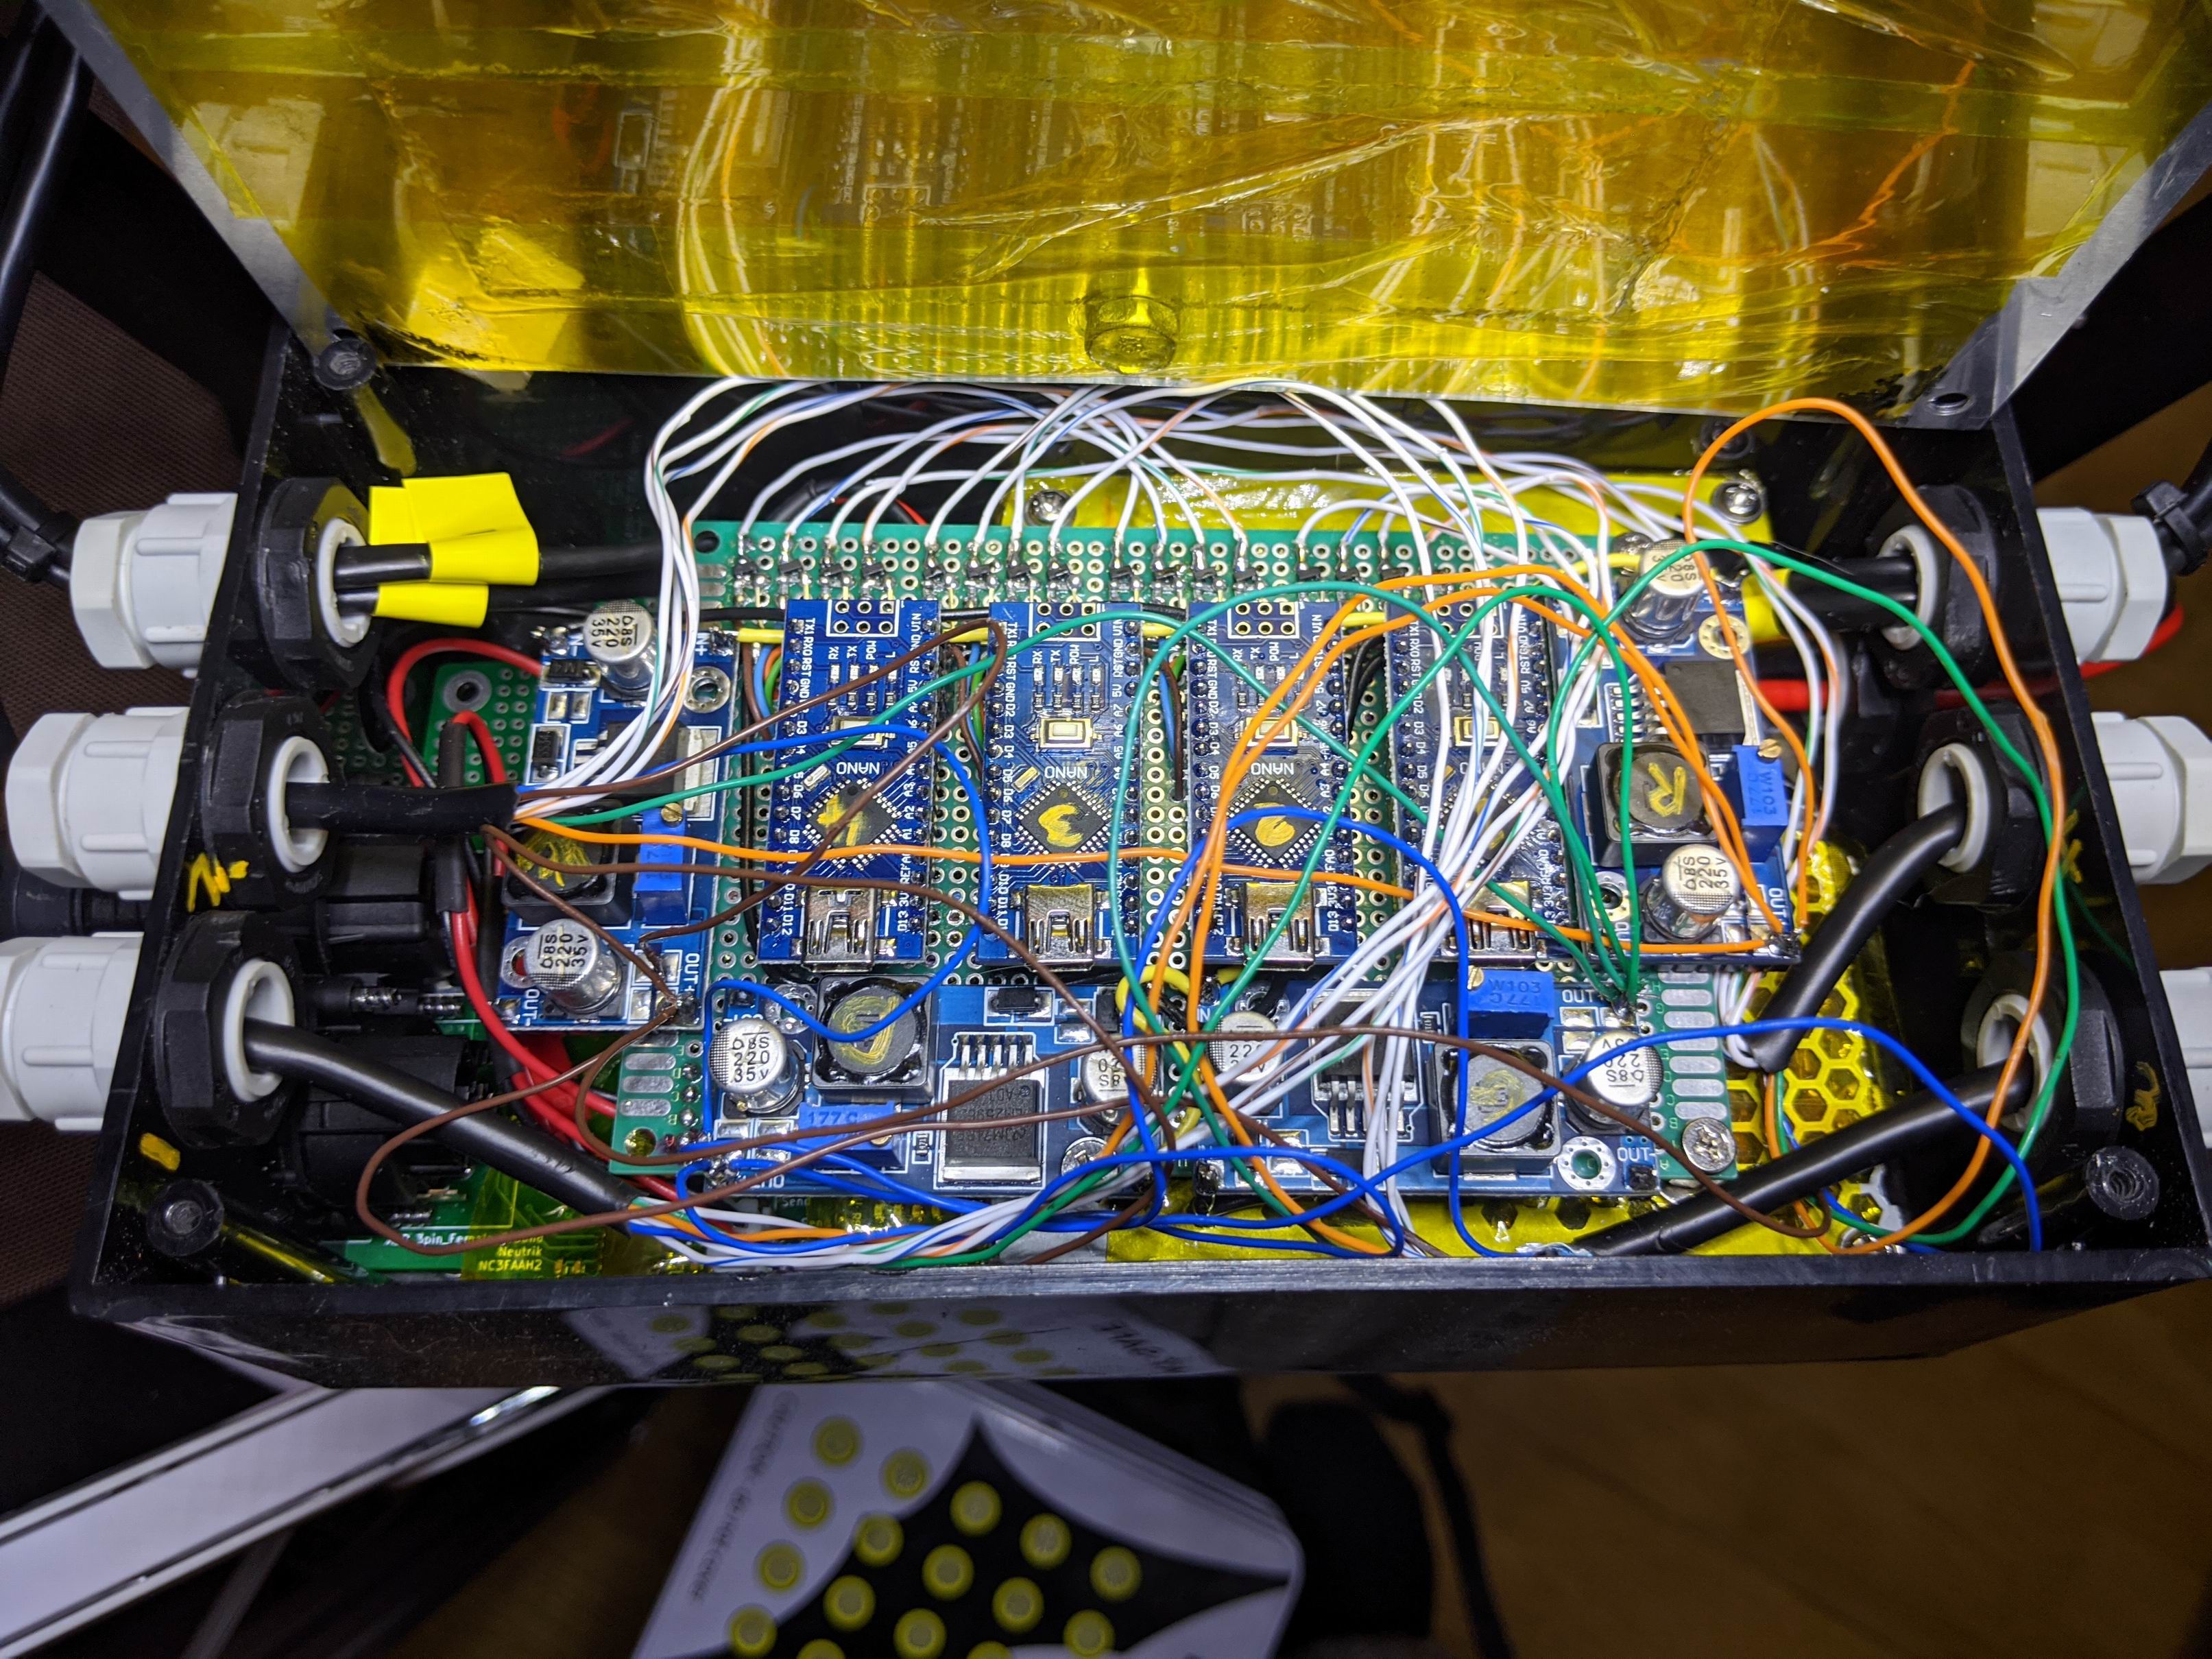
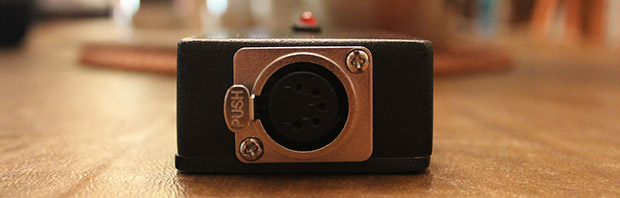
The light controller board uses a set of four Arduino Nano boards along with four voltage regulators to provide control to each of the PAR lights. All of it is stitched together by control from a DMX input board which also controls the COBs. (In this image the DMX board is hidden below the light control board.) Of course you need something that can process the audio and turn it into DMX512 to bring those lighting animations to life and for that he reached for a Raspberry Pi.

[Tim] has a quick demo of the rig at work which we’ve embedded below. What we’re missing is seeing how the top-heavy structure handles when worn as a backpack. Hopefully he’ll be able to get out of his low-ceilinged home and let the stage lights fly before too long!

Getting That Neon Sign Look Without All The Hassle

We all love the look of neon signage, but the between the glassblowing equipment, gas cylinders, high voltage, and the associated skill set, it’s not practical for everyone. Luckily, these days there’s a good alternative: “neon” flexible LED strips. This is the approach [Benni] recently took in making a large logo display, and the results speak for themselves.

[Benni] sourced the strips from AliExpress. They’re 8 mm wide and can be cut to length in multiples of 4.2 cm. Inside, there are strips of RGB LEDs, making the displays that much more versatile than actual neon. Covering the LEDs is a silicone diffuser strip that completes the illusion of a neon tube. The flexibility of the strips make them easy to bend into different shapes, but also mean a solid substrate of some sort is required to make them hold their shape. In [Benni]’s case, he used a metal frame to which he glued the strips with cyanoacrylate adhesive. He used zip ties to clamp the strips in place while the glue cured, and the fact that he clipped the tails of the zip ties is a testament to his detail-oriented nature; we would probably have left them on. All of the attention payed off though because the end product looks awesome. The finishing touches are supplied by some 3D-printed bezels carrying acrylic diffuser panels and traditional LED strips for the eyes, plus a DMX LED controller.

We’ve seen [Benni]’s work before, like this slick USB rotary encoder peripheral, and like that time, there’s a video which really shows off the project. Have a look, after the jump.

Continue reading “Getting That Neon Sign Look Without All The Hassle”

THP Entry: A Theatrical Lighting Controller Powered By A Calculator

DMX

Theatrical lighting usually runs with the help of DMX, a protocol that’s basically MIDI for lights; small, lightweight, ancient, and able to run on the lowest spec computers imaginable. For his Hackaday Prize entry, [Alex] figured a regular ‘ol graphing calculator was sufficient to run a complete DMX controller, and with the help of an Arduino, figured out a way to do it.

The hardware for the system consists of a TI-84 graphing calculator, a few bits and bobs in the way of components, and an Arduino Pro Mini powered from the USB port on the calculator. The Arduino handles the transmitting of DMX packets at 250 kbaud using the DMXSimple library over a 5-pin XLR jack.

The software running on the calculator is where the novel part of the project begins. The software is designed to be extremely lightweight, sending packets to the Arduino using the 2-wire link cable. DMX Commands are wrapped up and transferred using the TI-83/84 link protocol, decoded on the Arduino, and sent out to the lighting rig.

While this probably won’t replace the multi-thousand dollar lighting consoles found in theatres, it’s still a very handy and portable tool for debugging lights. It’s also [Alex]’s My First Electronics Project™, and a pretty good one at that.


SpaceWrencherThe project featured in this post is an entry in The Hackaday Prize. Build something awesome and win a trip to space or hundreds of other prizes.