The rise in cheap PCB fabrication has made old-school prototyping methods such as wire wrapping somewhat passé, but it still has its place. And if you’re going to wire wrap, you’re going to want a quick and easy way to strip that fine Kynar-insulated wire. So why not use PCB material to make this handy wire-wrapping wire stripper?
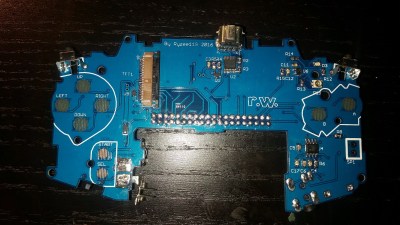
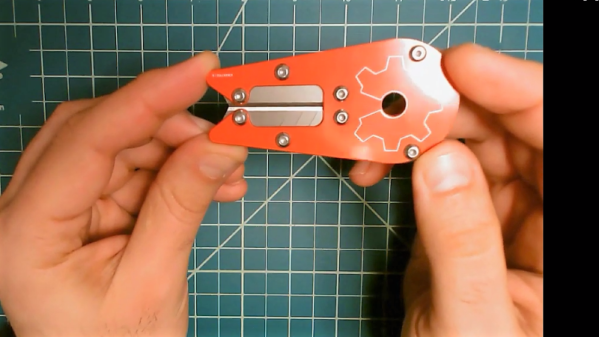
The tool that [danielrp] built is pretty simple – just a pair of razor blades held together so as to form a narrow slot to cut insulation while leaving the conductor untouched. The body of the tool is formed of two PCBs, between which the blades are sandwiched. [danielrp] designed the outline of the PCBs in DraftSight, then exported a DXF into EAGLE to make the Gerbers. The fabricated boards needed a little post-processing, including tapping the holes on one side to accept the screws that hold the tool together. We were surprised that FR4 took the threads at all, but it seems to work for this low-torque application. The disposable snap-type blades were sandwiched between the PCBs and the gap between them adjusted for nick-free stripping. The video below shows the design and build process.
We always appreciate homemade tools, and the fact that you can get a stack of PCBs for almost nothing makes us wonder what else we could use them for. We recently saw them used in a unique word clock, and even turned into a folding circuit sculpture.
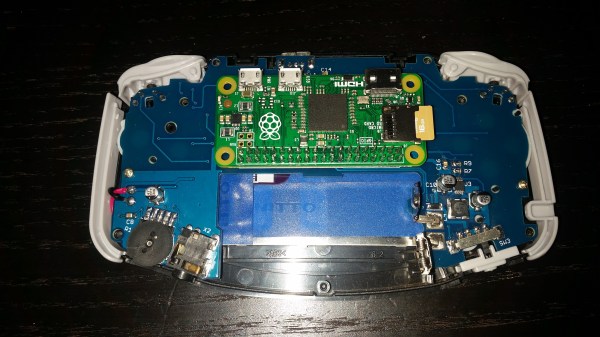
 It’s not until you notice that it really shouldn’t be playing any games without a cartridge inserted that you know something is not right in the Mushroom Kingdom. When you look inside you see the edge of a Raspberry Pi Zero instead of the card edge connector you expected.