You probably already know that cardboard is versatile, but that goes far beyond the corrugated stuff. There are many types of cardboard out there, some of which you may not even be aware of. In the video after the break, [Eric Strebel] goes through them all and pits each one against his 50 W water-cooled laser with air assist, making a nice reference for himself in the process.
 The point of this shootout is to find the optimum speed and power settings for each of these materials using a free power versus speed file. [Eric] almost always runs the thing somewhere between 10% and 50% power, so that’s the range represented here. He’s looking for two things: the settings that leave the least amount of kerf (make the thinnest cut line) and make the cleanest cuts without producing a lot of residue.
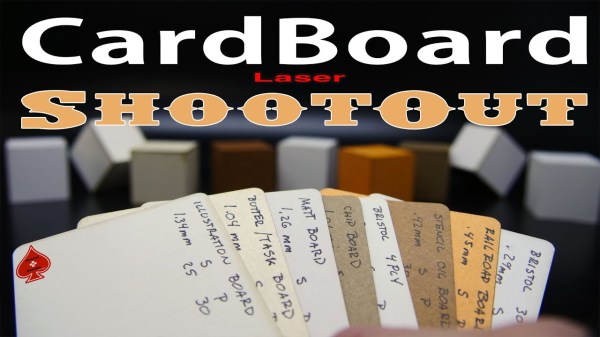
[Eric] divided his contestants into three weight classes, the heavyweights being butter board, chip board, mat board, and illustration board All of these are thicker than 1mm. On the middleweight roster, you have railroad board, 4-ply Bristol board, and stencil board, and all of these are under 1mm thickness. Finally, we have the lightweights — yupo paper and 300 series Bristol board, both of which are less than ½ mm thick.
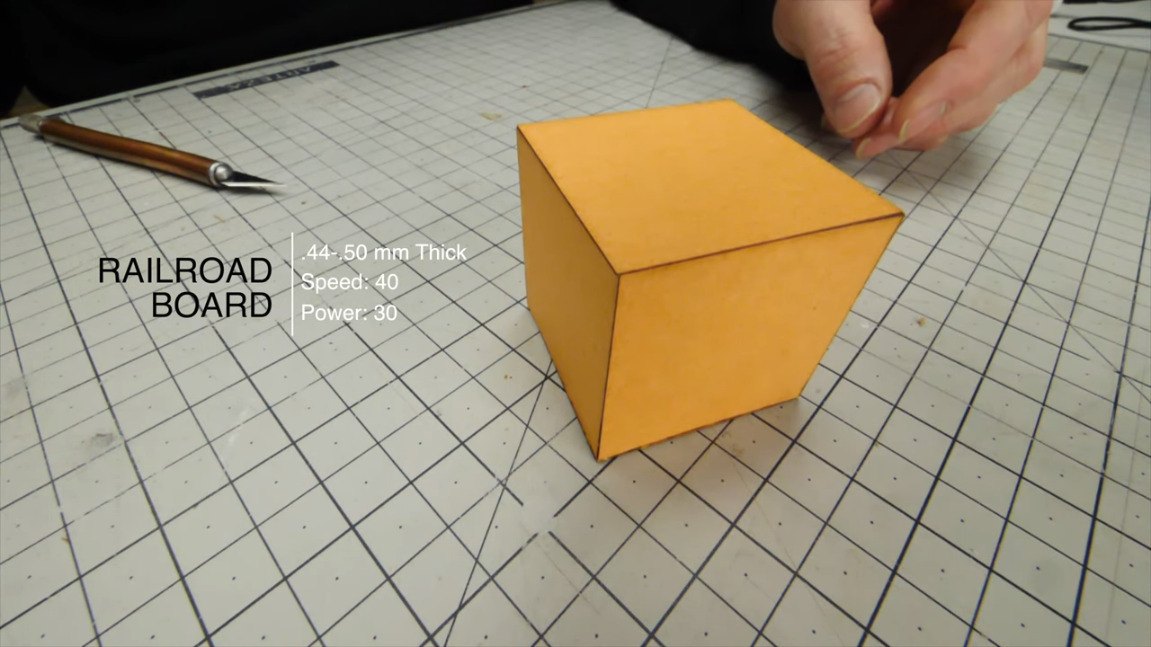
To test their model-making capabilities, [Eric] made a cube out of each material. Once the glue is dry, he peels off the painter’s tape and goes through the various pros and cons of them all. Be sure to check it out after the break.
Of course, you don’t have to hit up the art store to have fun with cardboard — just visit your recycling bin and mix up some cardboard pulp for sculpting and molding.
Continue reading “Cardboard Vs. Laser Shootout: A Tale Of Speed And Power Settings”
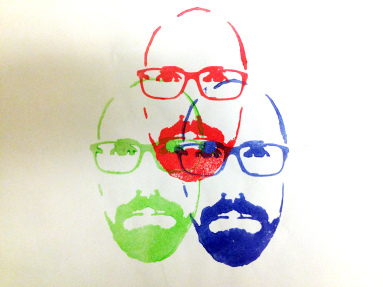 No, that’s not Heisenberg without his hat. It’s [Jens], and
 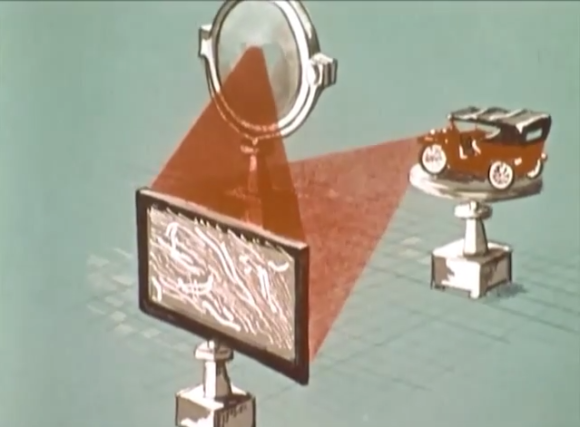 This week’s Retrotechtacular is a


