Are you tired of hammering out the same commands over and over again in GDB? If not, we highly encourage you take more advantage of The GNU Project Debugger, which is a fantastic way to poke around inside your microcontrollers while they’re running a program.
Back to the matter at hand. [Stef] put together a Python program that leverages GDB’s Remote Serial Protocol. He calls it pyrsp and the talk he recently gave about it can be seen below.
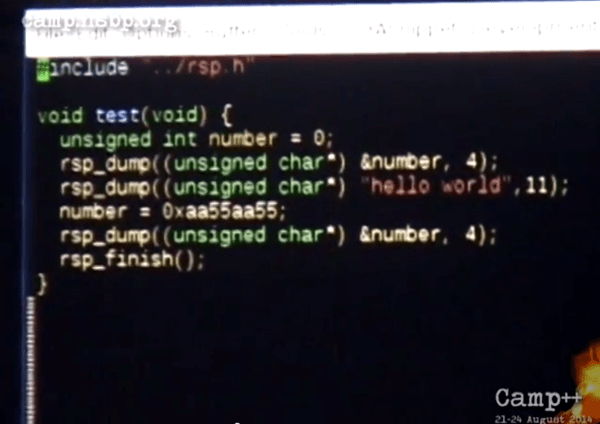
The core feature is the ability to add a callback in your C code that triggers the Python script. Think of this a little bit like a print statement, except you have so much more power since it’s Python and GDB doing the “printing”. Anything that can be done at a breakpoint in GDB can now be executed automatically. So if you need to check a group of registers at every loop execution for hundreds of loops your wrists are going to thank you. Better yet, you can use Python to do the sanity checks automatically, continuing when the data is good and alerting you when it’s not. Neat!
Continue reading “Scripting Debug Sessions: Python For GDB Remote Serial Protocol”