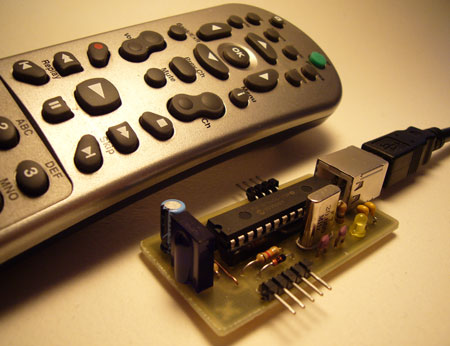
The INFRA-NINJA — A PC Remote Receiver

F3GULGEHTOUJI73.MEDIUM

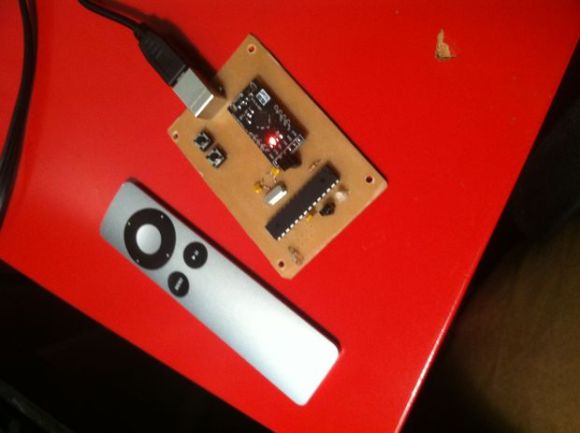
Laziness sometimes spawns the greatest inventions. Making things to reduce effort on your part is quite possibly one of the greatest motivators out there. So when [Kyle] had to get out of bed in order to turn off Netflix on his computer… He decided to do something about it.

He already had an Apple remote, which we have to admit, is a nice, simple and elegant control stick — so he decided  to interface with it in order to control his non-Apple computer. He quickly made up a simple PCB up using the good ‘ol toner transfer method, and then populated it with a Bareduino, a CP2102 USB 2.0 to TTL UART 6PIN Serial Converter, an IR receiver, a USB jack, header pins, and a few LED and tactile switches.

It’s a bit tricky to upload the code (you have to remove the jumper block) but then it’s just a matter of connecting to it and transferring it over with the Arduino IDE. The Instructable is a bit short, but [Kyle] promises if you’re really interested he’ll help out with any questions you might have!

Using An IR Remote With Your Arduino

If you’ve ever needed a short-range remote control for a project, [firestorm] is here to help you out. He put up a great tutorial on using an IR remote to do just about anything with everyone’s favorite microcontroller platform.

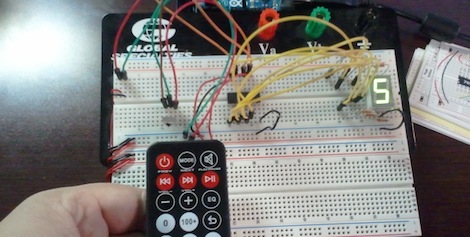
[firestorm] used the Arduino IRremote library to decode the button presses on his remote. After uploading the IR receive demo included in the library, the Arduino spit out hex codes of what the IR receiver was seeing. [firestorm] wrote these down, and was able to program his Arduino to respond to each individual button press.

After figuring out the IR codes for his remote, [firestorm] threw a shift register into his bread board and attached a seven-segment LED. Since [firestorm] knows the codes for the number buttons on his remote, it’s very easy to have the LED display flash a number when the corresponding button on the remote is pressed.

A single seven-segment display might not be extremely useful, but with [firestorm]’s tutorial, it’s easy to give your Arduino some remote control capabilities with a simple IR receiver. Not bad for a few dollars in parts.

Playing Snake With A TV Remote

[vinod] sent in his replica of a Snake game, the game to play on old Nokia dumb phones.

The build is based on a PIC16F877 microcontroller just like previous Snake builds we’ve seen, but [vinod] didn’t use physical buttons in his build. Instead, he used a Philips infrared TV remote to control the game. The infrared controller only takes up one pin on the microcontroller, as opposed to the 4 pins of the easiest four button setup. [vinod] also threw in a simple one-transistor level converter so Snake can be played with a PC via RS-232. With the PIC code included in the build, it’s a great build that reminds us of a more civilized age.

The video of [vinod]’s snake game in action is posted after the break, but we noticed that the snake is allowed to ‘warp around’ the sides of the LED matrix. Some people might consider that cheating but that can be fixed by changing a few lines of code.

Continue reading “Playing Snake With A TV Remote”

How-to: USB Remote Control Receiver

Now that we listen to MP3s, and watch XVIDs or x264s, a computer is the entertainment center in at least one room of most homes. Unless you have a special HTPC, though, you’re probably stuck using the keyboard to pause, change the volume, and fast-forward through annoying Mythbusters recaps. PC remote control receivers range from ancient serial port designs (who has one?) to USB devices not supported by popular software. In this how-to we design a USB infrared receiver that imitates a common protocol supported by software for Windows, Linux, and Mac. We’ve got a full guide to the protocol plus schematics and a parts list.

Continue reading “How-to: USB Remote Control Receiver”

Control Media Center With Programmable IR Receiver

This IR receiver based on ATtiny13 microcontroller is used to control a Media Center box via a remote. The circuit is powered by 20 pin ATX connector pin 9 “+5VSB” because it is the only pin that is powered when the computer is off, or in standby. The receiver is programmed to accept the codes from the remote by holding down the switch while pressing the remote button. The circuit can use “Girder” or “PC remote control” as controlling software on the Media Center.