Laser So Easy To Build Anyone Can Burn Their Eyes Out

The boys over at North Street Labs built a handheld burning laser and made it look super simple. Well it’s not. We don’t think it’s hard either, but the only reason it looks so easy is because they really know what they’re doing.

The first step was to source the best parts for the application. They’re using a handheld flashlight body which is small but still leaves plenty of room for the components. Next they ordered a quality lens made for the wavelength of the diode, as well as a prefab driver board.

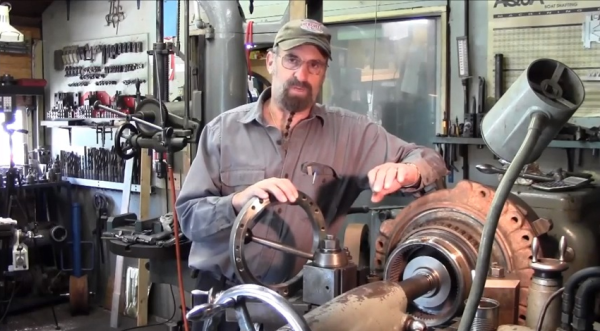
Now the real build starts. They hit the metal lathe and machined a housing for the diode out of some aluminum stock. To marry the parts together they applied some thermal paste, and used a wrench socket to protect the diode from the pressure the vice jaws exert. It slid into place and the whole thing fits perfectly in the flashlight housing. The project wouldn’t be complete without video proof of it burning stuff. You’ll find that after the break.

Continue reading “Laser So Easy To Build Anyone Can Burn Their Eyes Out”

CNC Conversions With [Bob]

[Bob Berg] emailed in to request that we take a look at his website. We did, and we liked what we saw! [Bob] has done a couple CNC mill conversions and documented the process quite thoroughly.

The first one listed on his site is a Sieg x-3, seen above. [Bob] explains that the first thing he did when he received it was tore it apart and  cleaned it meticulously. We’re not sure if [Bob] was being insanely neat, or if he bought a used dirty unit. Either way, you can’t argue that a nice clean machine is the way to start. After a short while using it the way it was, he added a digital read out for a little more accuracy. From there, he went for a fully motorized conversion.

Keep looking around his site. There is another full build (a lather master RF45) as well as some miscellaneous other projects that are quite interesting.

Repair A Misbehaving Motor Controller Board

It can be a real drag to fix a circuit board which has stopped working as intended, especially if you don’t have any reference material for the product. That’s the position that [Todd Harrison] found himself in when the controller for his mini-lathe gave up the ghost. He undertook and hefty repair process and eventually mapped out and repaired the driver board.

First off, we’re happy to report his success at the end of a year-long troubleshooting process; the entirety of which occupies six different posts. The link at the top is the conclusion, and you’ll find his final test video after the break. But as you can see from the image above, he was met with a lot of problems along the way. The first two segments show him reverse engineering the PCB, with a giant schematic coming out of the process. In part 3 he then started probing the board while it was live, with the smell of hot electronics causing him to disconnect the power every thirty seconds. One time he took too long and blew a resistor with the pictured results.

In the end it was a shorted PWM chip to blame. He tested a couple of different replacement options, dropped in the new part, and is now back in business. Continue reading “Repair A Misbehaving Motor Controller Board”

Simple Machining Process Repairs Broken Control Knob

[Francisco] is helping his mother with a repair to the headlight knob on her Ford Ranger. Above you can see the broken knob on the left, and what it is supposed to look like on the right (taken from [Francisco’s] own vehicle for reference). We’ve encountered split shafts on plastic knobs before and decided it was not something that could be fixed. But he didn’t give up so easily. He mentions that you can purchase a replacement for a few bucks, but he has the means to repair the knob by machining a metal bushing.

The idea is that you mill a metal ring whose inner diameter matches what the outer diameter of the plastic shaft should be. By inserting the broken knob in the ring, the plastic is held tightly together as if it had never broken. In the video after the break [Francisco] uses a metal pencil body from his junk box and a mini-lathe to cut the bushing to length, and mill the inner diameter to his specifications.

He talks about the difficulty of getting replacement parts in Chile, where he lives. But we think this kind of thrift is a great example for all hackers. If you’ve got the tools why not use them? And if you don’t have them, here’s a great excuse to procure them!

Continue reading “Simple Machining Process Repairs Broken Control Knob”

They May Be For Developing Countries, But We Want A Concrete Lathe

At the 2009 Ghana Maker Faire, [Pat Delany] met a young carpentry student that saved for three months to buy a cheap Chinese wood plane. He was confounded by this distribution of resources, so [Pat] created the Concrete Lathe project that aims to get useful machine tools out to where they’re needed most.

The idea for concrete machine tools came out of the US involvement in World War I. America had been staunchly isolationist before committing to the war, and production of arms did not match the needed output. A man named L.I. Yeomans came up with the idea of building concrete lathes to produce artillery shells for the war effort.

Of course, the concrete lathe project is a bit more peaceful in its intentions. The concrete lathe is meant to be a cheap machine tool for developing nations. Both the concrete lathe and the Multimachine are meant to be built cheaply using scrap materials, reduce training time for machinists, and create other machine tools in a Reprap-like biological distribution.

There’s a ton of documentation on the concrete lathe wiki like the bed instructions torn from the pages of Ikea instructions, and the thread follower. While they’re still a lot of work and testing to be done, giving some manufacturing capability to those who need it most is a pretty noble cause.

Thanks [Rob] for sending this one in.

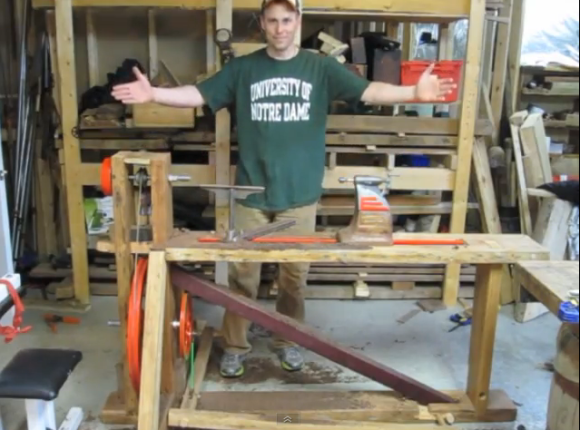
Improvised Metal Lathe

[McKGyver] needed a few parts manufactured. Instead of going the normal route – finding friends with machine tools or paying a machine shop, he improvised a rudimentary metal lathe.

As much as we love 3D printers, they’re not the be-all, end-all solution for everything. Sometimes, you need to get a little dirty and do it the old-fashioned way. [McKGyver] needed a way to produce aluminum shaft couplers to join stepper motors to lead screws. A 1940s grinding wheel was used for the headstock. Since [McKGyver] only needed couplers of one size, he made a jig out of wood to attach the aluminum blanks to the spindle. A drill and a focuser from a photographic enlarger makes up the tailstock of the improvised lathe. The use of a camera focuser is pretty clever. Unless the equipment has been damaged, it’s guaranteed to move in a straight line. A small laser was used to align the drill.

The finished couplers were concentric to 0.005″. A ‘passable precision’ for his application, and a clever build that doesn’t involve moving a thousand pound South Bend lathe.

Lightsaber Boasts Detachable Blade And Crystal Chamber

[Bradley W. Lewis] continues to amaze us with this Return of the Jedi Lightsaber build. You’ll remember his fine work from his previous Episode IV replica. He’s taken the parts that turned out well for him and expanded upon them. In the demonstration after the break you’ll see the new version has a removable blade (which happens to house 90 LEDs). Just like the last time he’s got a Hasbro sound board and a speaker to add the Jedi-like sound effects. But there’s another trick up his sleeve. Two parts of the grip slide apart on a spring-loaded assembly to reveal the crystal that gives the weapon its sting. And as we found out the last time, [Bradley] really knows how to share his work in the build log.

Oh, and the drawings above? Well, someone who plans this meticulously obviously knows what they’re doing.

Continue reading “Lightsaber Boasts Detachable Blade And Crystal Chamber”