When it comes to building decent aerodynamic devices, you want to focus on getting your geometry accurate, and making sure your parts are strong enough to deal with the force they’re generating. This build from [Engineering After Hours] delivers on those fronts, consisting of a high-downforce wing for a small RC car.
 The video points out that, at best, even a decent RC car will have pretty crappy aerodynamic parts from the factory, with a lift-to-drag (L/D)ratio of 2-3:1 at best. This means that, while they may create some small amount of downforce, they’re also creating plenty of drag at the same time.
The dual-element wing designed here is much more efficient, hitting an L/D ratio in the vicinity of 17:1 – a huge improvement. Even a casual eye can note that the design looks a lot more like something you’d see on a full-size car, versus some of the whackier designs seen on toys.
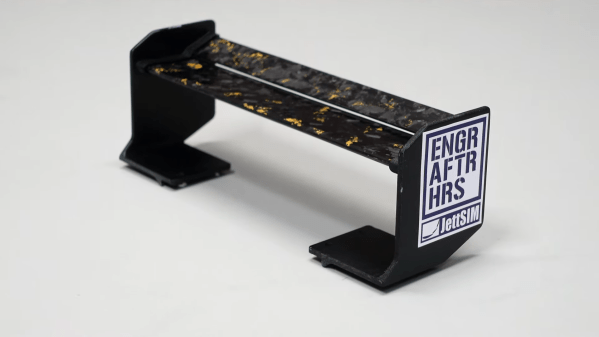
The wing is built with a forged carbon fiber process using 3D-printed molds, to give the wing plenty of strength. Given that it’s built for an RC car that can do over 100 mph, making sure the wing is stiff enough to perform at speed is key.
[Engineering After Hours] does a great job of showing how to prepare the molds, fill them with carbon fiber, and pour the resin, and discusses plenty of useful tips on how to achieve good results with the forged carbon process.
The result is an incredibly impressive rear wing with aerodynamic performance to match its good looks. It may be more complicated than 3D printing, but the results of the work are that much tougher.
We’ve seen other aero experiments from [Engineering After Hours] before, too. Video after the break.
Continue reading “Building Forged Carbon Fiber Wings For Radio Control Cars”