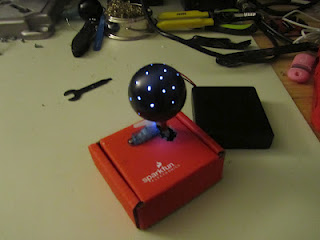
It’s hard to part with some things, even if they’re broken and were worth next to nothing to begin with. But some things are just special, y’know? And we would say in this case, the thing was definitely worth saving.
[Taste the Code]’s daughter’s beloved night light had a terrible flickering problem, and then stopped working altogether. Eager to make her happy, he cracked it open and found that one of the wires had disconnected from the outlet pin it was soldered to. That’s a simple enough fix, but trying to solder in tight quarters where the walls are soft plastic can be quite challenging.
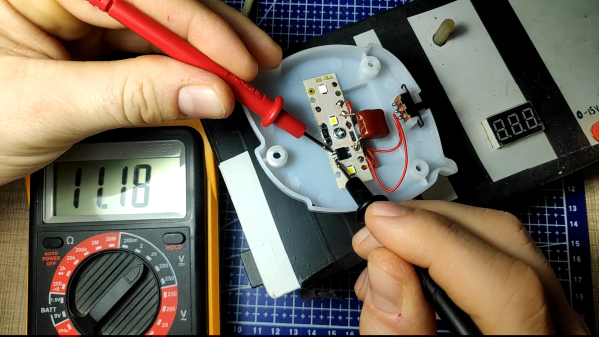
Once that was fixed, [Taste the Code] plugged it in to a test outlet. It’s back to working, but also back to flickering, because there is no capacitor to smooth out the signal going to the LEDs. [Taste the Code] measured the voltage drop across the output of the bridge rectifier and soldered in an electrolytic cap with more than double the necessary voltage rating, just to be safe. You can check out the video after the break.
This goes to show several things: one, you can learn from fixing and improving cheap electronics from the likes of your local dollar store. Two, you can also get some kinds of components there quite inexpensively from things like magnetic sensor-based window alarms and dirt cheap solar garden lights.
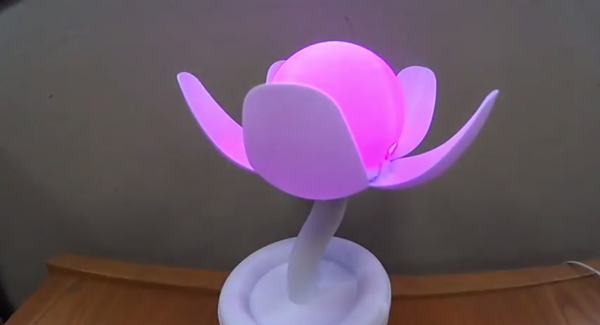
You can also do some fun stuff with those cheap IKEA lamps designed for children. Here’s an adorable cloud lamp with an RGB LED upgrade that shows the weather mood using an ESP8266.
Continue reading “Fixing The Flicker Afflicting A Night Light”
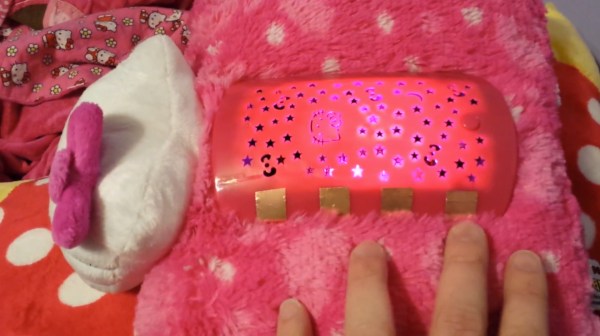
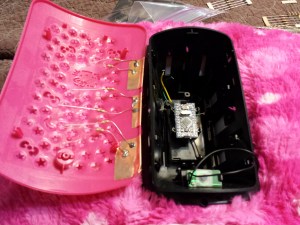 As a thing whose one purpose was to shine bright starry patterns on a child’s wall at night, the pillow failed miserably. [Dan] Wondered why his daughter’s toy couldn’t live up to reasonable expectations all while sucking batteries dry, so he opened the large pink plastic casing in the center of the pillow to find a rather minimal board driving three very dim LEDs. The LEDs that faded on and off to create mixtures of different colors weren’t even red, green and blue either. The makers of the toy used yellow instead of the slightly more expensive blue color. Having none of this, [Dan] replaced these sad innards with an Arduino Pro Mini which he programmed to drive an old salvaged speaker and three bright RGB LEDs borrowed from the end of a light strip. For the unnecessary but cool part, he used the additional pins of the Arduino micro-controller to add four touch sensitive buttons on the outside of the pink casing. These small capacitive tiles made from copper tape activate sound and change the color of the LEDs when touched, making the pillow a lot more reactive than it was before.