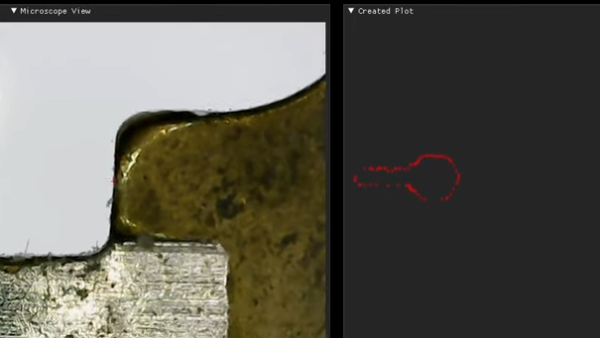
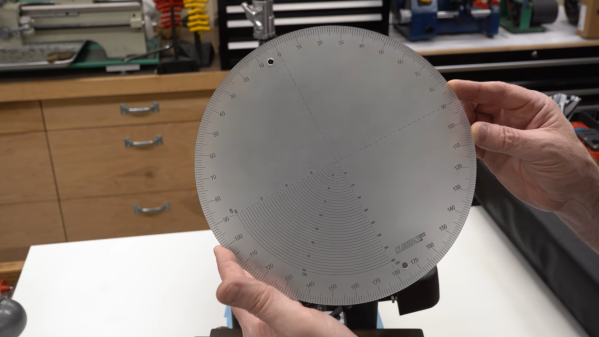
Precision instruments often contain specialized components that are essential to their function, but nearly impossible to replace if they fail. [Andre] had just such a problem with an optical comparator, which is an instrument typically used in machine shops to help check the tolerances of a finished part. It does this by projecting a magnified picture of an object onto a glass screen with markings showing angles and distances.
In the old comparator [Andre] bought on eBay, the markings on the glass had faded to such a degree that the instrument was almost unusable. So he contacted [James] over at Clough42, who was able to create a near-perfect replacement screen by using a laser cutter, as shown in the video embedded below.
The first step was to replicate the screen’s markings in a CAD program. [James] explains the process in Fusion 360, demonstrating how you can generate all the different scales nearly automatically through the proper use of constraints, variables and patterns. He then transferred the drawing to Lightburn, which drives the laser cutter and etches the markings into a sheet of glass covered with CerMark, a marking solution that turns a deep black when heated by a laser.
After etching, the final step was to apply frosting to the glass to turn it into a projection screen. While there are several ways to achieve this, [James] went for a simple spray-based method that gave surprisingly good results. It took a few experiments to find out that etching the markings on the back of the glass and applying the frosting on that side as well gave the best combination of sharpness and durability.
[James]’s project shows that even delicate instruments with custom glass components can be repaired, if you just have the right tools. A similar strategy might also work for creating custom scales for analog meters, or even old radio dials. If you’re not familiar with laser cutters, have a look at our experiments with an Ortur model. Thanks for the tip, [poiuyt]!
Continue reading “Using A Laser Cutter To Replicate An Optical Comparator Screen” →


