Like Adventure Time? Make your own BMO! It’s a little more expressive than the Adafruit version we saw earlier due to the Nokia LCD. It’s got audio playback too so it can talk to football.
A few years ago, [Matt] made a meat smoker with a PID controller and an SSR. Now the same controller is being used as a sous vide. PID controllers: the most useful kitchen gadget ever.
[Josh] keeps his server in a rack, and lacking a proper cable management solution, this means his rack is a mess. He adapted some Dell wire management arms to his system, using a PCI card bracket to attach the arm to the computer.
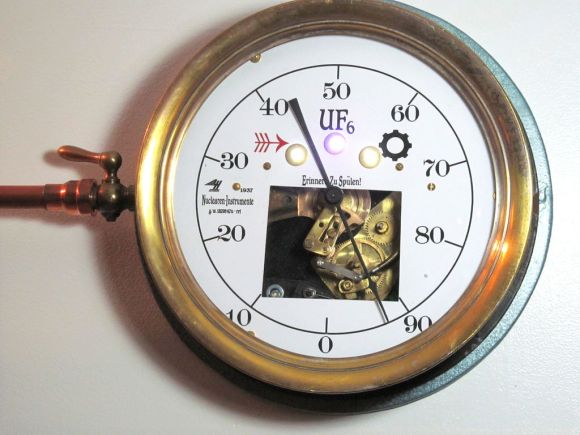
[Dr. Dampfpunk] has a lot of glowey things on his Youtube channel
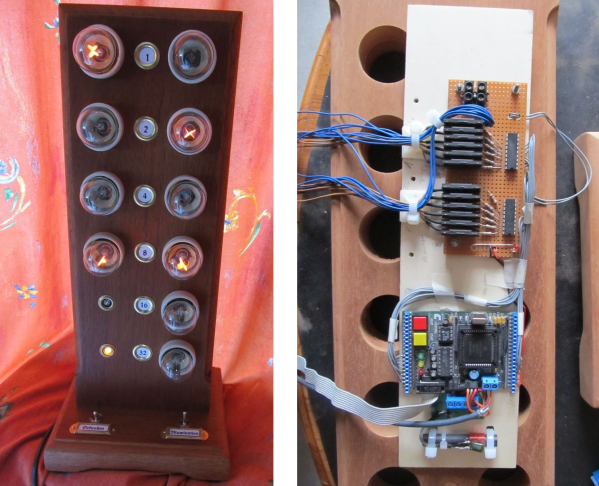
Another [Josh] built a 3D tracking display for an IMU. It takes data off an IMU, sends it over Bluetooth, and displays the orientation of the device on a computer screen. This device also has a microphone and changes the visualization in response to noises.
Remember the pile of failure in a bowl of fraud that is the Scribble pen? Their second crowdfunding campaign was shut down. Don’t worry; they’re still seeking private investment, so there’s still a chance of thousands of people getting swindled. We have to give a shout-out to Tilt, Scribble’s second crowdfunding platform. Tilt has been far more forthcoming with information than Kickstarter ever has with any crowdfunding campaign.