The Folly Of Adding An Auxiliary Audio Input To A Hyundai Sonata

Why auxiliary audio inputs haven’t been standard on automotive head units for decades is beyond us. But you can bet that if you’re looking at a low-priced sedan you’ll need to buy an entire upgrade package just to get an audio jack on the dash. [Jon W’s] Hyundai Sonata didn’t have that bells-and-whistles upgrade so he decided to pop his stereo out and add his own aux port.

A big portion of this hack is just getting the head unit out of the dash. This is made difficult on purpose as an anti-theft feature, but [Jon’s] judicious use of a butter knife seemed to do the trick. He lost some small bits along the way which were recovered with a Shish Kebab skewer with double-stick tape on the end.

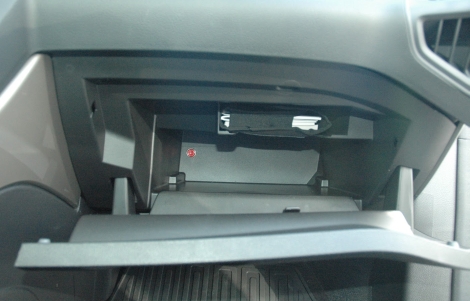
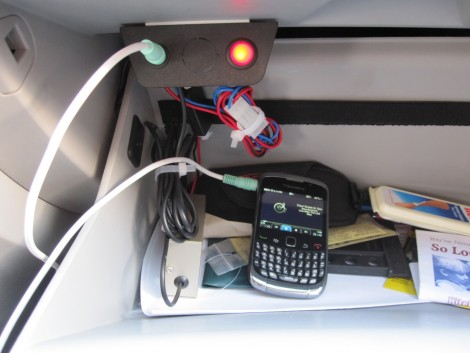
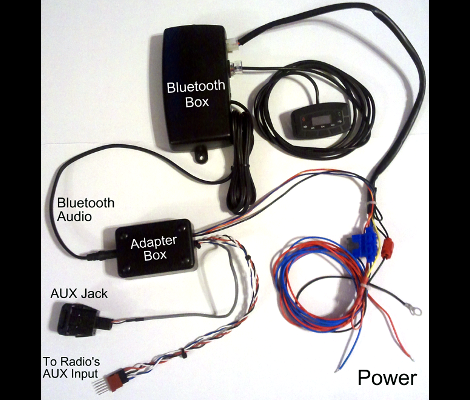
With the head unit out, he opened the case and plied his professional Electrical Engineering skills to adding the input. Well, he meant to, but it turns out there’s no magic bullet here. The setup inside the unit offered no easy way to solder up an input that would work. Having done all of the disassembly he wasn’t going to let it go to waste. [Jon] grabbed a nice FM transmitter setup. He wired it up inside the dash and mounted the interface parts in the glove box as seen here.

It’s nice to know we’re not the only ones who sometimes fail at achieving our seemingly simple hacking goals. At least [Jon] was able to rally and end up with the functionality he was looking for.

Hacking A2DP Support Into An Old Car Stereo

a2dp_tape_deck_retrofit

[Roofus] had an older car, and unfortunately his stereo’s cassette player just wasn’t doing it for him. He always wanted to simply get into his car, pull out his cell phone, and have his music ready to play without any fuss. After messing around with all sorts of different tape adapters, he got fed up and decided to rig up an A2DP (Stereo Bluetooth Audio) adapter on his own.

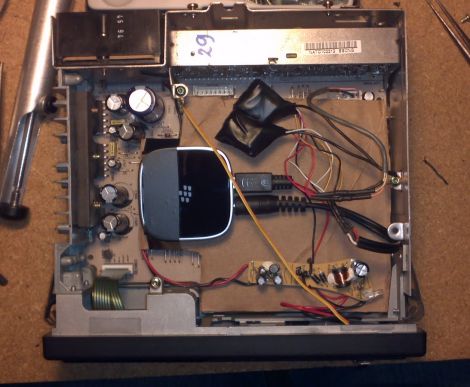
He pulled the head unit out and started looking around to see how he could wire an adapter in. He figured the best course of action would be to remove the tape deck, and fool the stereo into thinking that a tape had been inserted. After spending some time tracing wires and studying how his old tape adapters worked, [Roofus] had an A2DP connection wired in and was ready to rock out.

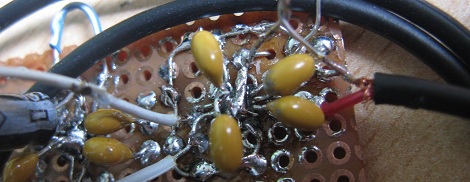
Greeted with nothing but silence, he turned to his favorite hacking site (Hackaday, naturally) for assistance. Some friendly forum-goers helped him identify a ground loop issue, and he set off to his nearest RadioShack for a pair of isolation transformers that would fix his problem.

Once he knocked out the ground loop issues, his adapter worked like a charm. He put everything back together, and aside from a tiny switch he installed to toggle between audio sources, you would never know it was there.

Control LED Lighting With An Old Stereo Receiver

stereo_controlled_home_lighting

[Marklar] needed an IR receiver for a project he was working on, and his local electronics store was fresh out. He dug through his junk pile and found an old stereo receiver, so he decided to pull the IR module from it before tossing it out. Once he had it taken apart, he figured that he could utilize the wide array of electronic components he found inside, and set off to start a new project.

The control panel housed the components which interested him most of all. Using an Arduino, he was able to easily interface with the rotary encoders as well as the buttons, giving him a cheap and easy way to control his home lighting system. With a bit of programming, he was able to map lighting presets to various buttons, as well as use the rotary encoder to control the LEDs’ brightness and color. As an added bonus, he kept the IR receiver intact and can control his setup wirelessly as well.

Check out the video we have embedded below to see his scavenged control system at work.

[via HackedGadgets]

Continue reading “Control LED Lighting With An Old Stereo Receiver”

German Engineering Produces An Overcomplicated Scarecrow

This electronic scarecrow keeps the birds away and makes your neighbors hate you at the same time. That’s because its way too loud, even if the next house is far away. The conrad.de folks that brought us the climbing bike storage device are at it again, putting together car audio and strings of lights as part of the bird-shoo-ing technology. In the video after the break you’ll see that they’re using a PIR motion sensor to switch power to an automotive amp and head unit. The speakers, strings of lights, and spinning doo-dads are all hidden under a black cape. When an unsuspecting bird tries to feast on the crops, the scarecrow unfolds its arm Dracula-style and raises a ruckus. We don’t expect to see this at a local farm, but maybe for next Halloween?

Continue reading “German Engineering Produces An Overcomplicated Scarecrow”

Vintage Car Audio Gets MP3 Input

[Nali] is fixing up a 1966 Rambler Ambassador and decided to give the audio a bit of an upgrade. Instead of replacing the head unit he added a connector for audio input. The method he used is simple, inexpensive, and allows the original unit to continue functioning as a radio. He cut the feed wires going to the volume knob and patched in a headphone jack. The jack he used has an internal switch that is meant to switch off a pair of speakers when headphones are plugged in. The jack will allow the original signal from the radio tuner to pass through whenever there isn’t a connector plugged in. It seems like this is easier on older hardware than it is on modern equipment.

This isn’t where his entertainment enhancements stop. [Nali’s] working on a 7″ in-dash Linux machine so keep your eye on his thread to see what he comes up with.

[Thanks Joel383]

Unreal Speaker Build

These speakers are hand made and almost one of a kind. [Lluís Pujolàs] didn’t come up with the original design, but he sure did an amazing job of crafting them, including an eleven page build log (translated). They’re called the Odyssey 2, after the original design. The shell-shaped cavity on the bottom was built as a wooden skeleton first, then covered over for the finished shape. But the mid and high range enclosures were turned on a lathe from wood glued-ups. A serious machine shop is necessary to do this kind of woodworking. The bases are poured concrete, impregnated with lead beads to help with vibration isolation. At 330 pounds each it’s understandable that he tested them on wheels before parking them in their final position as seen above.

[Thanks Neorazz]

Airport Express Speaker Mashup

[Wei] salvaged the internals from an Airport Express that had a blown power supply. From there he built this streaming music box. The case is from an IKEA clock with the face removed. He added some decorative fabric around a grill to make an acoustically transparent front panel. Inside you’ll find the Airport guts connected to a USB charger (replaces the dead PSU) and a set of powered stereo speakers. This simple mashup looks good and frees up space in your junk-parts box.