Building A Better Automotive Rotary Controller

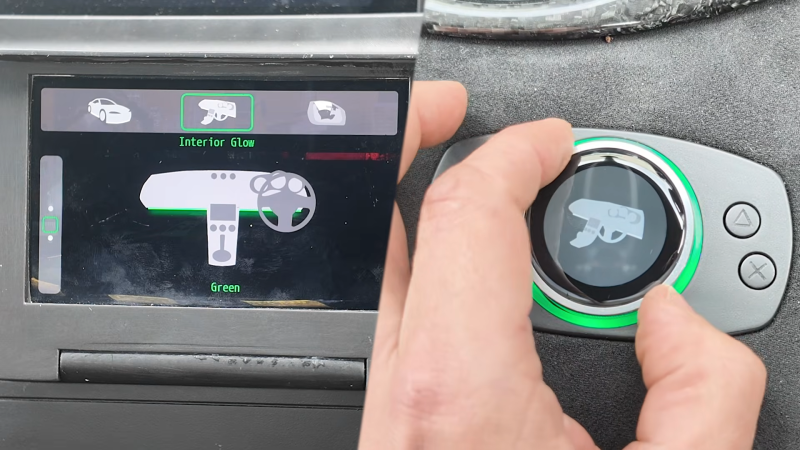
If you’ve ever spent time in a modern BMW, you’ve probably fussed about with the goofy iDrive controller. It’s a rotary knobbery slidery thing that just never really feels that good to use. [Garage Tinkering] was inspired to try and build a better version for his own car.

The first order of business was to choose the right knob as the core of the build. [Garage Tinkering] eventually landed on the Crowpanel 1.28″ rotary knob which integrates a push-button encoder, a round screen, and an ESP32-S3 all into one convenient package. He then set about designing a 3D printed housing that would integrate it into the vehicle’s interior, along with a diffuser ring for the knob’s inbuilt LEDs and some additional buttons for added control. The goal is to use the rotary control as the human interface for a broader system being implemented in the vehicle, which will feature a larger infotainment screen and multiple digital gauges. The rotary control will allow switching things like interior and underglow lighting, and display of other vehicle parameters.

The cool thing about building your own gear is that you can make it work exactly the way that suits you. We’ve seen great hacks in this realm before, too, like this rad car data display.

Continue reading “Building A Better Automotive Rotary Controller”
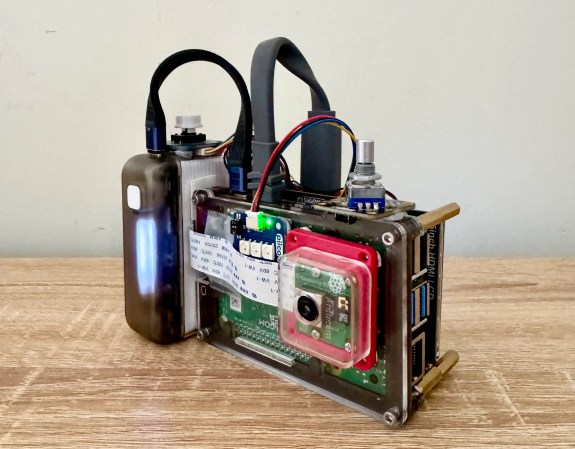
A Raspberry Pi-powered glitch camera, with adjustable glitch.

Easy-ish Glitch Camera? There’s A Pi 4 That

Usually, when you want to make glitchy images with lots of colors and things, you have to poke around inside a camera and successfully circuit-bend the thing without bricking it. But [sharkbiscuit101] proves that this isn’t necessary, provided you have a Raspberry Pi 4 and a few other components.

Now we don’t have a lot of detail here, but [sharkbiscuit101] is being heavily encouraged to share the relevant files and a component list. What we do know is that the there’s a screen for previewing images, a portable battery, a shutter button, a rotary encoder to dial in the weirdness, and a game pad for controls. Using the script and a slider, you can tweak different aspects of the image to basically break it down in real time. If you find a nifty combination, you can use the rotary encoder to save and then recall presets.

If you’re wondering about the grip, that’s a Sharge battery from the Bezos Barn. Per [sharkbiscuit101], it is a good size, and since Pi 4 doesn’t have a power button, it can be turned on and off at the battery.

Of course, you can always mess with JPGs on a raw, textual level instead, or produce standard photographs with a pinhole camera.

Demonstrating Gray Codes With Industrial Display

Many people base huge swaths of their lives on foundational philosophical texts, yet few have read them in their entirety. The one that springs to the forefront of many of our minds is The Art of Computer Programming by Donald Knuth. Full of many clever and outright revolutionary algorithms and new ways of thinking about how computers work, [Attoparsec] has been attempting to read this tome from cover to cover, and has found some interesting tidbits. One of those is the various algorithms around Gray Codes, and he built this device as a visual aid.

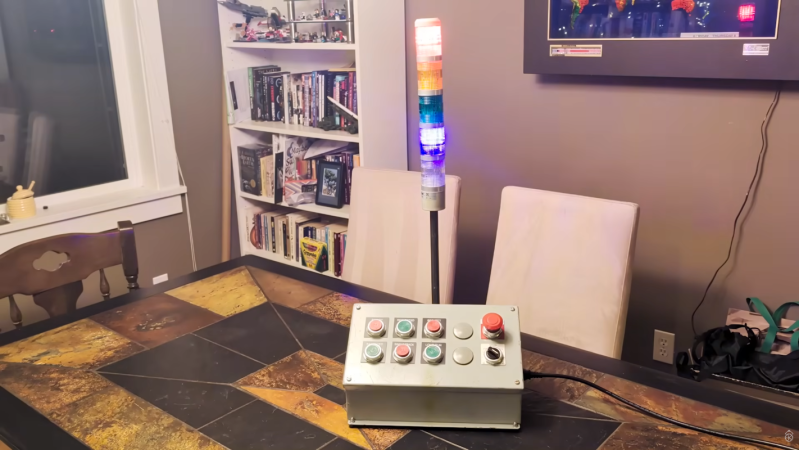
Gray Codes, otherwise known as reflected binary, is a way of ordering an arbitrarily large set of binary values so that only one bit changes between any two of them. The most common place these are utilized is in things like rotary encoders, where it provides better assurance that the position of a shaft is in a known location. To demonstrate this in a more visual way [Attoparsec] hooked up an industrial signal light, normally used for communicating the status of machinery in a factory, and then programmed it to display the various codes. A standard binary counter is used as a reference, and it can also display standard Gray Code as well as a number of other algorithms used for solving similar problems.

[Attoparsec] built this as an interactive display for the Open Sauce festival in San Francisco. To that end it needed to be fairly rugged, so he built it out of old industrial equipment, which is also a fitting theme for the light itself. There’s also a speed controller and an emergency stop button which also add to the motif. For a deeper dive on Gray Codes and their uses, take a look at this feature from a few years back.

Continue reading “Demonstrating Gray Codes With Industrial Display”

Retro Style VFO Has Single-Digit Parts Count

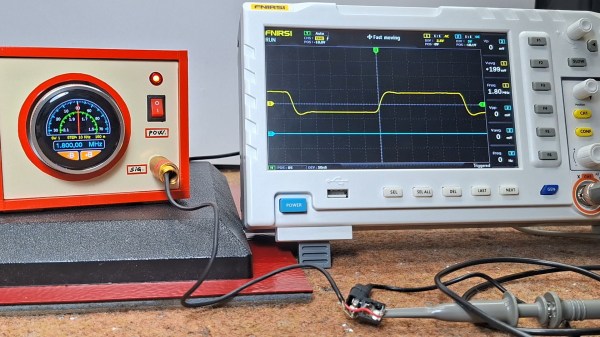
Not every project has to be complicated– reinventing the wheel has its place, but sometimes you find a module or two that does exactly what you want, and the project is more than halfway done. That the kind of project [mircemk]’s Simple Retro Style VFO is — it’s a variable frequency oscillator for HAM and other use, built with just a couple of modules.

Strictly speaking, this is all you need for the project.

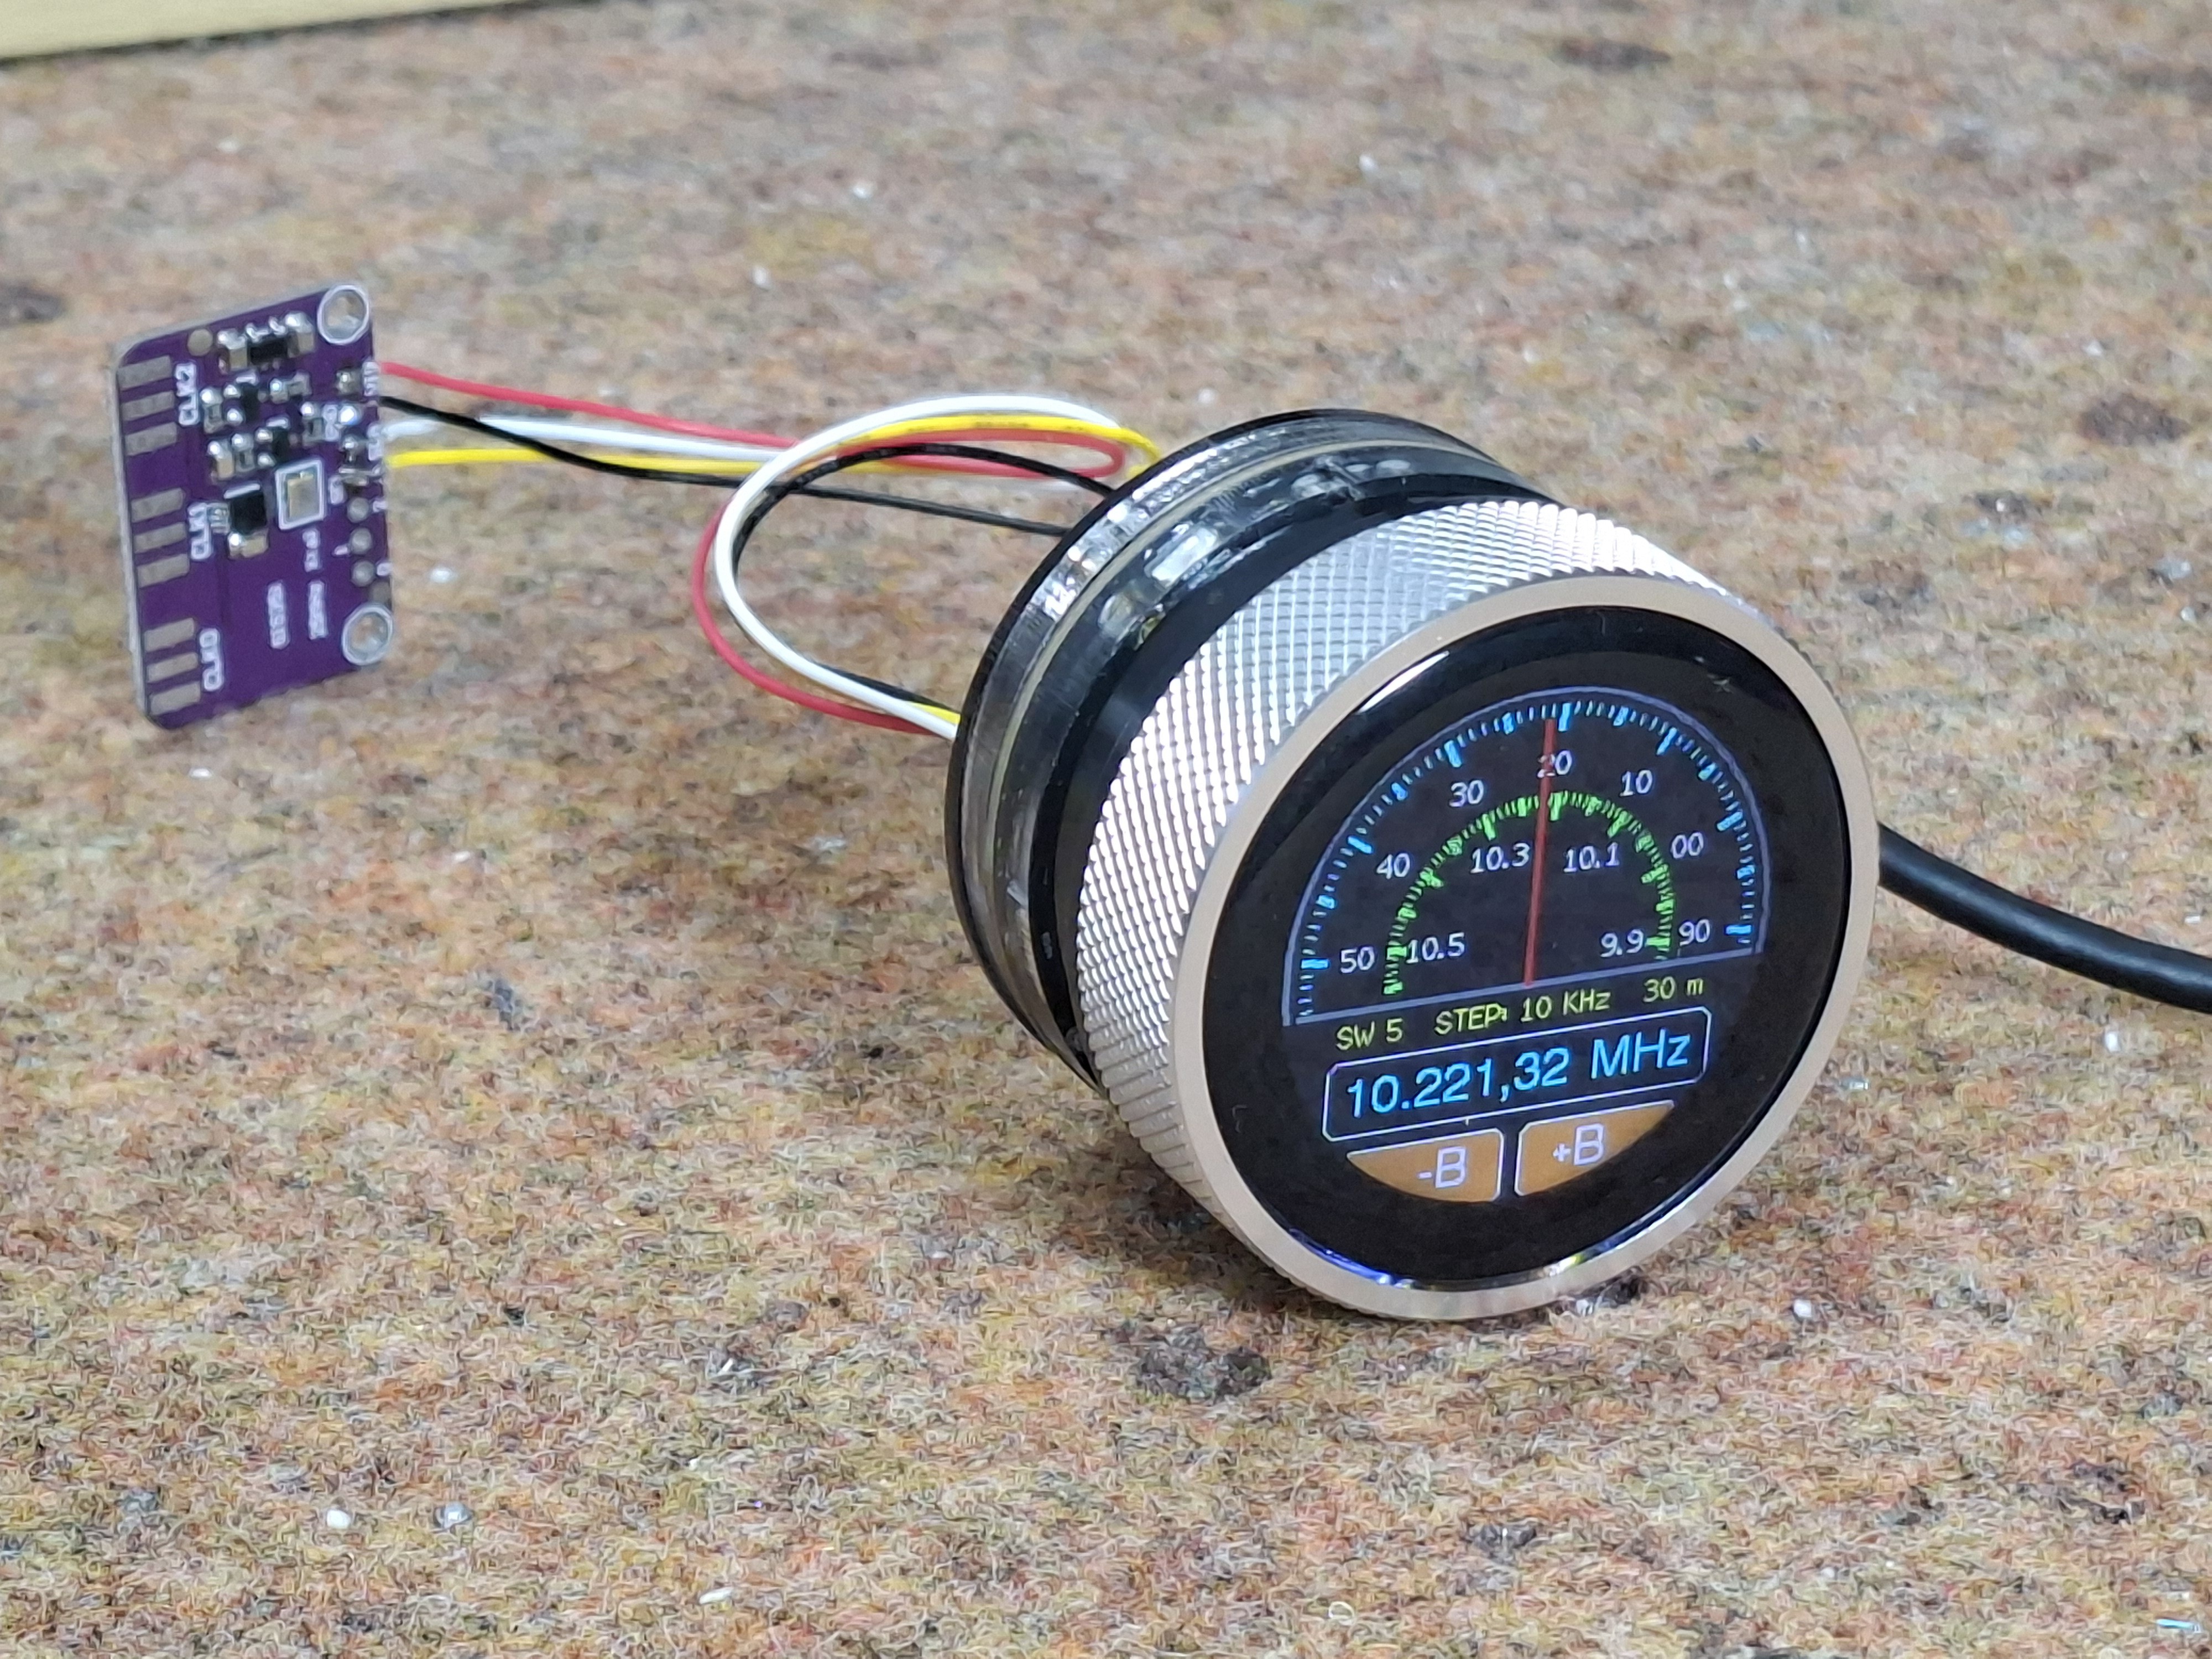
The modules in question are the SI5351 Clock Generator module, which is a handy bit of kit with its own crystal reference and PLL to generate frequencies up to 150 MHz, and the Elecrow CrowPanel 1.28inch-HMI ESP32 Rotary Display. The ESP32 in the CrowPanel controls the SI5351 module via I2C; control is via the rest of the CrowPanel module. This Rotary Display is a circular touchscreen surrounded by a rotary display, so [mircmk] has all the inputs he needs to control the VFO.

To round out the parts count, he adds an appropriate connector, plus a power switch, red LED and a lithium battery. One could include a battery charger module as well, but [mircmk] didn’t have one on hand. Even if he had, that still keeps the parts count well inside the single digits. If you like video, we’ve embedded his about the project below; if not the write up on Hackaday.io is upto [mircmk]’s typical standard. 

People have been using the SI5351 to make VFOs for years now, but the addition of the round display makes for a delightfully retro presentation.

Thanks to [mircmk] for the tip.

Continue reading “Retro Style VFO Has Single-Digit Parts Count”

Making A Laptop With A Mechanical Keyboard

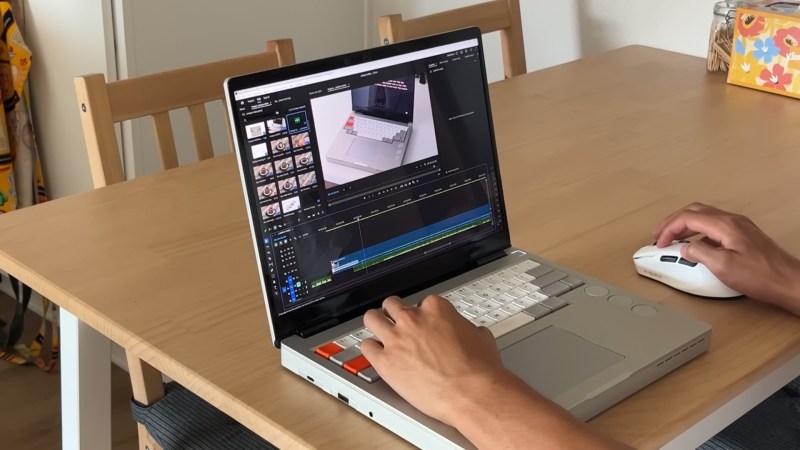
A laptop is one of the greatest tools at the disposal of a hacker. They come in all manner of shapes and sizes with all manner of features. But perhaps the greatest limit held by all laptops is their chiclet keyboard. While certainly serviceable, a proper mechanical keyboard will always reign supreme, which is why [flurples] built a laptop around a mechanical keyboard. 

Such a keyboard could not fit inside any normal laptop, so a custom machined case was in order. The starting point was a standard Framework Laptop 13. Its open source documentation certainly helped the project, but numerous parts such as the audio board and fingerprint sensor are not documented making for a long and tedious process. But the resulting machined aluminum case looks at least as good as a stock Framework chassis, all be it, quite a bit thicker.

Continue reading “Making A Laptop With A Mechanical Keyboard”

Faux Potentiometers Use Magnets, No Contacts

Ever tear open a potentiometer? If you haven’t, you can still probably guess what’s inside. A streak of resistive material with some kind of contact that moves across it as you rotate the shaft, right? Usually, you’d be right, but [T. K. Hareedran] writes about a different kind of pot: ones that use magnetic sensing.

Why mess with something simple? Simplicity has its price. Traditional units may not be very accurate, can be prone to temperature and contamination effects, and the contact will eventually wear out the resistive strip inside. However, we were a little curious about how a magnetic potentiometer could offer a resistive output. The answer? It doesn’t.

Really, these would be better described as rotary encoders with a voltage output. They aren’t really potentiometers. The SK22B mentioned in the article, for example, requires a 5 V input and outputs somewhere between 10% and 90% of that voltage on the ersatz wiper pin.

That makes the devices much easier to puzzle out. The linearity of a device like that is better than a real pot, and, of course, the life expectancy is greatly increased. On the other hand, we’d rather get one with quadrature or I2C output and read it digitally, but if you need a voltage, these devices are certainly an option.

[T. K.] goes on to show how he fabricated his own non-contact sensor using photosensors and a gray-coded wheel with a single track. You do need to be careful about where you position the sensors, though.

Could you make a real non-contact resistive pot? Seems like you could get close with an FET output stage, but it wouldn’t be as generally applicable as a good old-fashioned smear of carbon. If you have a better idea, drop it in the comments or build it and give us a tip.

Want a 20A-capable device? Build it. Want to see how we like to read encoders?

Turn A Mouse Into An Analogue Tuning Knob

The software defined radio has opened up unimaginable uses of the radio spectrum for radio enthusiasts, but it’s fair to say that there’s one useful feature of an old-fashioned radio they lack when used via a computer. We’re talking of course about the tuning knob, because it represents possibly the most intuitive way to move across the bands. Never fear though, because [mircemk] has a solution. He’s converted a mouse into a tuning dial.

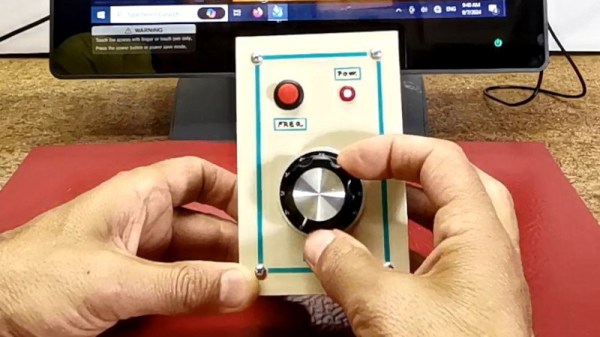
The scroll wheel on a mouse is nothing more than a rotary encoder, and can easily be used as a sort of tuning knob. Replacing it with a better encoder gives it a much better feel, so that’s what he’s done. An enclosure has the guts of a mouse, with the front-mounted encoder wired into where the scroll wheel would have been. The result, for a relatively small amount of work, is a tuning knob, and a peripheral we’re guessing could also have a lot of uses beyond software defined radio.

It’s not the first knob we’ve seen, for that you might want to start with the wonderfully named Tiny Knob, but it’s quite possibly one of the simplest to build. We like it.