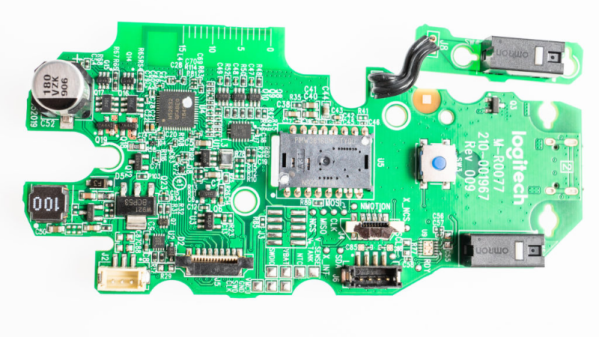
[Eric Weinhoffer] and his colleagues did a great comparative tear down of the MX Master 3 and the MX Master 2S mice from Logitech. Tear down’s are great fun and often end up teaching us a lot. Looking at the insides of a product can tell us a great deal about how to solve certain problems, or avoid pitfalls. Opening up two versions of the same product provides an even greater wealth of useful information on how product design evolves based on lessons learned from the earlier versions. Logitech is no greenhorn when it comes to Mice design, so the MX Master 2S was already almost perfect. But looking at the Master MX 3 shows where the earlier version fell short of expectations and how it could be improved upon.
These mice have intelligent scroll wheels, which can rotate in either “detente” or “freewheel” modes. Detente allows slower, precise scrolling, while freewheeling allows rapid scrolling. The two mice models have completely different, and interesting, methods of achieving these actions. The older version has a rubber-coated wheel and uses a motor, which turns a cam. This forces a detent ball onto the inside of the wheel for detent mode and releases it for free mode. Once the rubber wears off, the mouse is pretty much headed for the dumpster. The new metal wheel does away with the rubber coating as well as the noisy, slow, and prone to wear-and-tear motor assembly. The actuation is now done using a bi-stable electromagnet. A 25 V pulse magnetizes the coil which sits inside the wheel and it pulls on little metal teeth on the inside rim of the wheel. This gives a noiseless detente feel, without any physical contact. A second 25 V spike de-magnetizes the coil, allowing the scroll wheel to spin freely.
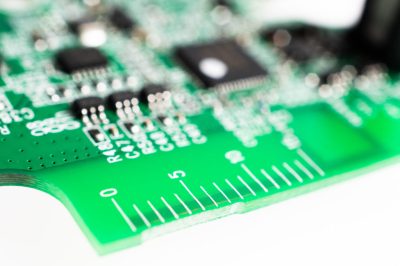
 [Eric] points out several incremental changes in design which have resulted in improved ergonomics. He also uncovers a few nuggets of useful information. The use of interchangeable mold inserts help make molds last longer while still offering the flexibility to make changes in the molded part. It’s interesting to see special components being used for withstanding vibration and high-G forces. Some of these insights can be useful for those moving from prototyping to production. There’s one puzzling feature on the new PCB that [Eric] cannot figure out. There is a 15 mm scale screen-printed over the blue tooth antenna. If you have an answer on its purpose, let us know in the comments below.
If you are left-handed (which makes 10% of us), you’re out of luck with these right-handed mice and might like to sign one of the several online petitions demanding lefty versions.


