Have you ever had a laptop you just wish you didn’t have to retire when its specification becomes to aged for your needs? Wouldn’t it be great if you could upgrade it and keep using the physical hardware!
[Alpinedelta] has a vintage Toshiba T1000 laptop, roughly a PC-XT clone from the late 1980s. Its 80C88 processor, CGA display, and 512k of memory make it a museum-piece, but he has plans to modernise it using a LattePanda Intel Atom based single board computer.
To make that happen, he has to ensure all the Toshiba’s peripherals will talk to a modern host. Unfortunately back in the 1980s many PC clones were clones in a rather loose sense, and especially so in the laptop arena. Thus there are no handy standard PC interfaces and since USB was several years away at the time, nothing the LattePanda can talk to directly. His solution for the keyboard is to wire its matrix directly to a Teensy microcontroller that then provides a USB interface, and he’s put up a useful step-by-step Instructables guide.
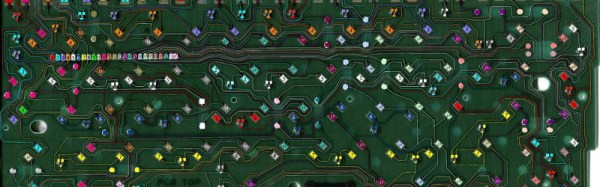
There is no standard for a laptop keyboard matrix, so the first and most tedious task is to unpick its layout.This he did by identifying each trace and assigning a different rainbow colour to it, before noting down which keys appeared on it and collating the results in a spreadsheet. The different colours of wire could then be assigned to the colours of a piece of rainbow ribbon cable, and wired in sequence to the Teensy’s I/O pins. There then follows a step in the software in which he assigns the pin mappings to the lines in his spreadsheet, then the sketch can be compiled and uploaded to the Teensy. Result: a vintage keyboard now talking USB.
Using a Teensy to present a USB keyboard to the world is a well-worn path, we’ve seen it with both newer keyboards and other relics like this one from a DEC VT100.
Thanks [Brent] for the tip.


