Simple Ambilight Clone Is Just A Few Transistors

The Ambilight system – built in to high-end Phillips TVs – is a neat system to add a bit of ambiance to regular television viewing. With this system, a series of RGB LEDs are mounted to the rear of the TV to respond to whatever is currently being displayed. [Lovro] came up with a very simple way to add an ambilight system to his computer monitor using only a handful of components.

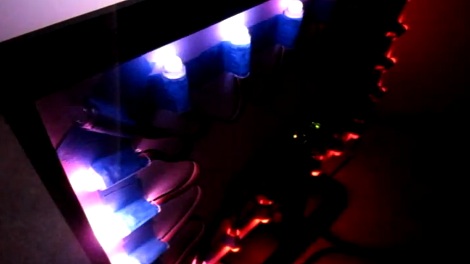
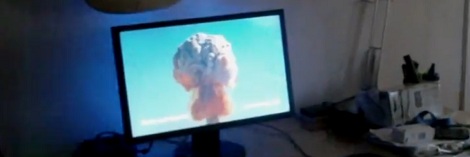
Unlike other Ambilight clones we’ve seen controlled by custom software or a Processing sketch, [Lovro]’s system uses a few transistors wired to the red, green, and blue pins of his VGA cable. Each of these lines is connected to an RGB LED, so the intensity of each color is determined by the amount of the respective color on the screen.

There is a down side with this setup: a second video output in a mirrored mode is required for this hack to work. Luckily, [Lovro] has a dual-monitor graphics card, making setup a (relative) breeze.

You can check out [Lovro]’s videos of his Ambilight clone in action after the break.

Continue reading “Simple Ambilight Clone Is Just A Few Transistors”

Macetech Takes On Its Own Ambilight Clone Hack

[Garrett Mace] decided to beef up his 58 inches of plasma with 60 Watts of LED lighting. After seeing a ton of Ambilight clones using his LED modules, he’s built his own powerful system. Not surprisingly, it’s nothing short of professional-grade work.

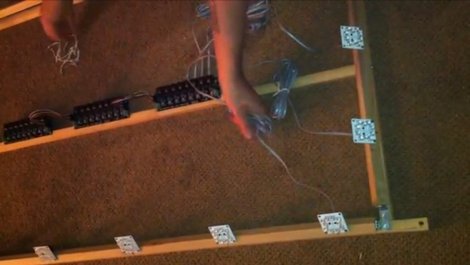
Kudos to [Garrett] for showing the entire process in the video after the break. We’re talking about his planning stages, which are so often left out of build logs. He first measures the back of the television, and does some testing for distance and angle of the Satellite LED modules to establish how many should be used and to estimate the optimal spacing. From there he modelled a framing system before getting down to the actual build.

The wood frame is made up of a box with a horizontal crossbar serving as a place to mount the drivers. Around the edges, tilting rails were added to make the angle of the LED modules adjustable. As with many other Ambilight clones, [Garrett] uses the boblight software to drive his system and we appreciate it that he included his configuration file for reference. Once up and running the effect is breathtaking (and possibly blinding).

Continue reading “Macetech Takes On Its Own Ambilight Clone Hack”

Adalight: Ladyada’s Ambilight

The latest and greatest ambilight clone, the Adalight, comes from the fruitful mind and cluttered workbench of the sometimes Hack A Day contributor [Phil Burgess].

We’ve seen a few clones of the Philips ambilight tech, but [Phil] knocked this one out of the park. The hardware is a string of 12mm RGB LEDs connected to the Arduino of your choosing. After attaching the LEDs to the rear of the TV using anything from, “laser-cut acrylic to nothing more than a pizza box,” it’s on to the software.

The Processing sketch performs a series of screen captures and averages the pixels around the perimeter of the screen. Reportedly, Carl Sagan’s Cosmos looks fantastic with the Adalight but there might be a better option.

[Phil] used 25 LEDs on his Adalight, more than the usual 6-10 we see on other Ambilight clones. Check out the video after the break to see the Adalight in action.

Continue reading “Adalight: Ladyada’s Ambilight”

Ambilight Clone Built From Arduino And ShiftBrite Modules

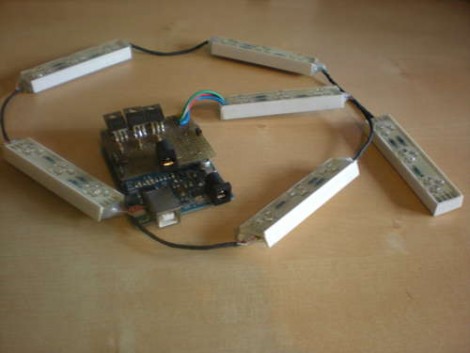
[Don] put together a guide that will help you build your own Ambilight Clone for about $40 plus the cost of an Arduino. He’s using it with the HTPC seen above, and utilized modular concepts in building it so that you can easily disconnect your Arduino board when you want to use it for prototyping.

For RGB light sources [Don] grabbed six ShiftBrite modules. These are fully addressable cascading modules which make for very easy hardware setup. Instead of buying a driver shield he built his own using an LM317, heat sink, and wall wart to source enough current to drive all of the modules.

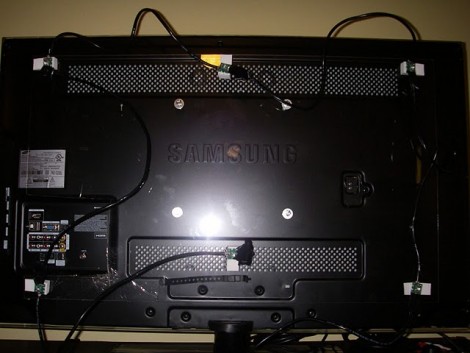
We really enjoy the mounting scheme used. Each module is attached to a piece of acrylic which is then mounted using the standard threaded VESA mounting holes on the back of the monitor. As with other Ambilight clones this one uses the Boblight package to get color information from the video as it plays.

Adding USB Control For Ikea RGB LED Strips

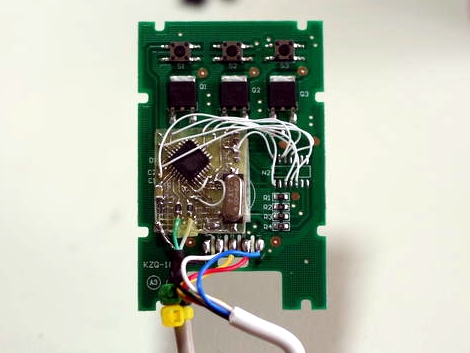
Here’s an altered PCB that gives USB control to an Ikea Dioder. This is a $50 product that comes with four strips each containing nine RGB LEDs. The stock controller has a color selection wheel and a couple of buttons. [Rikard Lindström] wanted to use it to match ambient light to the colors of his computer monitor — yes, it’s another ambilight clone.

Since he already had a bunch of AT90USB162 chips on hand he chose that route. These chips have native USB support (he’s using the LUFA package which is a popular choice), but no on-board ADC. That means no need for the potentiometer from the original controller because there’s no easy way to read its value. Removing it made plenty of room for his add-on PCB. He also depopulated the PIC microcontroller that originally drove the unit, soldering to the empty pads in order to connect is own board. The finished product fits back in the original case, with the addition of a USB cable as the only visible alteration. Now he can dial in colors using a program he wrote.

In case you’re wondering, it looks like this is a newer version of control circuitry when compared to the original Dioder hack we covered.

Adding Ambilight Clone System To Your Home Theater Just Got A Big Price Cut

Whenever we get a tip claiming a project is cheap and easy we raise a cynical eyebrow. But [Yonsje] isn’t telling us a story, his Amiblight clone really does boil down the complexity and slash the price.

For the uninitiated, this is a clone of the Philips Amilight system that has been an option with some of their TVs over the years. It puts RGB LEDs on the back of the frame, pointed at the wall. They are tuned to the edge colors of the display, linking the color of the ambient light in the room to the colors on the screen. We’ve seen a ton of clones over the years, just search our blog for “Ambilight”.

Like the others, this iteration depends on you playing back video from a computer. [Yonsje] is using an Arduino with his own shield to connect to the HTPC. NPN transistors in the shield drive the RGB LEDs. The real cost savings is in his lighting source. A Deal Extreme RGB LED bar costs just $11.30 including shipping, and can be cut into six different segments for even spacing around your television. Check it out in the clip after the break.

Continue reading “Adding Ambilight Clone System To Your Home Theater Just Got A Big Price Cut”

LiveLight Is An Expertly Crafted Ambilight Clone

[SunWind] (Edit 2018: who now goes as [nerdaxic]) developed his own version of the Phillips Ambilight system which he is calling LiveLight. We’ve seen more than a few of these hacks, many of them are based around Arduino, and most use LED strip lighting. [Nerdaxic] is using strip lighting as well, but his design is clean and polished quite a bit more than anything else we’ve seen. In our minds this would be welcomed by even the most discriminating of A/V enthusiasts.

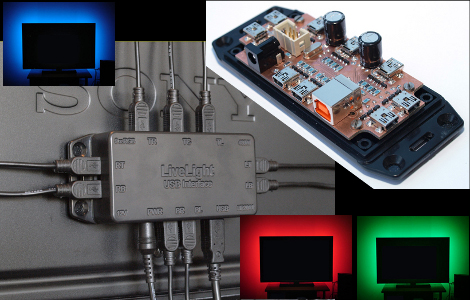
He found just the right size of project box and managed to fit everything in on a nicely milled PCB. The enclosure itself has also been milled to allow the mini USB B connectors for each of the nine RGB LED strips. But he didn’t stop there, the top of the enclosure has labels milled into it to help when hooking everything up.

An ATmega32 addresses the LED strips based on data pushed in from a computer. An on-board FTDI chip adds USB connectivity and [nerdaxic] used a hack to rewrite the EEPROM on that chip so that it enumerates with the name “LiveLight USB Interface”. A program called Boblight gathers the data from the currently playing video. You can see the final project in the video embedded after the break.

Continue reading “LiveLight Is An Expertly Crafted Ambilight Clone”