Dissecting The AVR DebugWire

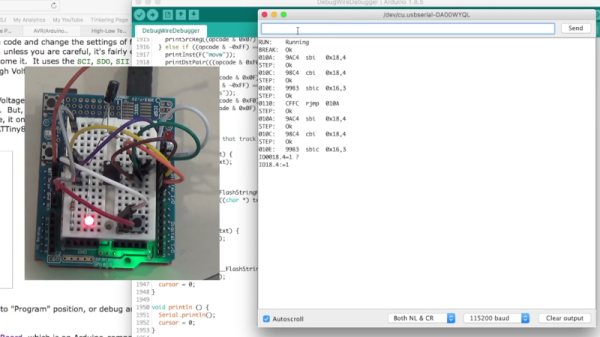
Anyone who’s ever written more than a dozen or so lines of code knows that debugging is a part of life in our world. Anyone who’s written code for microcontrollers knows that physical debugging is a part of our life as well. Atmel processors use a serial communications protocol called debugWire, which is a simpler version of JTAG and allows full read/write access to all registers and allows one to single step, break, etc. [Nerd Ralph], a prominent fixture here at Hackaday has dug into the AVR debugWire protocol and enlightened us with some valuable information.

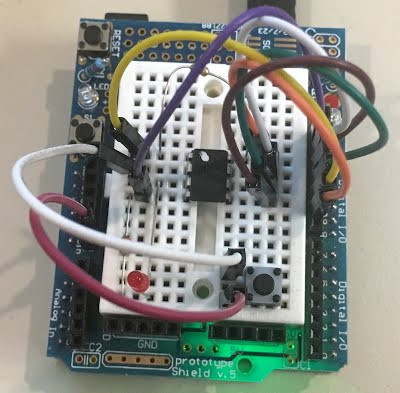
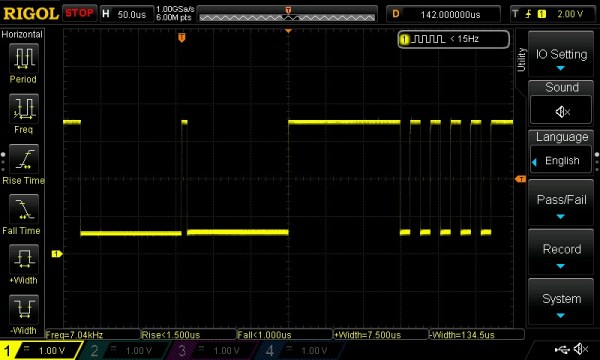
While the protocol side of debugWire is a mostly-solved problem, the physical layer was giving him trouble. He started with a diode, and then went through a couple resistors and other components to interface with the debugWire pin on the AVR microcontroller, doing most of the troubleshooting work so now you don’t have to. He notes that interface components might need to be tailored to specific USB-TTL adapters, so keep that in mind if you care to delve into working with debugWire yourself.

We’re no strangers to debugging techniques here at Hackaday. As always, be sure to let us know if you run across any new techniques or try anything new yourself!

Debugging An Arduino With An Arduino

As every Hackaday reader knows, and tells us at every opportunity in the comments, adding an Arduino to your project instantly makes it twice as cool. But what if, in the course of adding an Arduino to your project, you run into a problem and need to debug the code? What if you could use a second Arduino to debug the first? That would bring your project up to two Arduinos, instantly making it four times as awesome as before you started! Who could say no to such exponential gains?

Debugging an ATTiny85

Not [Wayne Holder], that’s for sure. He writes in to let us know about a project he’s been working on for a while that allows you to debug the execution of code on an Arduino with a second Arduino. In fact, the target chip could even be another AVR series microcontroller such as a the ATTiny85. With his software you can single-step through the code, view and modify values in memory, set breakpoints, and even disassemble the code. Not everything is working fully yet, but what he has so far is very impressive.

The trick is exploiting a feature known as “debugWIRE” that’s included in many AVR microcontrollers. Unfortunately documentation on this feature is hard to come by, but with some work [Wayne] has managed to figure out how most of it works and create an Arduino Sketch that lets the user interact with the target chip using a simple menu system over the serial monitor, similar to the Bus Pirate.

[Wayne] goes into plenty of detail on his site and in the video included after the break, showing many of the functions he’s got working so far in his software against an ATTiny85. If you spend a lot of time working on AVR projects, this looks like something you might want to keep installed on an Arduino in your tool bag for the future.

Debugging microcontroller projects can be a huge time saver when your code starts running on real hardware, but often takes some hacking to get working.

Continue reading “Debugging An Arduino With An Arduino”

Reverse-Engineering DebugWire

Has this ever happened to you? You start out on a reverse-engineering project, start digging in, and then get stumped. Then you go looking on the Internet for help, and stumble across someone who’s already done exactly what you’re trying to do?

[Geekabit] wrote us with a version of this tale of woe. In his case, the protocol to be reversed was Atmel’s debugWire protocol for debugging on low-pin-count parts. There are a number of websites claiming it’s “secret” or whatever, but it actually looks like it’s just poorly documented. Anyway, [RikusW] seems to have captured all of the signals way back in 2011. Good job!

The best part of [geekabit]’s story is that he had created the Wikipedia page on debugWire himself to inspire collaboration on reverse-engineering the protocol, and someone linked in [RiskusW]’s work. When [geekabit] picked up the problem again a bit later, he did a bit of web research and found it solved — on the page that he started.

Maybe it’s not a tale of woe after all, but a tale of unintentional collaboration. Anyway, it serves as a reminder that if you’re interested in the destination more than the voyage of discovery, it never hurts to do your research beforehand. And now we all know about the low-level details of the debugWire protocol. Anyone written up a driver yet?

Thanks [geekabit] for the tip and the story! Image from ATmega32-AVR, which explains nicely how to use the Dragon in debugWire mode.